How to Recover Lost Partitions and Hard Disk Data Safely
Learn how to recover lost partitions and files with TestDisk and PhotoRec. Protect the source drive, scan safely, and save recovered data to another disk.
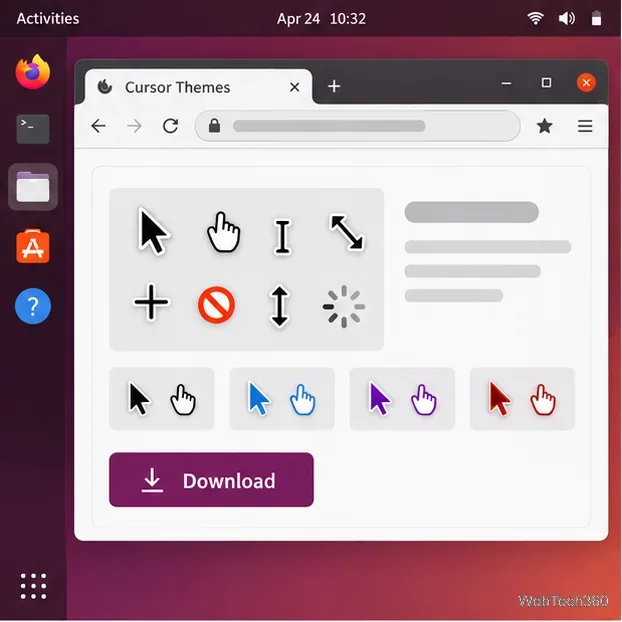
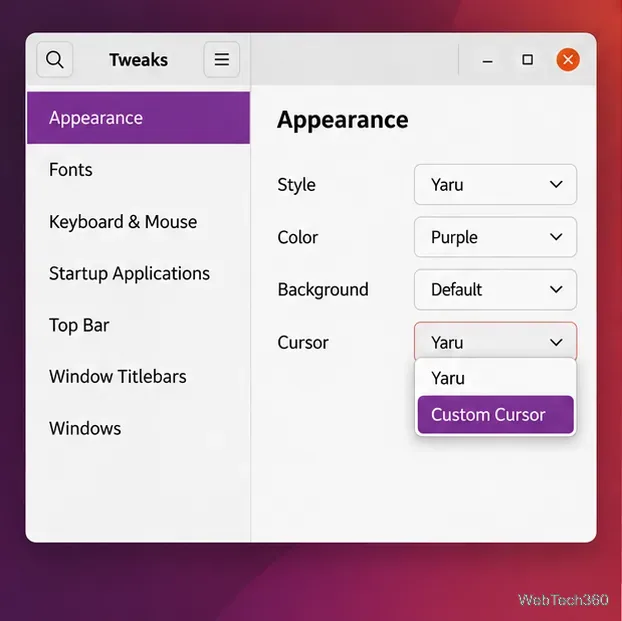
On Ubuntu’s standard GNOME desktop, install a cursor theme in your user profile and select it in GNOME Tweaks. The whole process takes three parts: download a theme archive, put its theme folder in ~/.local/share/icons, and choose it under Tweaks > Appearance > Cursor.
Ubuntu’s built-in Settings can make the pointer larger, but that does not install a different design. For size, open Settings > Accessibility > Seeing > Cursor Size. To change the arrow, hand, loading indicator, and other pointer shapes, follow the theme steps below. The instructions here are for Ubuntu Desktop with GNOME; Kubuntu, Xubuntu, and other desktop flavors have their own appearance tools.
.zip, .tar.gz, or .tar.xz file, and choose Extract Here (or the equivalent extract option shown on your Ubuntu version). If the archive opens in Archive Manager, use its Extract control instead.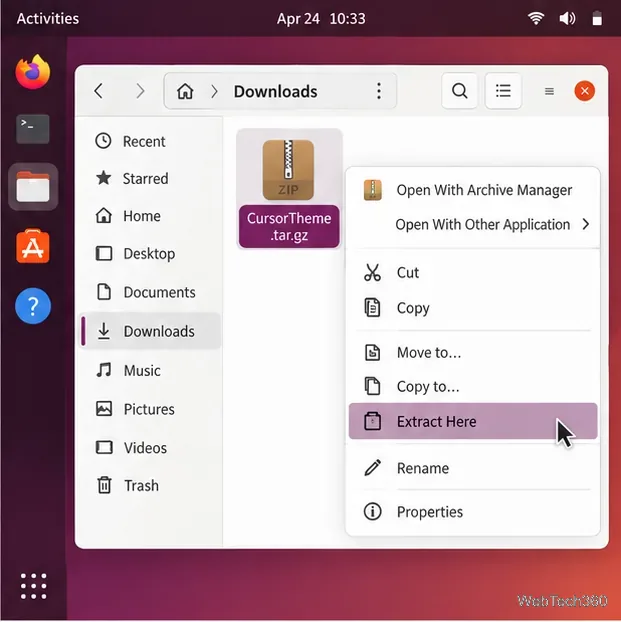
index.theme file and a cursors directory at the same level. Some archives add an outer wrapper folder; open it and use the inner folder that contains those items. Do not copy only the cursors subfolder.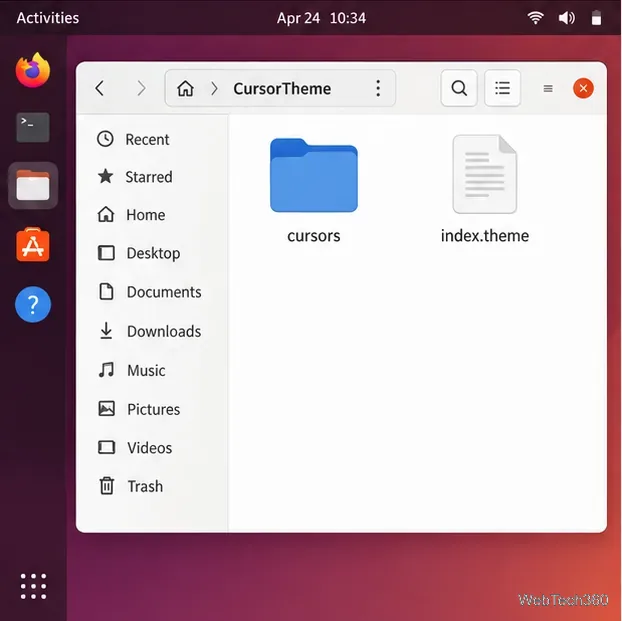
Ubuntu follows the Freedesktop user-data layout: by default, user files go under ~/.local/share, with icon themes in its icons subdirectory. This keeps the theme available to your account without changing system files or using administrator permissions. See the XDG Base Directory specification and the Icon Theme specification.
Open Terminal with Ctrl+Alt+T and create the destination folder if it does not already exist:
mkdir -p ~/.local/share/icons
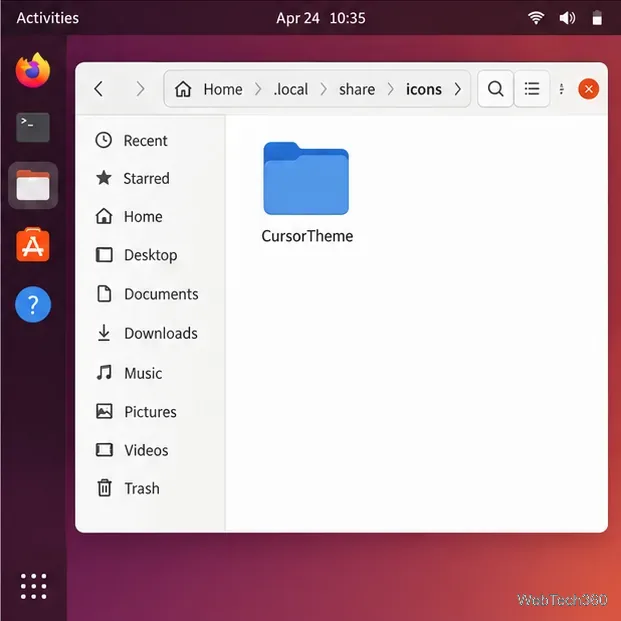
In Files, press Ctrl+H to show hidden folders, then open Home > .local > share > icons. Copy or drag the theme folder you identified into icons. The folder layout should look like ~/.local/share/icons/ThemeName/index.theme and ~/.local/share/icons/ThemeName/cursors/. Keep the folder name intact.
sudo apt install gnome-tweaks and enter your Ubuntu password if prompted. Ubuntu lists gnome-tweaks in its package archive for current releases; see the Ubuntu package search. Confirm the install when APT asks.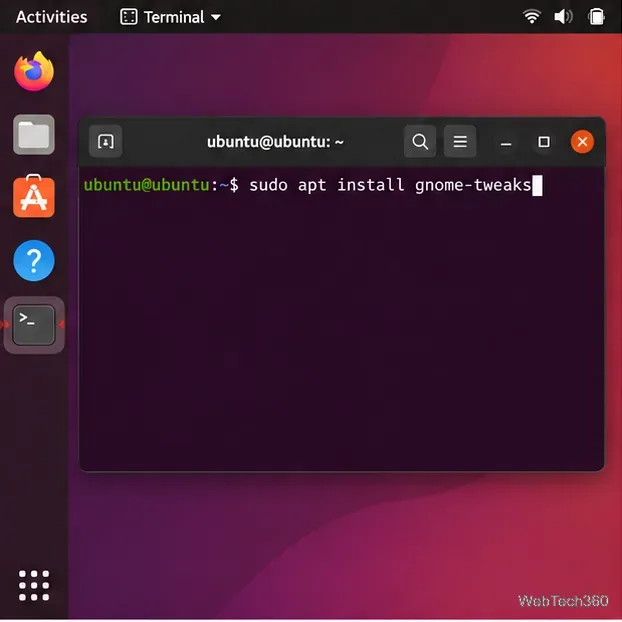
sudo apt update and confirm the package is available for your Ubuntu release.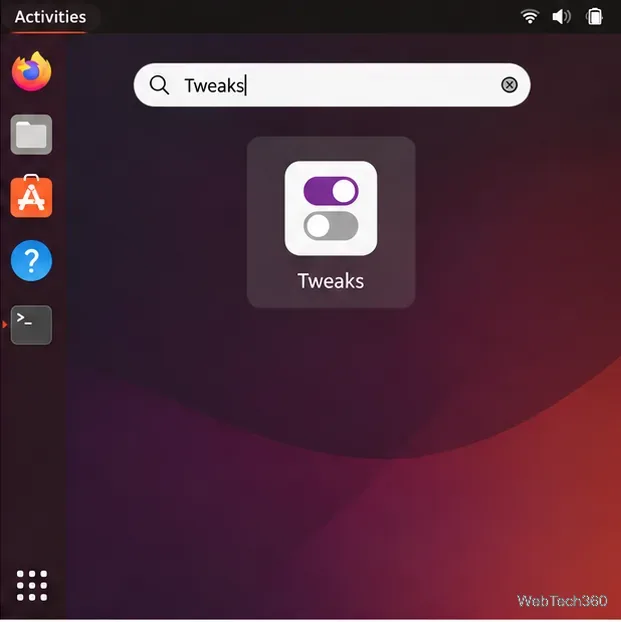
Move the mouse over the desktop, a link, and a text field to see the different pointer shapes. If the theme does not appear in Tweaks, check these common causes:
index.theme and cursors are directly inside the theme folder under ~/.local/share/icons.index.theme may differ from the archive filename. Look for that name in the dropdown.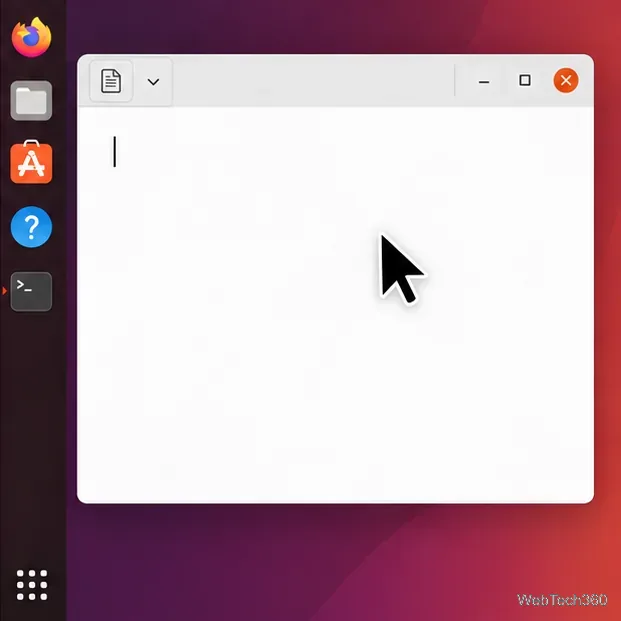
To undo the change, select Ubuntu’s original cursor theme (usually Yaru) in the same dropdown. You can then remove the custom theme folder from ~/.local/share/icons if you no longer need it.
If you like the current design and only want a larger pointer, skip the theme download and open Settings > Accessibility > Seeing > Cursor Size. Choose a size from the available options. GNOME’s mouse settings guide covers pointer behavior; the size control’s availability and wording can vary slightly by Ubuntu release.
Learn how to recover lost partitions and files with TestDisk and PhotoRec. Protect the source drive, scan safely, and save recovered data to another disk.
Scan QR codes on Linux with CoBang using a webcam or image file. See installation options, setup steps, and fixes for Flatpak camera access.
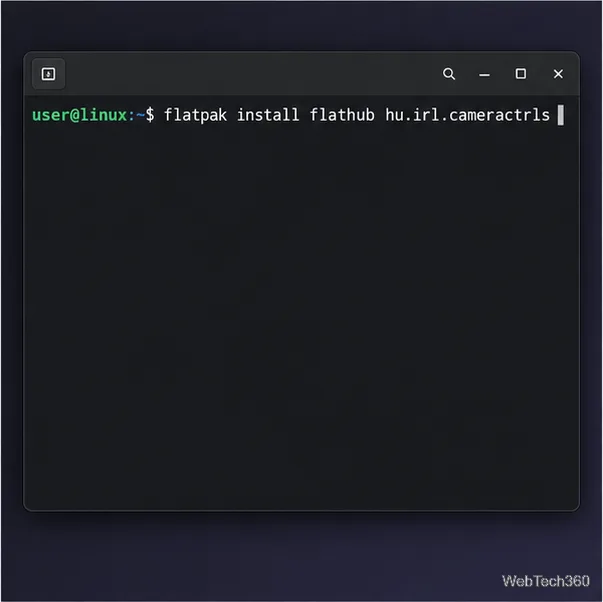
Change webcam settings on Linux with Cameractrls: tune exposure, color, flicker reduction, and other supported controls, then check compatible video modes.
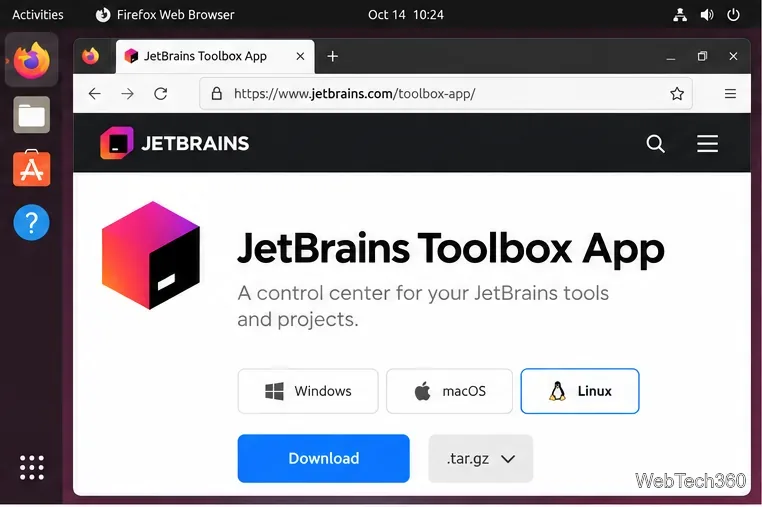
Install PhpStorm on Linux with JetBrains Toolbox or the standalone tar.gz archive, plus Snap and Arch AUR options. Java is already bundled.
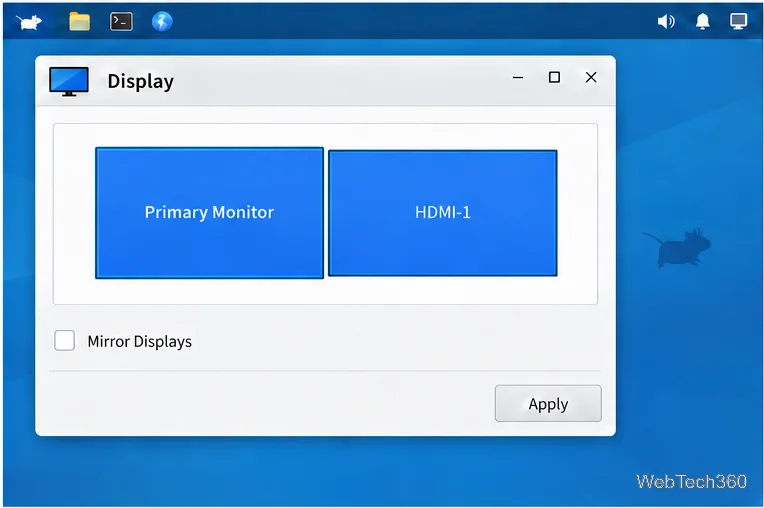
Create a separate XFCE 4 panel for each display, assign the second panel to the right output, position and size it, and add the launchers and status items you need.
Download Cisco Packet Tracer 9.0.1 for Ubuntu 64-bit, install the DEB package with APT, accept the license in Terminal, and sign in to start a lab.
Remove a photo background on Linux with GIMP: trace a subject, delete the selected background, keep transparency, and export a reusable PNG.
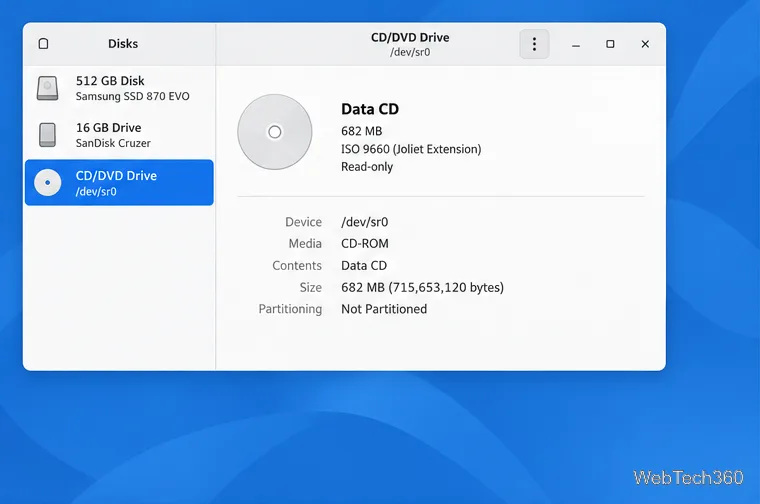
Create a CD-ROM ISO on Linux with GNOME Disks or dd. Identify the optical drive, monitor the copy, verify the image, and know when a damaged or audio disc needs another tool.
Download FlightGear for free from the official site. Compare Windows, macOS, and Linux packages, install the data files, and start your first flight.
Open Google Tasks in a browser, add a Chrome shortcut or app-style launch, and manage dated to-dos through Calendar and Gmail.