How to Recover Lost Partitions and Hard Disk Data Safely
Learn how to recover lost partitions and files with TestDisk and PhotoRec. Protect the source drive, scan safely, and save recovered data to another disk.
To create a bootable Windows 11 USB on Linux, install Ventoy on a USB drive and copy Microsoft’s Windows 11 ISO to it. Ventoy displays the ISO in a boot menu, so you do not have to manually split the installer across FAT32 and NTFS partitions. The Ventoy install erases the selected USB drive; back up its contents and confirm the device name before you proceed.
sudo.Open Microsoft’s Windows 11 download page. In the disk image section, select the ISO that matches the target PC’s architecture, choose the installation language, and download the file. Use Microsoft’s download page rather than a third-party ISO mirror.
Next, download the current Linux archive from Ventoy’s official download page. If the page provides a SHA-256 value for the archive, compare it with the result of sha256sum before extracting the package: sha256sum ventoy-<version>-linux.tar.gz.
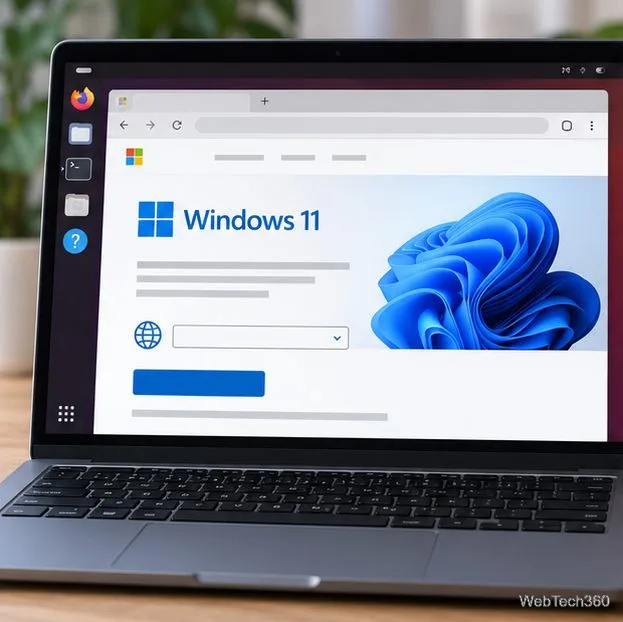
Plug in the USB drive, then open a terminal and list connected disks:
lsblk -o NAME,SIZE,MODEL,TRAN,MOUNTPOINTSMatch the removable drive by its capacity, model, and USB connection. If you are unsure which device it is, unplug it, run the command again, and compare the list. Close any file-manager windows using the drive before installation.
Extract the Ventoy archive and open a terminal in its extracted folder. Replace /dev/sdX below with the USB drive’s whole-device name, such as /dev/sdb. Do not use a partition name such as /dev/sdb1.
tar -xzf ventoy-<version>-linux.tar.gz
cd ventoy-<version>
sudo sh Ventoy2Disk.sh -i /dev/sdX
Read the device name shown by Ventoy before confirming its erase prompt. The -i option installs Ventoy to the selected disk; its documentation warns that all data on that disk will be lost. The command-line installer has an optional -s switch for Ventoy Secure Boot support. To enable it, use sudo sh Ventoy2Disk.sh -i -s /dev/sdX with the same verified device path. Secure Boot may show a first-boot key-enrollment screen, and Ventoy documents limitations in its Secure Boot policy. Review its Secure Boot guide before enabling that option.
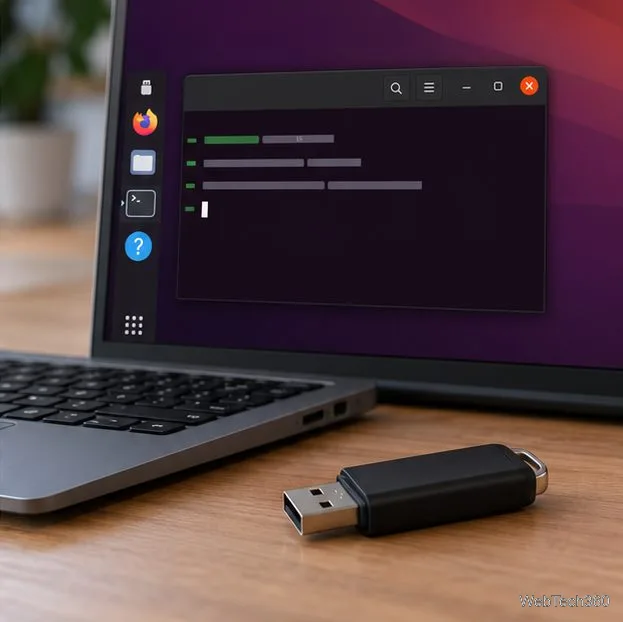
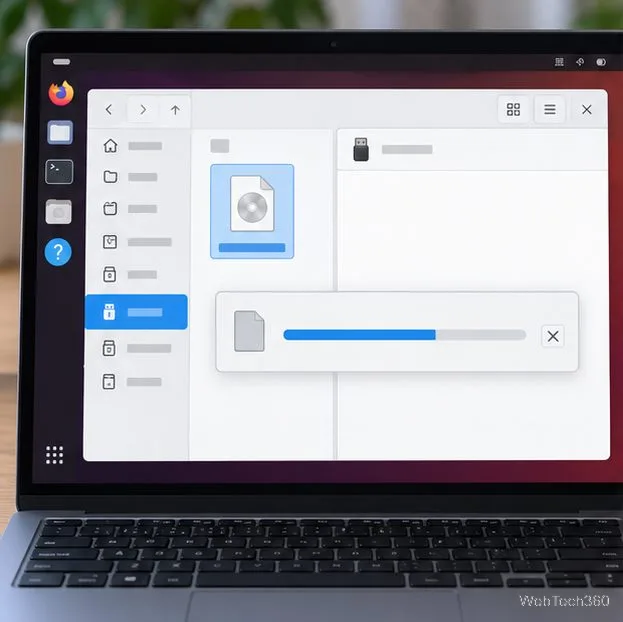
When installation finishes, Linux should show the USB’s large Ventoy data partition. Ventoy formats this partition as exFAT by default. Open it in the file manager and copy the Windows 11 .iso file to it. Do not copy the ISO to the small VTOYEFI partition, and do not extract the ISO’s contents.
Wait for the full file copy to finish, then safely eject the USB drive. Ventoy searches the data partition for ISO files and lists them in its boot menu; you can keep the Windows ISO in the top level or place it in a folder.
Connect the prepared USB to the PC where you want to run Windows Setup and restart it. Open the one-time boot menu using the key shown by the PC manufacturer; common keys include F12, F11, Esc, or Del. Choose the USB’s UEFI entry when available.
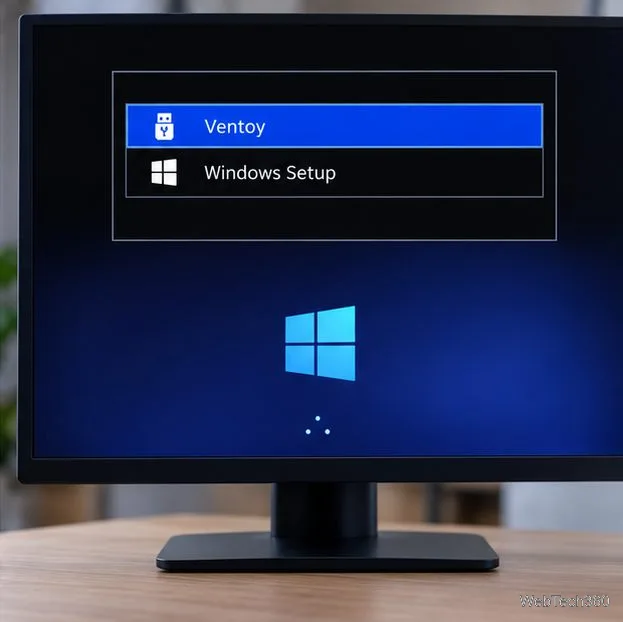
At the Ventoy menu, highlight the Windows 11 ISO and press Enter. Ventoy should start Windows Setup. If Secure Boot blocks Ventoy or requests key enrollment, follow the instructions for your firmware and Ventoy version in the official guide. Ventoy’s tested Windows ISO list includes Windows 11, though firmware compatibility can vary.
Reaching Windows Setup does not install Windows by itself. If you continue, review the disk and partition choices carefully, especially if the PC currently runs Linux; back up important files before changing partitions.
VTOYEFI. If needed, download the ISO again from Microsoft and copy it after the download completes.lsblk, make sure you did not select the Linux system disk, and run the installer with sudo. Never guess the device name.For Ventoy’s Linux commands and partition details, see its official getting-started guide.
Learn how to recover lost partitions and files with TestDisk and PhotoRec. Protect the source drive, scan safely, and save recovered data to another disk.
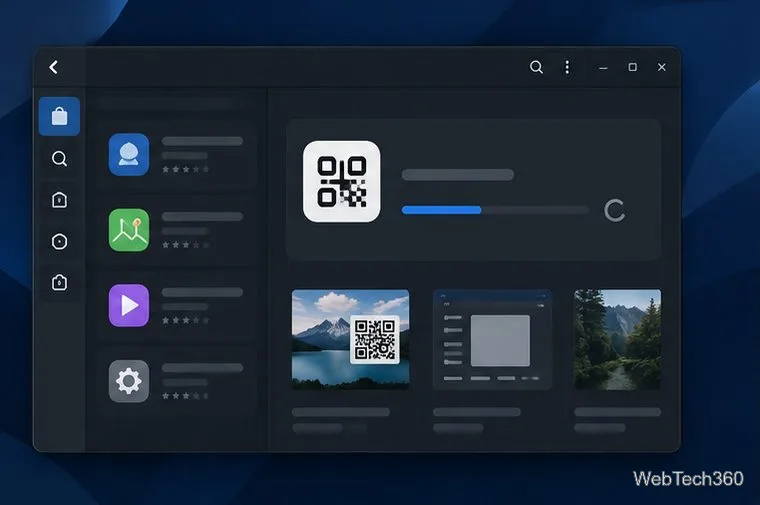
Scan QR codes on Linux with CoBang using a webcam or image file. See installation options, setup steps, and fixes for Flatpak camera access.
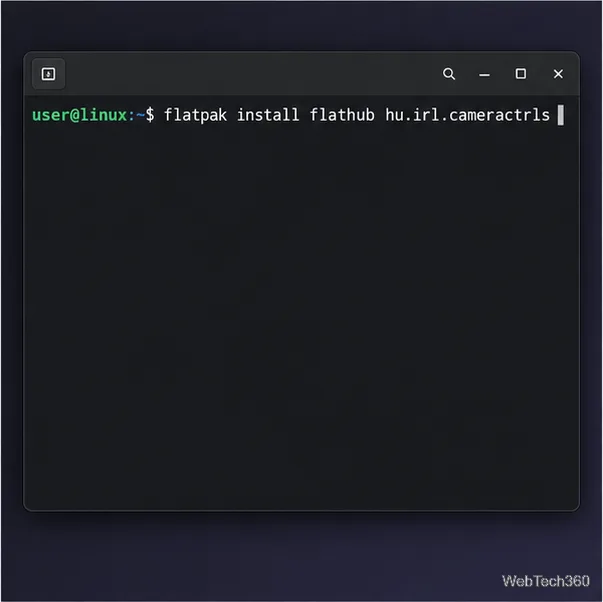
Change webcam settings on Linux with Cameractrls: tune exposure, color, flicker reduction, and other supported controls, then check compatible video modes.
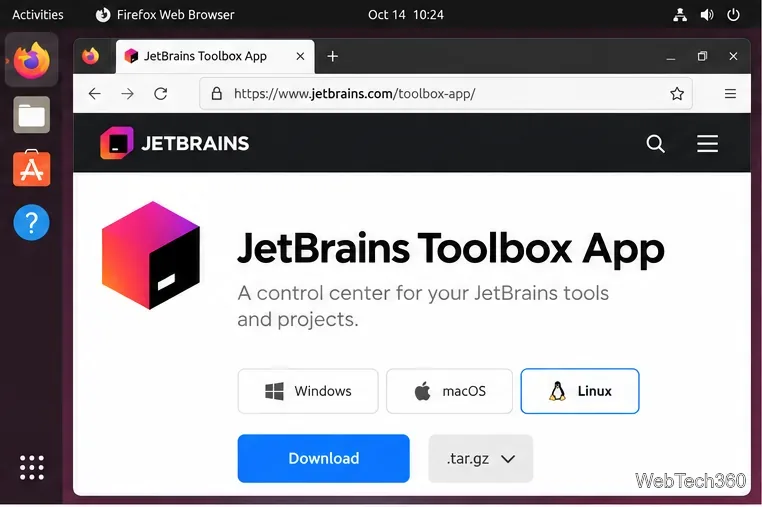
Install PhpStorm on Linux with JetBrains Toolbox or the standalone tar.gz archive, plus Snap and Arch AUR options. Java is already bundled.
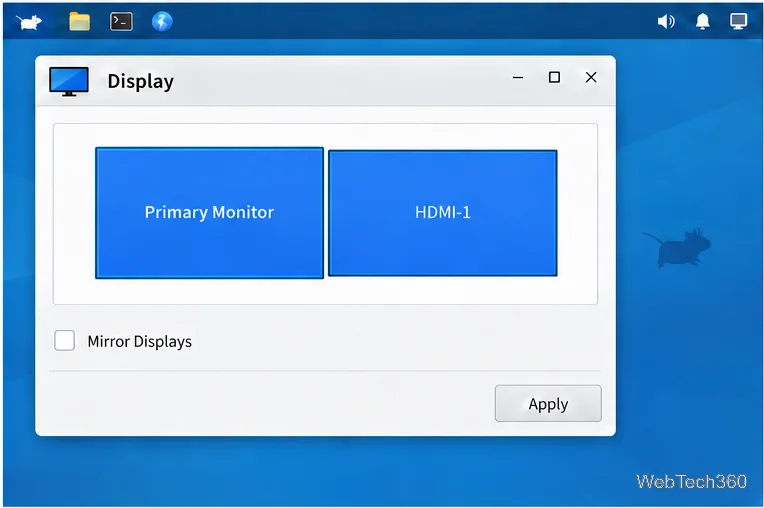
Create a separate XFCE 4 panel for each display, assign the second panel to the right output, position and size it, and add the launchers and status items you need.
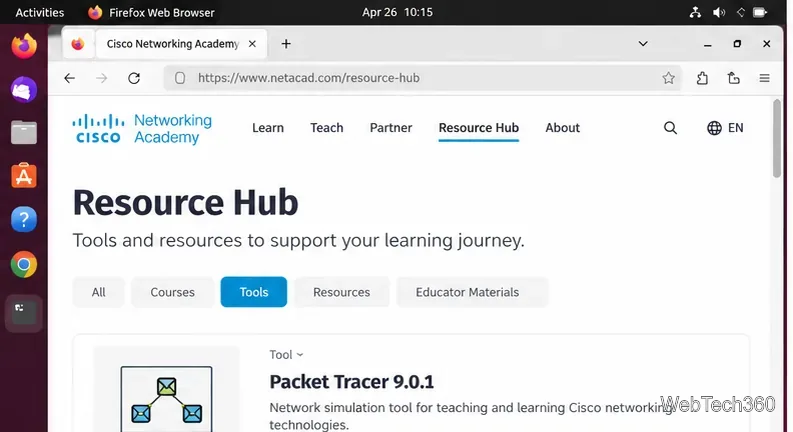
Download Cisco Packet Tracer 9.0.1 for Ubuntu 64-bit, install the DEB package with APT, accept the license in Terminal, and sign in to start a lab.
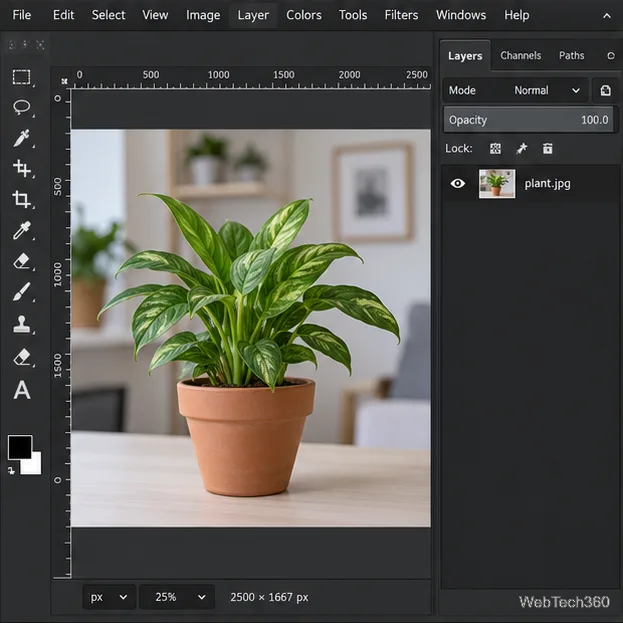
Remove a photo background on Linux with GIMP: trace a subject, delete the selected background, keep transparency, and export a reusable PNG.
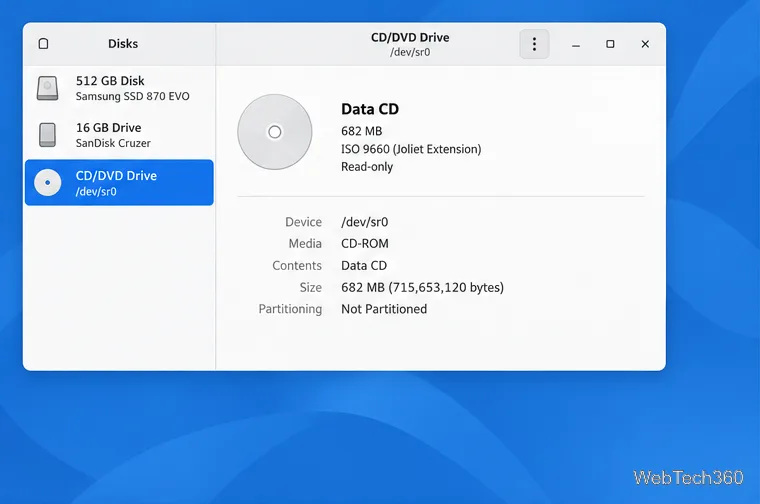
Create a CD-ROM ISO on Linux with GNOME Disks or dd. Identify the optical drive, monitor the copy, verify the image, and know when a damaged or audio disc needs another tool.
Download FlightGear for free from the official site. Compare Windows, macOS, and Linux packages, install the data files, and start your first flight.
Open Google Tasks in a browser, add a Chrome shortcut or app-style launch, and manage dated to-dos through Calendar and Gmail.