How to Recover Lost Partitions and Hard Disk Data Safely
Learn how to recover lost partitions and files with TestDisk and PhotoRec. Protect the source drive, scan safely, and save recovered data to another disk.
To install GNS3 on Linux, use the method for your distribution: the GNS3 Personal Package Archive (PPA) for 64-bit Ubuntu-based systems, pipx plus system dependencies on Debian-based systems, or AUR packages on Arch Linux. Each route installs the GNS3 graphical interface and server. GNS3’s current Linux installation guide no longer recommends the old Debian Jessie, Stretch, and Buster repository steps found in older articles.
Update Linux first and decide which node back ends your lab needs. QEMU/KVM, Dynamips, VPCS, and Docker are separate components; the GUI does not include every emulator or appliance image. Linux can run local appliances without the GNS3 VM. Obtain vendor images from an authorized source and follow its license.
Use the commands for one distribution family and keep packages from that family’s repositories. Don’t mix the Ubuntu PPA instructions with Debian or Arch package commands.
The current GNS3 guide supports 64-bit Ubuntu and Ubuntu-based distributions such as Linux Mint. Open Terminal and add the GNS3 PPA, then install the GUI and server:
sudo apt update
sudo apt install software-properties-common
sudo add-apt-repository ppa:gns3/ppa
sudo apt update
sudo apt install gns3-gui gns3-server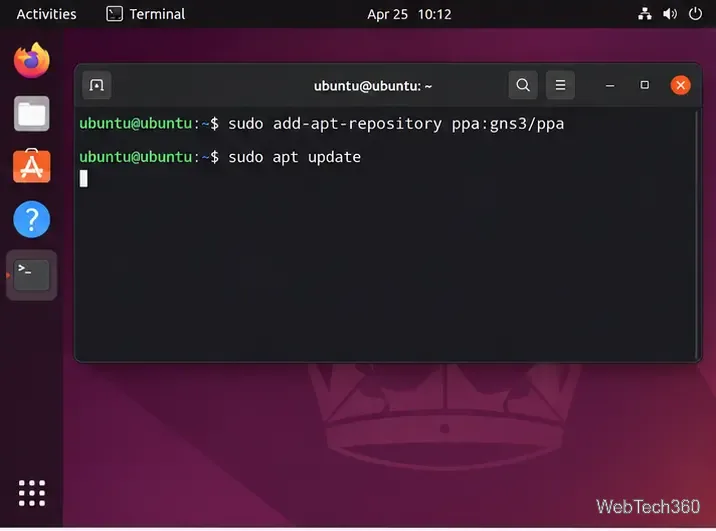
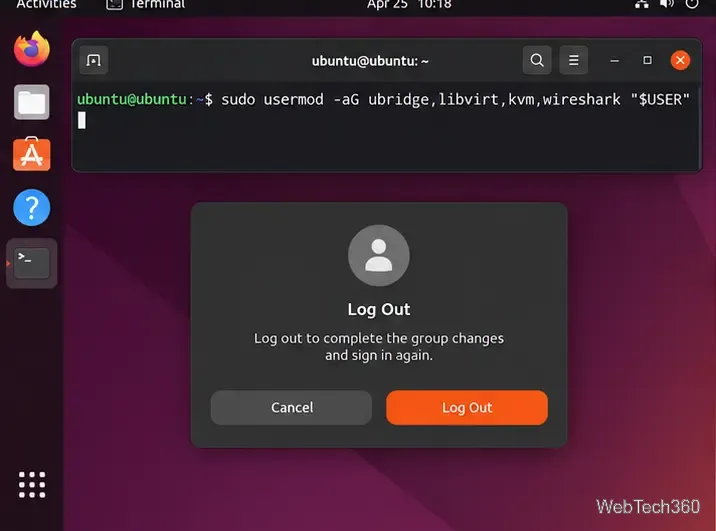
When asked whether non-root users may use Wireshark and ubridge, choose Yes if your account needs packet capture and virtual bridges. Add only groups that exist and match installed components. For a common local QEMU/KVM and packet-capture setup:
sudo usermod -aG ubridge,libvirt,kvm,wireshark "$USER"Log out and back in for group changes to take effect. Avoid the Docker group unless you need Docker nodes and understand the access it grants.
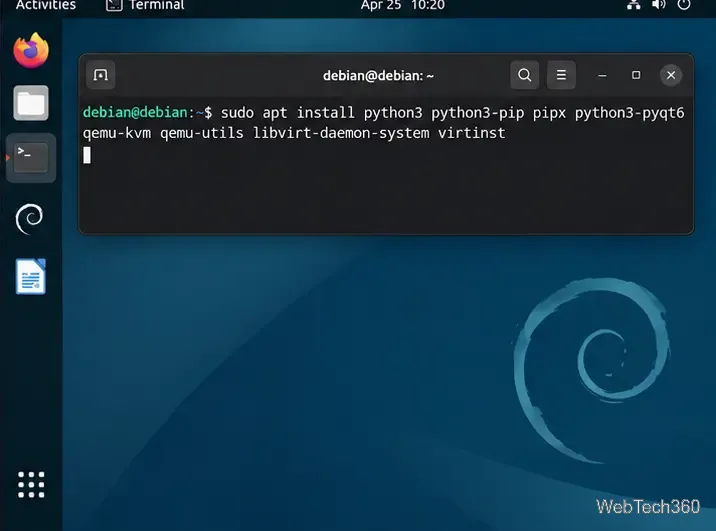
GNS3’s current Debian route uses pipx for the GUI and server, and APT for Qt and emulation dependencies. Debian 13 no longer provides dynamips or software-properties-common in its standard repositories, so use the command below as written.
sudo apt update
sudo apt install python3 python3-pip pipx python3-pyqt6 python3-pyqt6.qtwebsockets python3-pyqt6.qtsvg qemu-kvm qemu-utils libvirt-clients libvirt-daemon-system virtinst ca-certificates curl gnupg2
On older Debian releases, append dynamips if you need IOS emulation. Debian 13 users must build Dynamips separately by following the GNS3 instructions; QEMU/KVM labs do not need it.
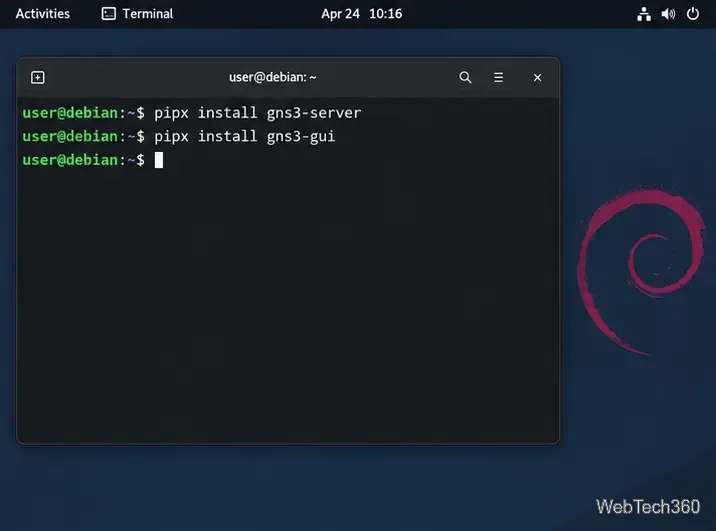
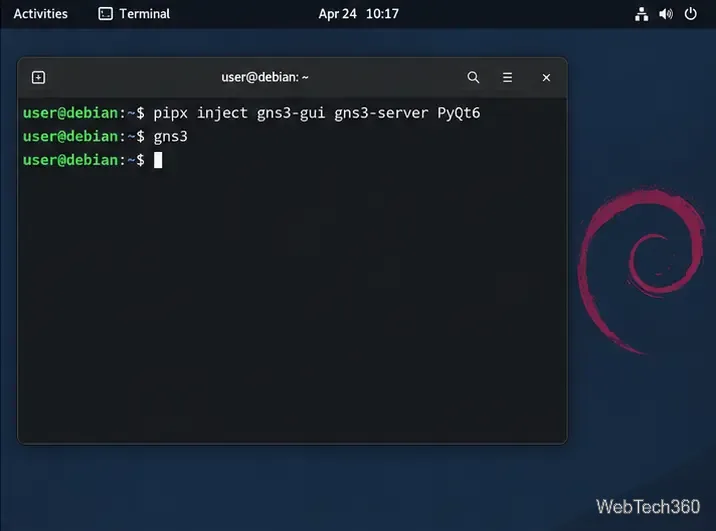
Install both apps with pipx, then inject the server and Qt bindings into the GUI environment:
pipx ensurepath
pipx install gns3-server
pipx install gns3-gui
pipx inject gns3-gui gns3-server PyQt6
If a command is missing from PATH, run pipx ensurepath and open a new terminal; pipx exposes apps from ~/.local/bin. See the pipx installation guide.
Arch uses the Arch User Repository (AUR). Install the build tools, clone yay, and build it as a normal user, not as root:
sudo pacman -S --needed git base-devel
git clone https://aur.archlinux.org/yay.git
cd yay
makepkg -si
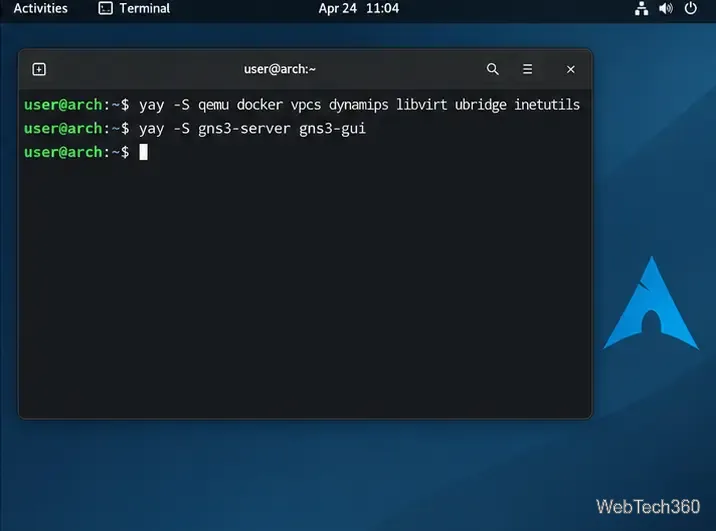
Review AUR build files before installing; they are user-maintained. The current GNS3 guide uses these packages. Remove docker if you do not need container nodes:
yay -S qemu docker vpcs dynamips libvirt ubridge inetutils
yay -S gns3-server gns3-gui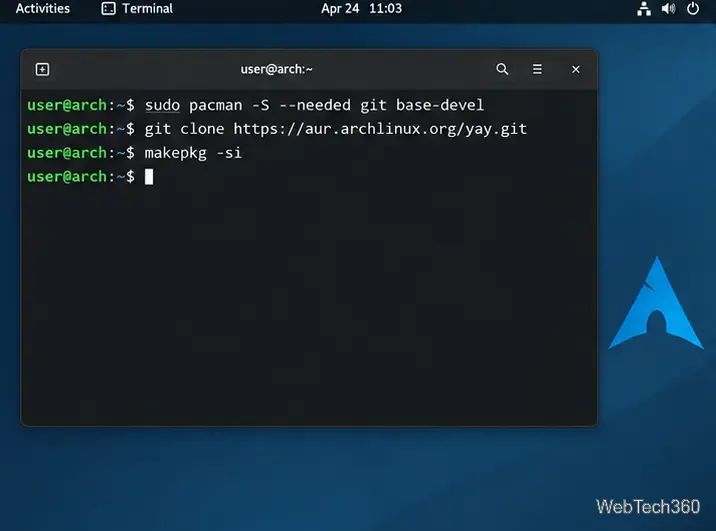
Open GNS3 from the application menu or run gns3. In the first-run wizard, choose Run appliances on my local computer, confirm the server settings, and finish. The GNS3 guide recommends 127.0.0.1 as a straightforward local host binding. See its local server setup instructions.
Create a blank project to check the GUI and server connection. If gns3 is missing after a Debian install, refresh PATH. If the server does not connect, check its host and port and sign in again after group changes. If a node fails, install its back end and verify the device image.
For a first device, use a template from the GNS3 Marketplace or import an image you are licensed to use.
The current GNS3 guide lists Ubuntu-based, Debian-based, and Arch-based commands, but not current Fedora or openSUSE steps. Check your distribution’s repositories and dependency guidance before trying a manual pipx install; do not reuse the source article’s old Fedora 34/35 or Tumbleweed commands blindly.
Learn how to recover lost partitions and files with TestDisk and PhotoRec. Protect the source drive, scan safely, and save recovered data to another disk.
Scan QR codes on Linux with CoBang using a webcam or image file. See installation options, setup steps, and fixes for Flatpak camera access.
Change webcam settings on Linux with Cameractrls: tune exposure, color, flicker reduction, and other supported controls, then check compatible video modes.
Install PhpStorm on Linux with JetBrains Toolbox or the standalone tar.gz archive, plus Snap and Arch AUR options. Java is already bundled.
Create a separate XFCE 4 panel for each display, assign the second panel to the right output, position and size it, and add the launchers and status items you need.
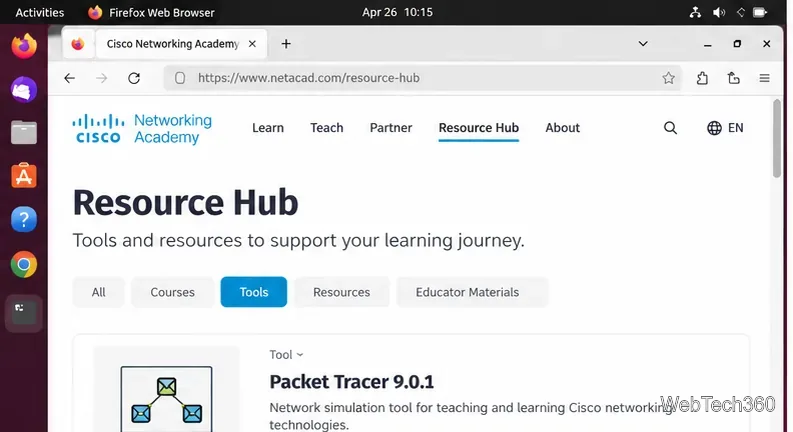
Download Cisco Packet Tracer 9.0.1 for Ubuntu 64-bit, install the DEB package with APT, accept the license in Terminal, and sign in to start a lab.
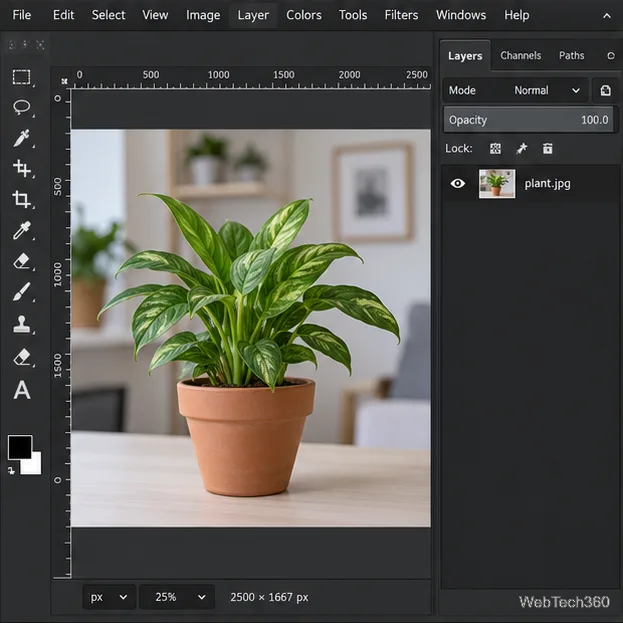
Remove a photo background on Linux with GIMP: trace a subject, delete the selected background, keep transparency, and export a reusable PNG.
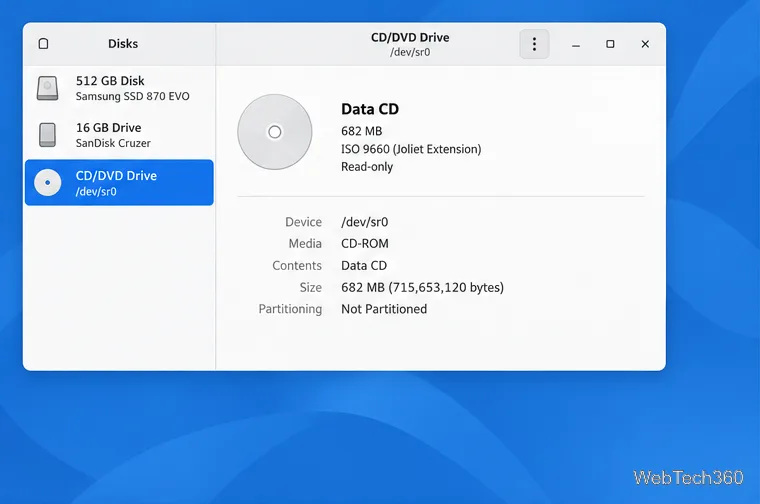
Create a CD-ROM ISO on Linux with GNOME Disks or dd. Identify the optical drive, monitor the copy, verify the image, and know when a damaged or audio disc needs another tool.
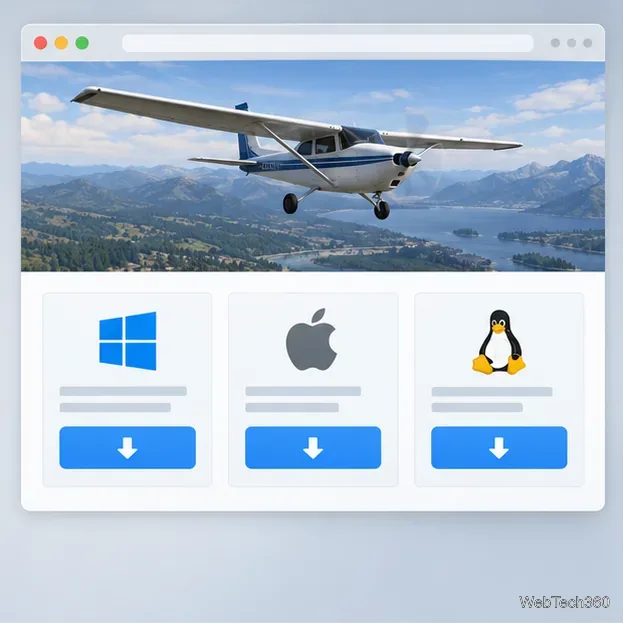
Download FlightGear for free from the official site. Compare Windows, macOS, and Linux packages, install the data files, and start your first flight.
Open Google Tasks in a browser, add a Chrome shortcut or app-style launch, and manage dated to-dos through Calendar and Gmail.