How to Recover Lost Partitions and Hard Disk Data Safely
Learn how to recover lost partitions and files with TestDisk and PhotoRec. Protect the source drive, scan safely, and save recovered data to another disk.
Download the archived LMDE 5 “Elsie” ISO, write it to a USB drive, boot from it, and run the desktop installer. Linux Mint ended support for Elsie in August 2024, so it receives no updates. For a regular connected computer, install current LMDE 7 “Gigi”; use Elsie only when you need that older release for testing, compatibility, or an isolated system.
The LMDE 5 release announcement listed 2 GB of RAM (4 GB recommended), 20 GB of disk space (100 GB recommended), and a 1024 × 768 display. Back up your files. You will also need a USB drive with at least 8 GB; writing the ISO erases it, and the installer can erase the selected computer disk.
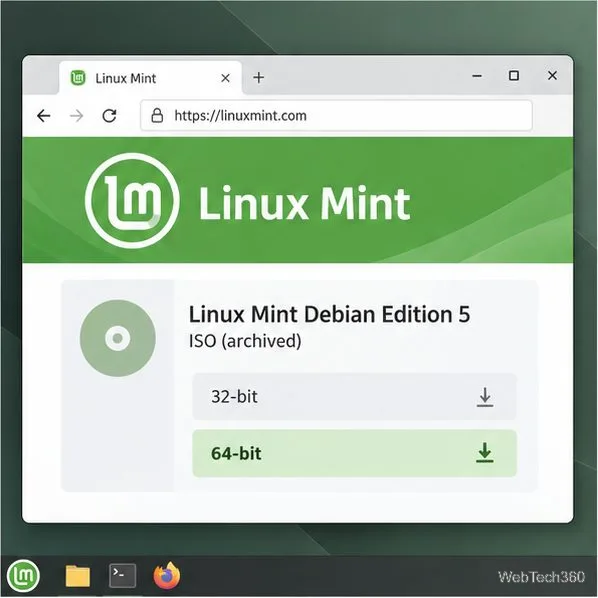
Open the official LMDE 5 release announcement and choose a 64-bit mirror. It also links to Linux Mint’s all-versions page for the 32-bit image. Use a Linux Mint mirror, not an unofficial repack. If the old links no longer work, choose a supported release instead.
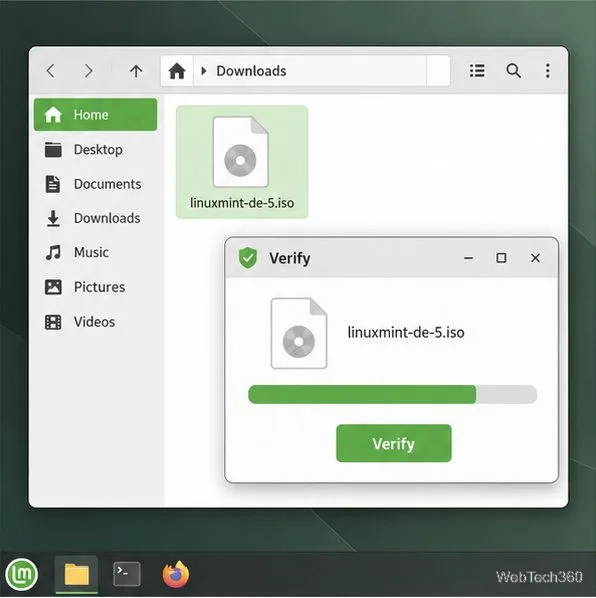
Download sha256sum.txt and sha256sum.txt.gpg from the same mirror. On Linux, run sha256sum -b lmde-5-cinnamon-64bit.iso; on macOS, run shasum -a 256 lmde-5-cinnamon-64bit.iso. Compare the result with the ISO’s entry in the checksum file. Follow the Linux Mint verification guide to check the signed checksum; it also links to Windows instructions. If the checksum does not match, download the ISO again.
Install an image-writing utility such as balenaEtcher from its official site. Select the verified ISO as the image and the USB drive as the target. Check the drive name and capacity: flashing overwrites its contents. Start writing and wait for the completion message before removing the drive.
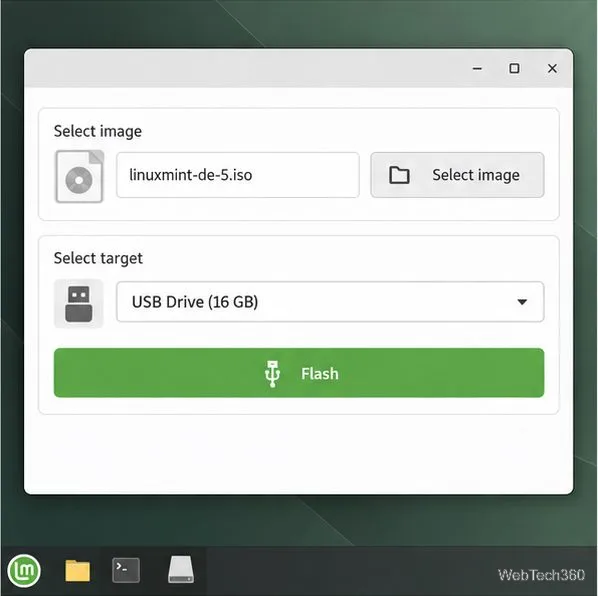
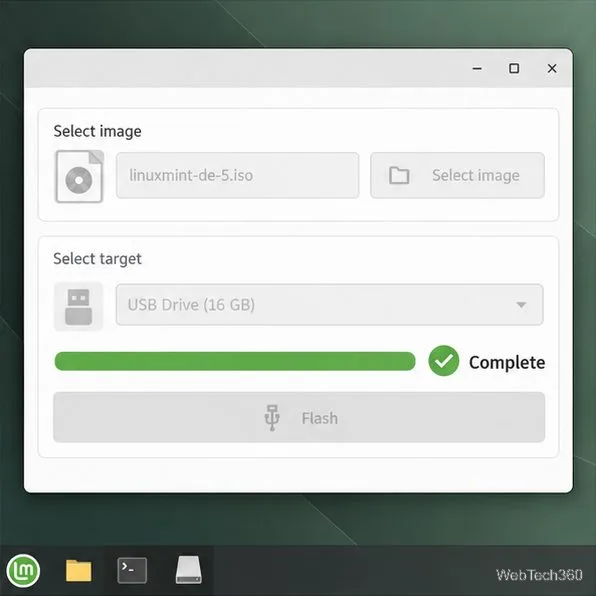
Restart with the USB connected and open the computer’s one-time boot menu or firmware setup. The key varies by manufacturer. Select the USB device, using its UEFI entry on a UEFI system. The live desktop loads before installation begins. If it does not boot, recheck the ISO and USB, then consult the manufacturer’s boot instructions and the LMDE 5 release notes before changing firmware settings.
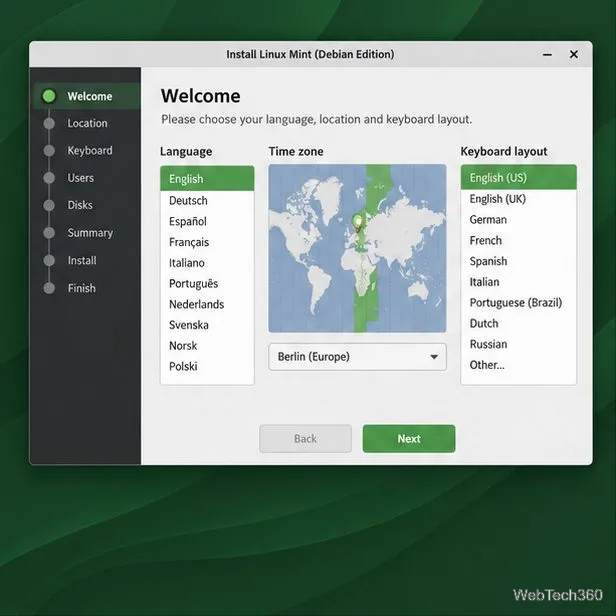
Open the Linux Mint installation shortcut on the live desktop. Choose a language, time zone, and keyboard layout, then check that the keyboard setting matches what you type. The time zone controls the system clock.
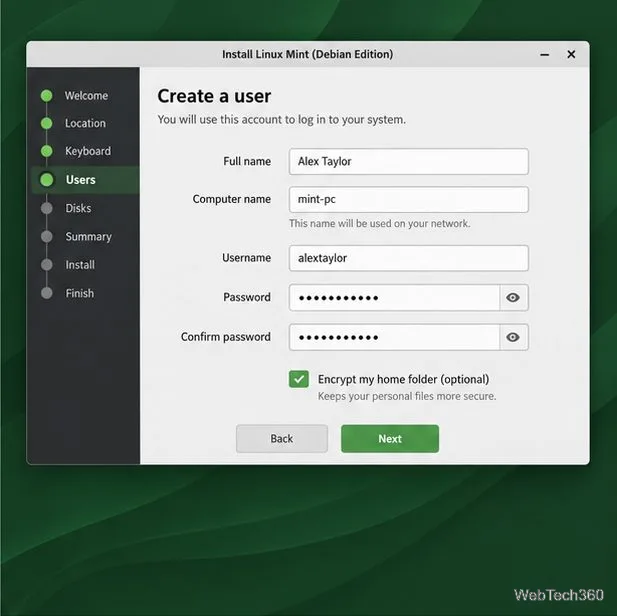
Enter your name, computer name, user name, and a strong password. If offered “Encrypt my home folder,” select it only if you want that protection and understand that your password is needed to access those files.
Choose the destination disk and installation method. “Erase disk” deletes existing partitions and data on the selected drive; use it only after a verified backup and after confirming the drive. Manual partitioning is for users who can identify the Linux partitions and, on UEFI systems, the EFI System Partition. If you want dual boot and are unsure which partitions to use, stop before applying changes.
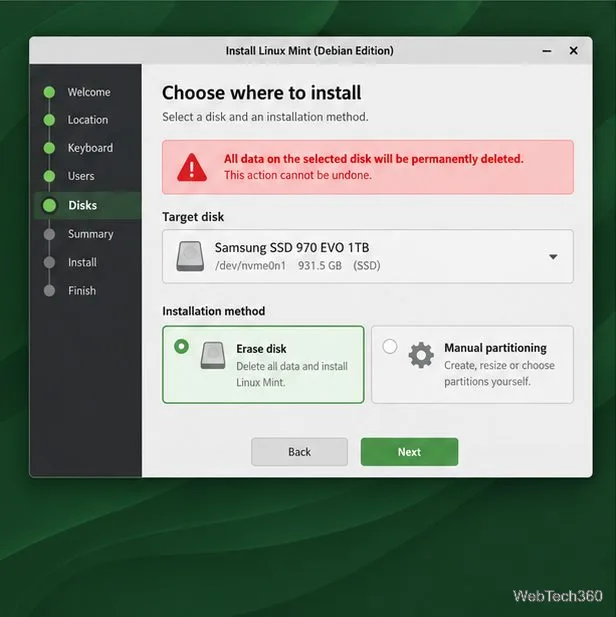
If asked where to install GRUB, confirm the intended drive or EFI boot target, particularly when the computer has multiple drives. On the summary screen, review the account, time zone, target disk, partitioning method, and bootloader destination. Go back if any selection is wrong.
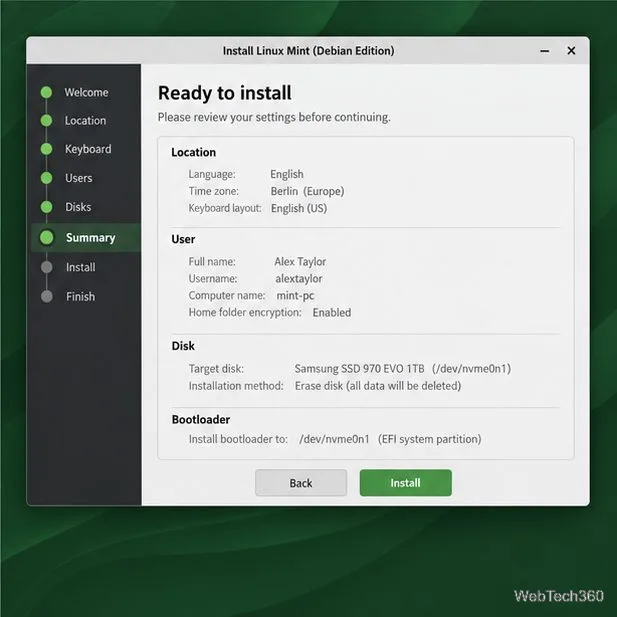
Start installation after the summary matches your plan. Wait until it finishes, restart when prompted, and remove the USB so the computer boots from its internal drive. Sign in with the account you created.
LMDE 5 is unsupported and no longer receives security updates. Linux Mint’s current release notes identify LMDE 7 “Gigi” as the current LMDE release. If Elsie was installed for a short test, avoid storing sensitive data on it and plan to move to a supported version.
Learn how to recover lost partitions and files with TestDisk and PhotoRec. Protect the source drive, scan safely, and save recovered data to another disk.
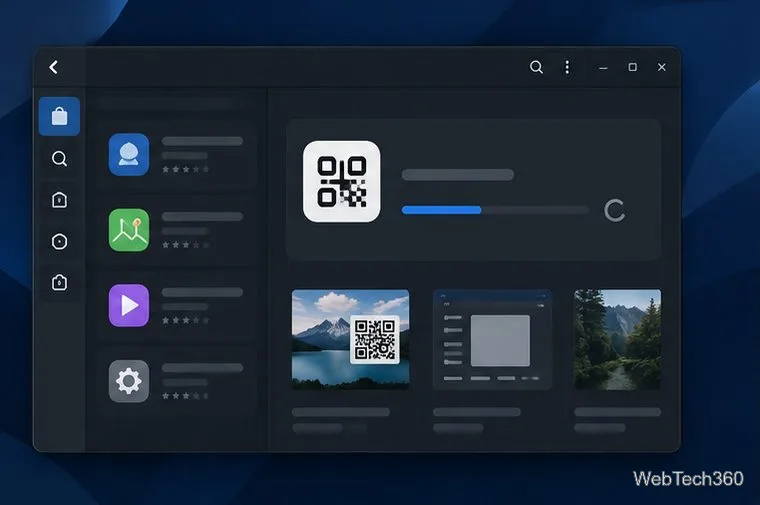
Scan QR codes on Linux with CoBang using a webcam or image file. See installation options, setup steps, and fixes for Flatpak camera access.
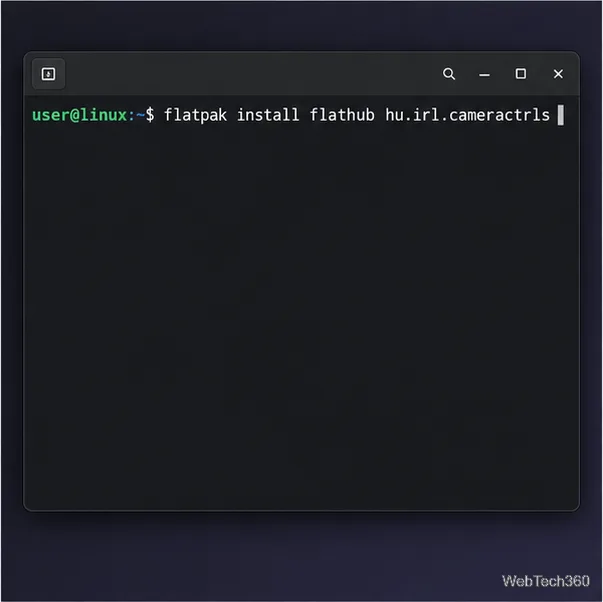
Change webcam settings on Linux with Cameractrls: tune exposure, color, flicker reduction, and other supported controls, then check compatible video modes.
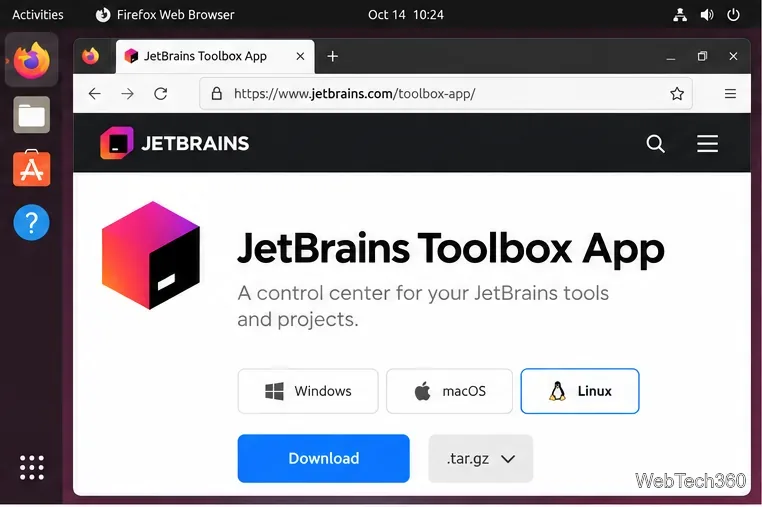
Install PhpStorm on Linux with JetBrains Toolbox or the standalone tar.gz archive, plus Snap and Arch AUR options. Java is already bundled.
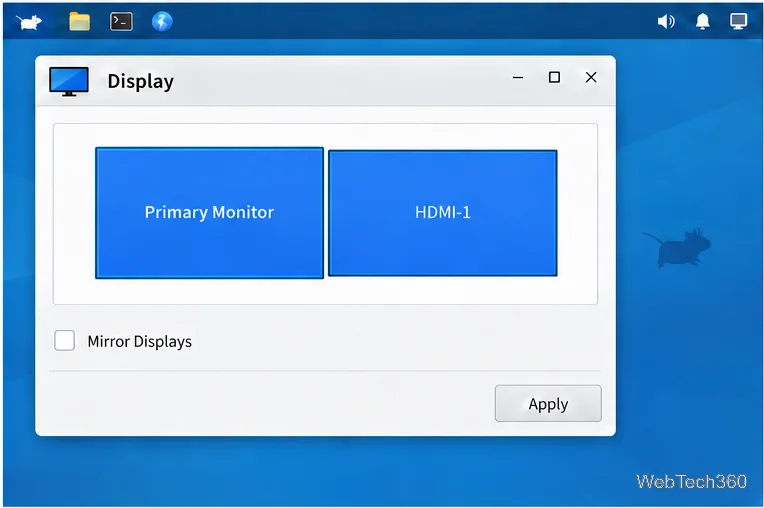
Create a separate XFCE 4 panel for each display, assign the second panel to the right output, position and size it, and add the launchers and status items you need.
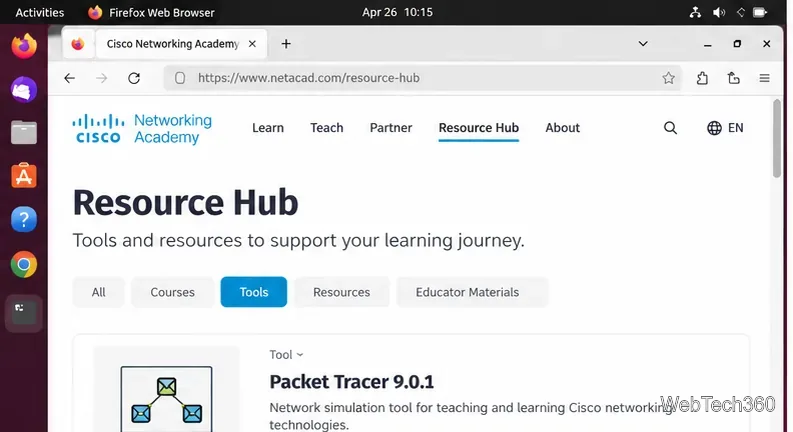
Download Cisco Packet Tracer 9.0.1 for Ubuntu 64-bit, install the DEB package with APT, accept the license in Terminal, and sign in to start a lab.
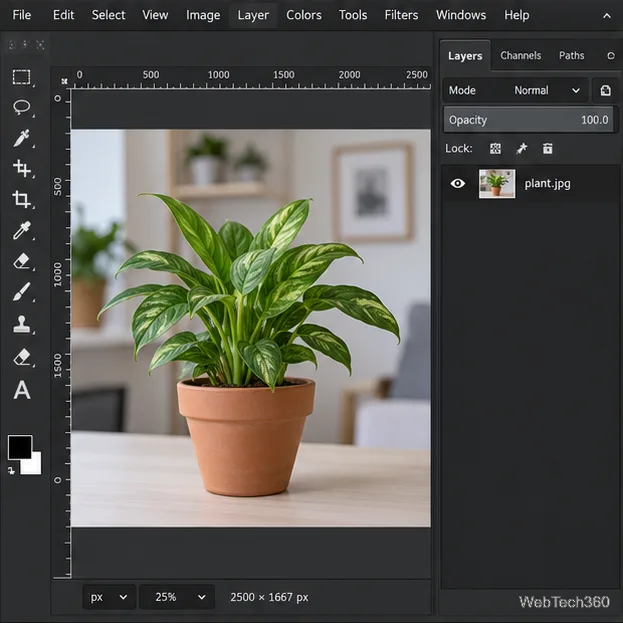
Remove a photo background on Linux with GIMP: trace a subject, delete the selected background, keep transparency, and export a reusable PNG.
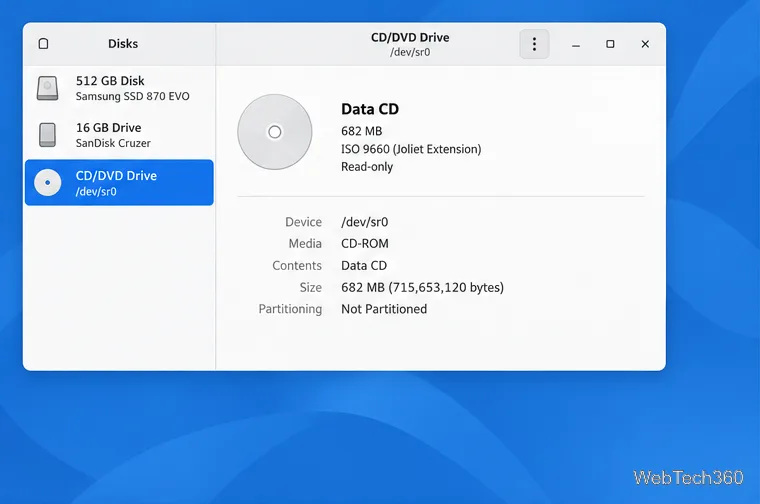
Create a CD-ROM ISO on Linux with GNOME Disks or dd. Identify the optical drive, monitor the copy, verify the image, and know when a damaged or audio disc needs another tool.
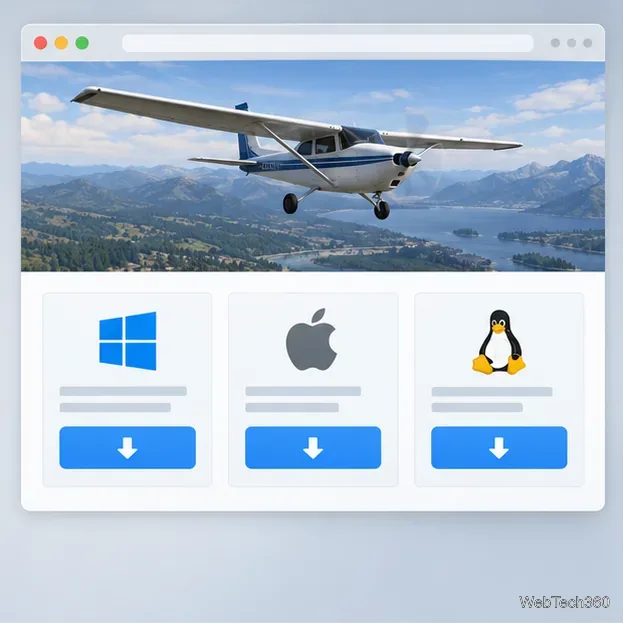
Download FlightGear for free from the official site. Compare Windows, macOS, and Linux packages, install the data files, and start your first flight.
Open Google Tasks in a browser, add a Chrome shortcut or app-style launch, and manage dated to-dos through Calendar and Gmail.