How to Recover Lost Partitions and Hard Disk Data Safely
Learn how to recover lost partitions and files with TestDisk and PhotoRec. Protect the source drive, scan safely, and save recovered data to another disk.
To install Rocky Linux 8, download the current 8.10 ISO, write it to a USB drive or attach it to a virtual machine, and boot the installer. In Anaconda, choose the target disk, software, network, and accounts, then install and reboot.
Rocky Linux 8.10 is the current supported minor release. Rocky Linux 8 is in maintenance support, with security support scheduled through May 31, 2029; older 8.x minor releases are no longer supported. If you do not have a compatibility reason to use version 8, check the Rocky Linux release lifecycle before installing.
Download Rocky Linux 8.10 from the official page and match the architecture: x86_64 for most Intel and AMD 64-bit systems, or aarch64 for compatible ARM hardware. Rocky Linux 8 offers boot, minimal, and DVD images.
Use DVD for offline installs or broader package choices; minimal is often enough for a headless server. The official ISO guide explains variants and supported architectures.
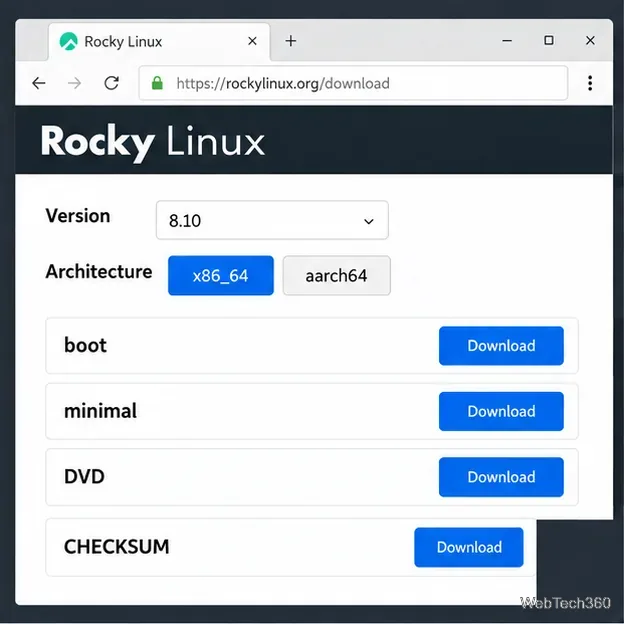
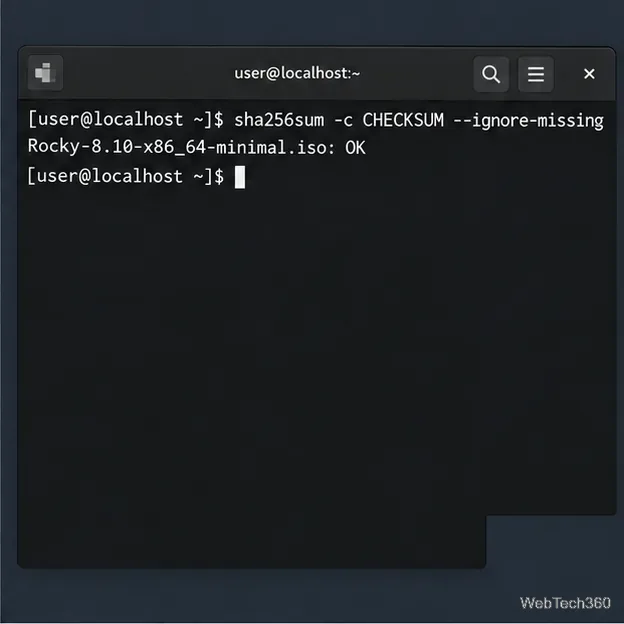
Download the matching CHECKSUM file from the same official release directory as the ISO. On Linux, put both files in one directory and run:
sha256sum -c CHECKSUM --ignore-missing
Continue only if your ISO reports OK. This catches a damaged or altered download before writing the USB. See Rocky’s Rocky Linux 8 installation guide for this checksum procedure.
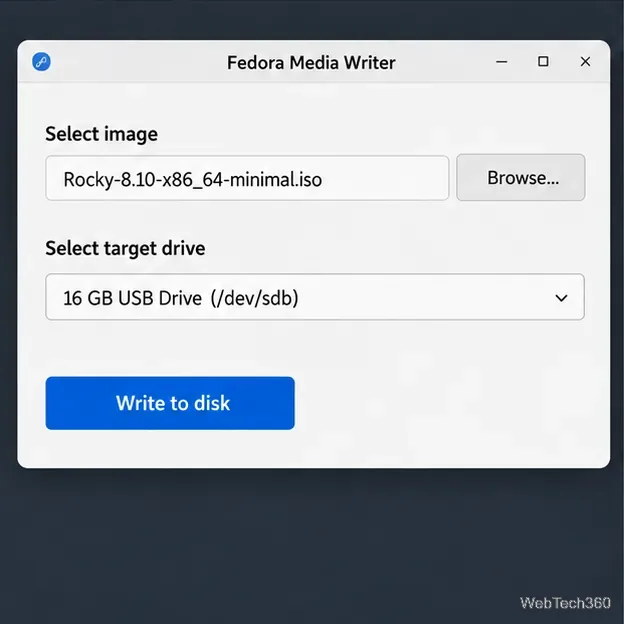
For a physical computer or server, Rocky recommends Fedora Media Writer. Choose its custom image option, select the Rocky ISO and USB drive, then write the image. This erases the selected drive, so verify its name and capacity first. Do not drag the ISO onto the USB as a regular file. Get the app from the Fedora Media Writer project.
For a virtual machine, attach the ISO as its virtual optical disk and boot from it; no USB is needed. The boot ISO requires network access, while the DVD ISO includes its installation packages.
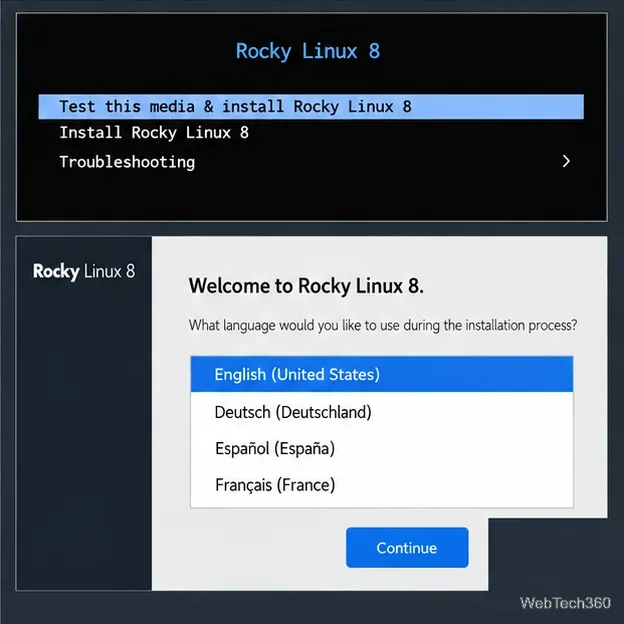
Insert the USB, restart, and use the one-time boot menu to choose its UEFI entry; the key varies by manufacturer. For a VM, start it with the ISO attached. At the Rocky Linux 8 menu, choose Test this media & install Rocky Linux 8. After the media check, select a language and click Continue.
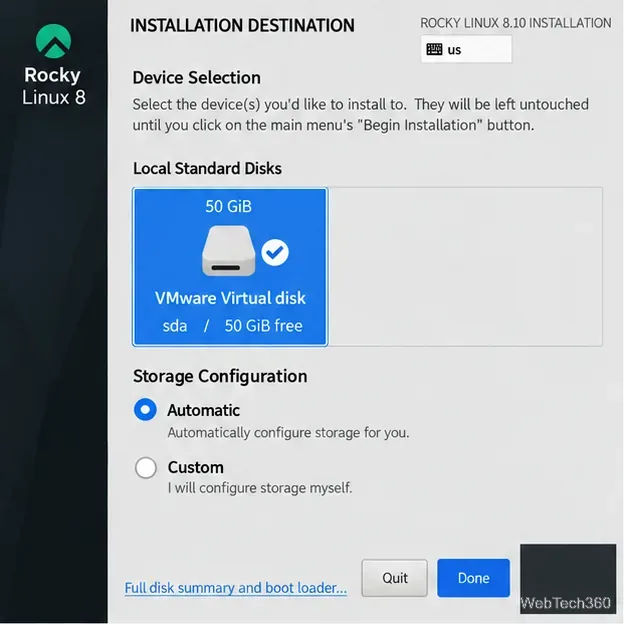
In the Anaconda Installation Summary, review these settings before proceeding:
Boot and minimal media may need repository access. If the installer cannot reach it, fix the network or use the DVD ISO.
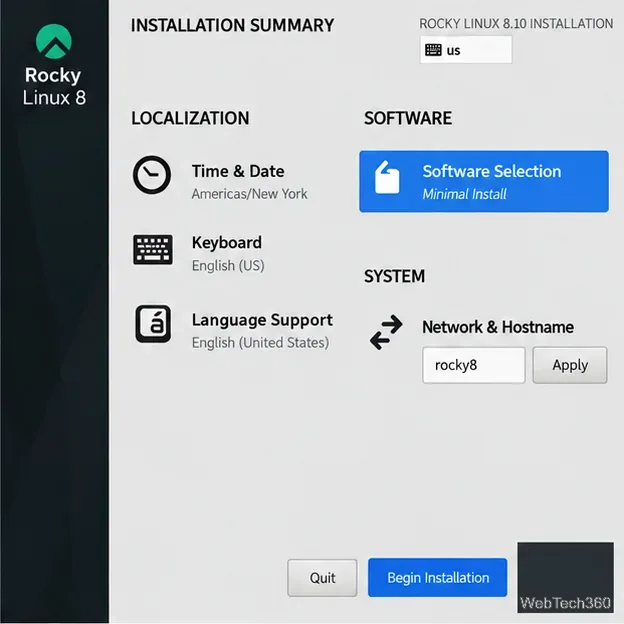
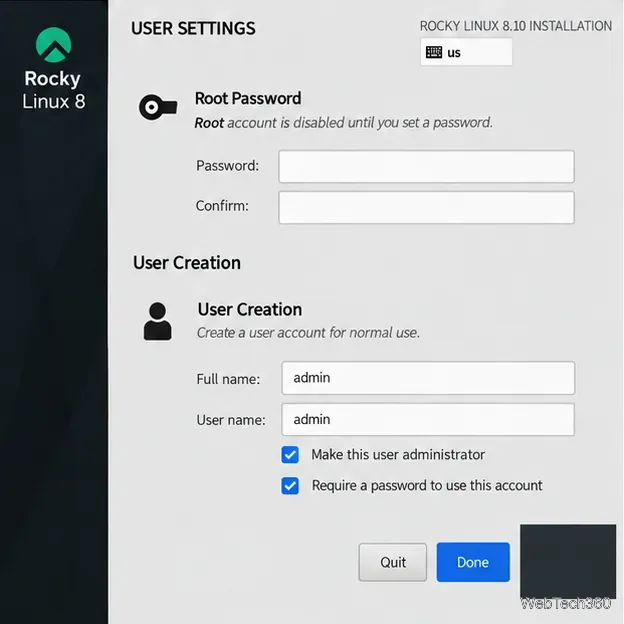
Click Begin Installation. While it runs, complete the User Settings tasks if shown:
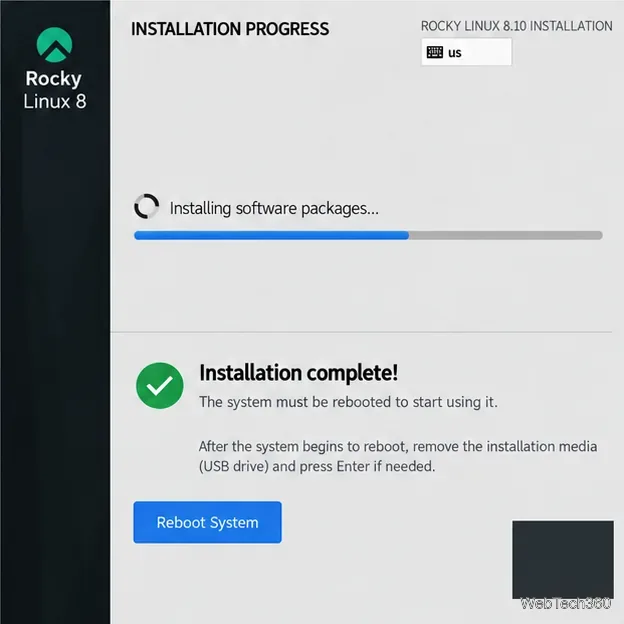
When installation completes, select Reboot System. Remove the USB when prompted or as the system restarts. In a VM, disconnect the ISO so it boots from the installed disk next time.
Sign in with your new user, connect to the network if needed, and install available updates:
sudo dnf upgrade -y
Run cat /etc/rocky-release to confirm the version; it should report Rocky Linux 8.10. Keep the system updated and maintain backups.
Learn how to recover lost partitions and files with TestDisk and PhotoRec. Protect the source drive, scan safely, and save recovered data to another disk.
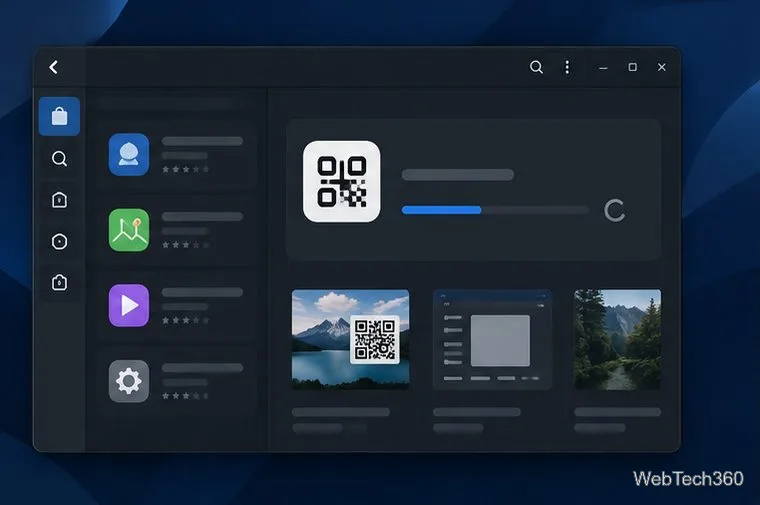
Scan QR codes on Linux with CoBang using a webcam or image file. See installation options, setup steps, and fixes for Flatpak camera access.
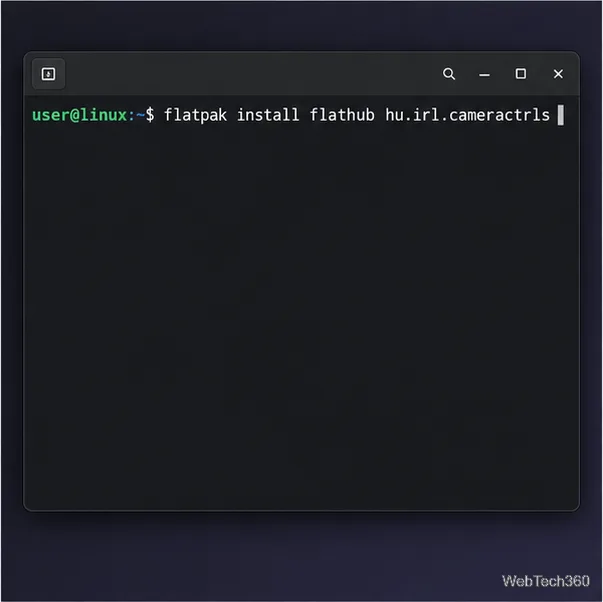
Change webcam settings on Linux with Cameractrls: tune exposure, color, flicker reduction, and other supported controls, then check compatible video modes.
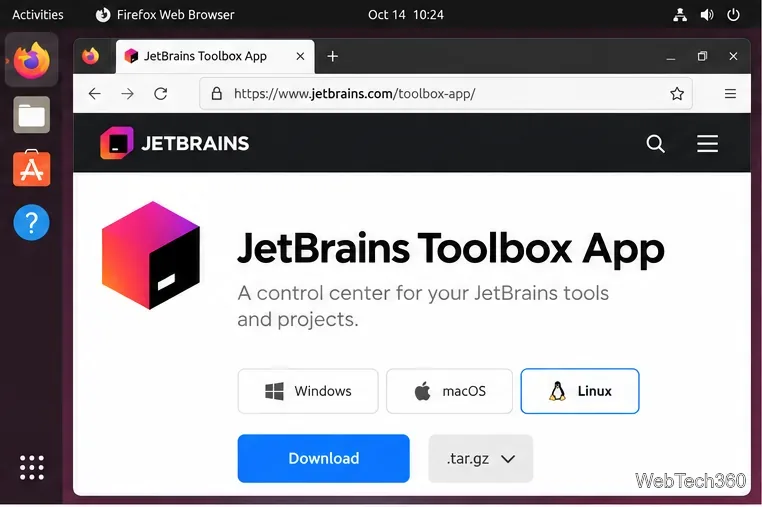
Install PhpStorm on Linux with JetBrains Toolbox or the standalone tar.gz archive, plus Snap and Arch AUR options. Java is already bundled.
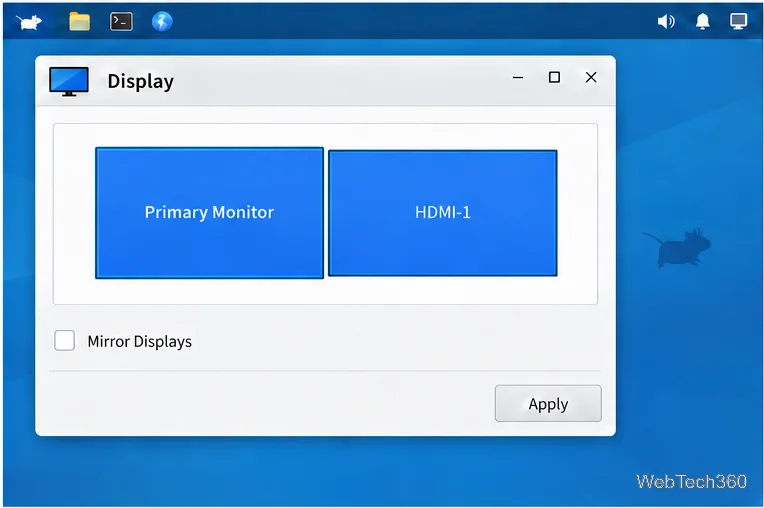
Create a separate XFCE 4 panel for each display, assign the second panel to the right output, position and size it, and add the launchers and status items you need.
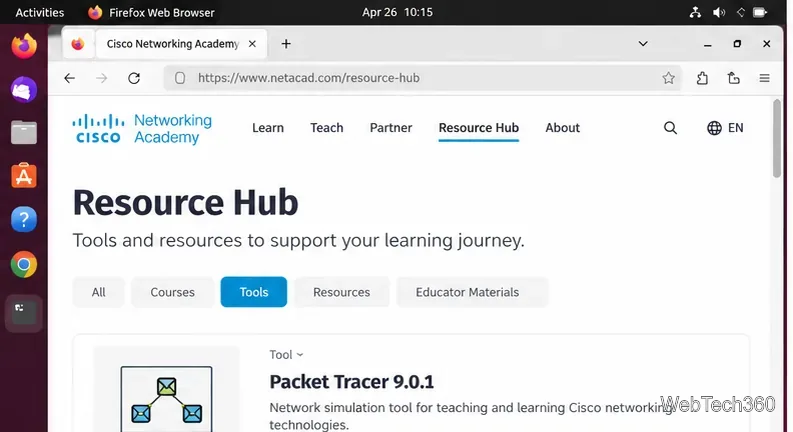
Download Cisco Packet Tracer 9.0.1 for Ubuntu 64-bit, install the DEB package with APT, accept the license in Terminal, and sign in to start a lab.
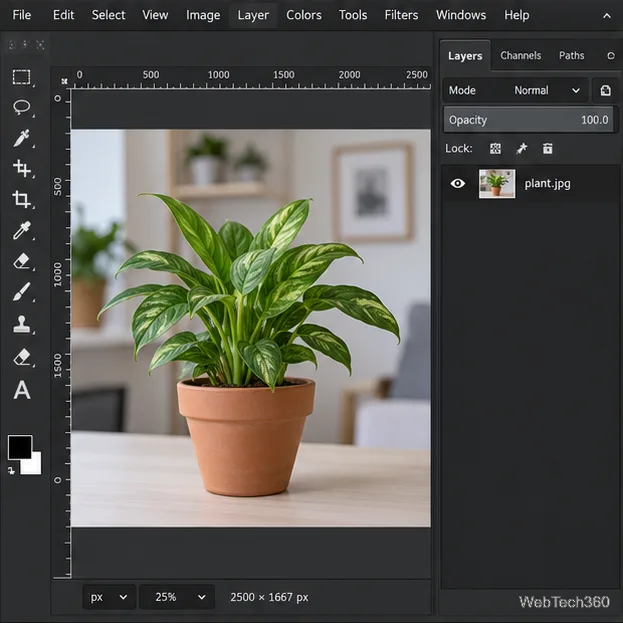
Remove a photo background on Linux with GIMP: trace a subject, delete the selected background, keep transparency, and export a reusable PNG.
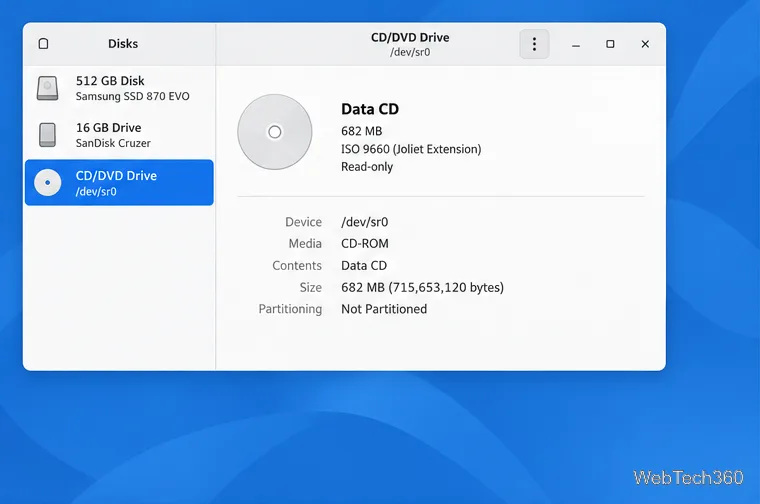
Create a CD-ROM ISO on Linux with GNOME Disks or dd. Identify the optical drive, monitor the copy, verify the image, and know when a damaged or audio disc needs another tool.
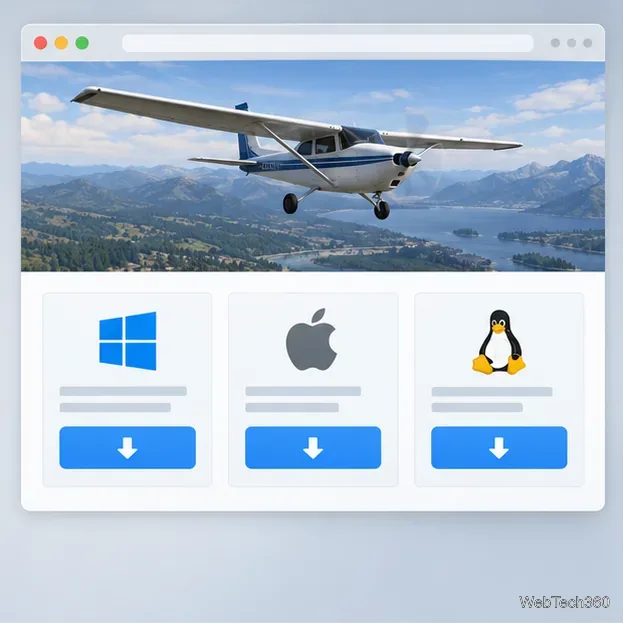
Download FlightGear for free from the official site. Compare Windows, macOS, and Linux packages, install the data files, and start your first flight.
Open Google Tasks in a browser, add a Chrome shortcut or app-style launch, and manage dated to-dos through Calendar and Gmail.