How to Recover Lost Partitions and Hard Disk Data Safely
Learn how to recover lost partitions and files with TestDisk and PhotoRec. Protect the source drive, scan safely, and save recovered data to another disk.
To install Tsurugi Linux, download the LAB ISO, write it to a USB drive, boot into the live desktop, unlock the intended installation disk, and run the installer. Back up first: flashing overwrites the USB, and whole-disk installation deletes the destination drive's contents.
This guide covers a dedicated PC installation, not dual-boot partition design. Tsurugi supports digital forensics, incident response, malware analysis, and OSINT; use its tools only where authorized.
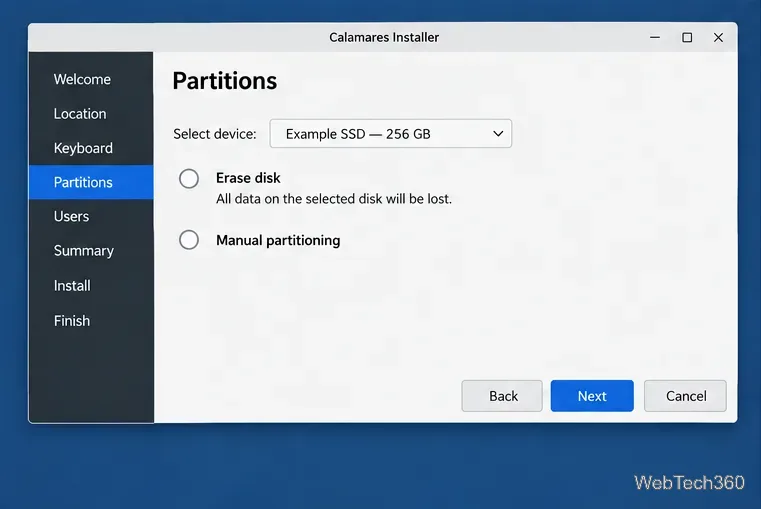
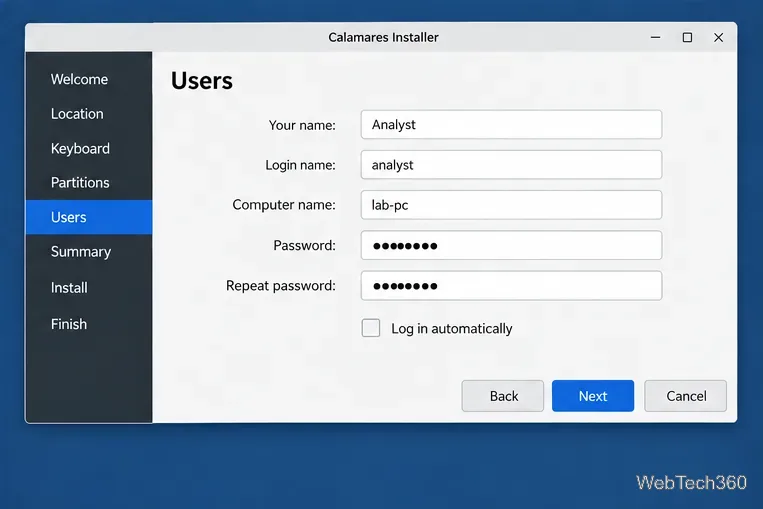
The interface illustrations below explain the workflow, not a recorded installation. Calamares layouts and wording can vary between releases.
Open the official Tsurugi downloads page and select a mirror. As of October 24, 2026, the current LAB image is tsurugi_linux_26.03.iso, released April 4, 2026. Choose the ISO, not the OVA virtual appliance or the separate Acquire edition.
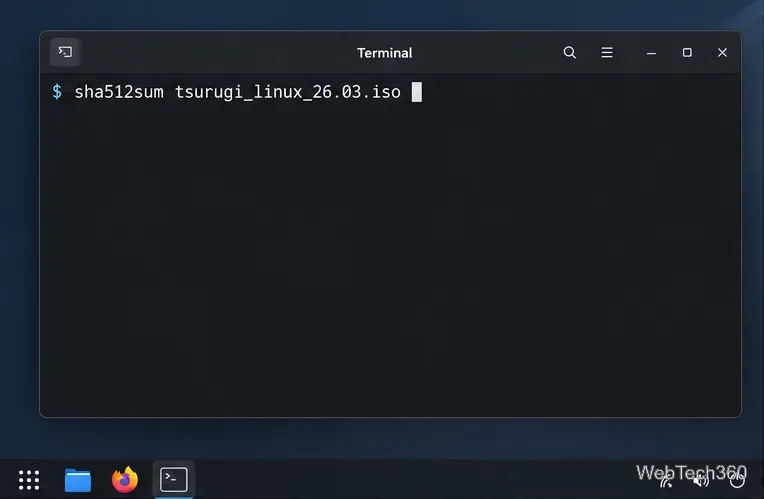
Compare the downloaded file's SHA-512 checksum with its matching entry in the signed hashes file. On Linux, run sha512sum tsurugi_linux_26.03.iso from the download directory. Compare the entire result, not just its beginning. The project also supplies a PGP public key for verifying the checksum document's signature. Do not flash a file with a mismatched hash.
Download balenaEtcher from its official site, open it, and choose Flash from file. Select the verified ISO. You do not need to extract its contents or format the USB beforehand.
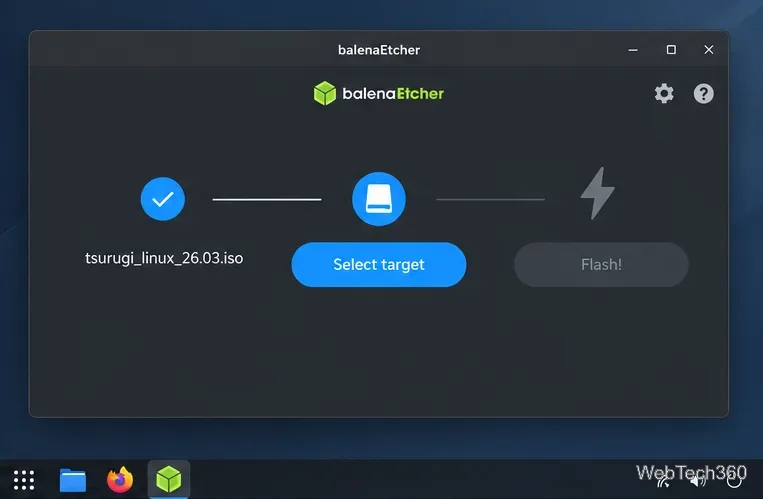
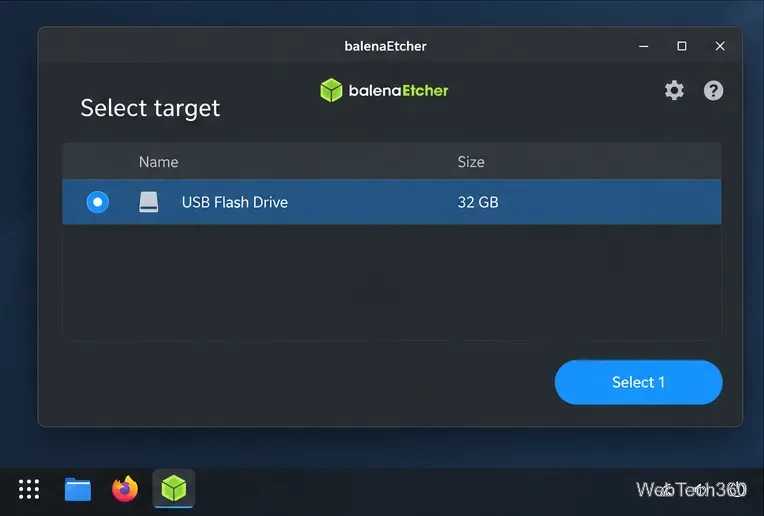
Click Select target and identify the removable drive by its name and capacity. Confirm the selection only after checking that it is the USB you intend to erase, not a backup drive. Any existing files on that USB will be lost.
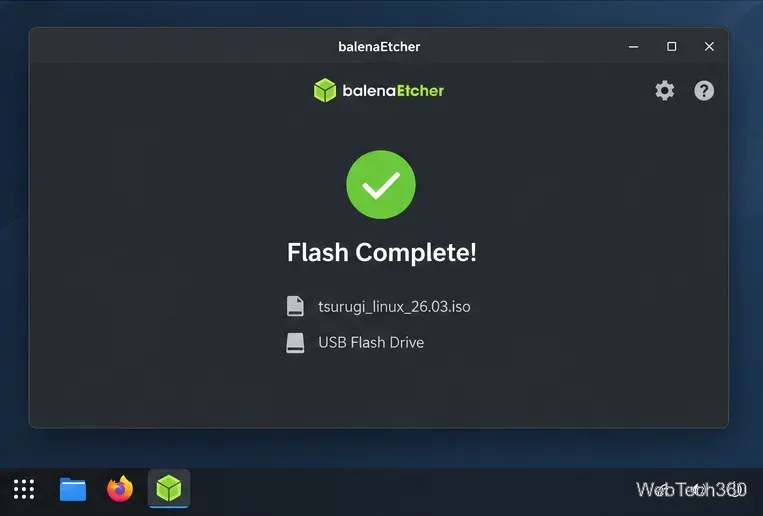
Choose Flash! and approve the operating system's authorization prompt if requested. Keep the USB connected until Etcher finishes writing and validating it. Eject it safely afterward. If validation fails, try another port or USB drive rather than proceeding with unreliable media.
Insert the USB into the target PC and select it from the manufacturer's one-time boot menu. The key varies by computer. Start Tsurugi in live mode.
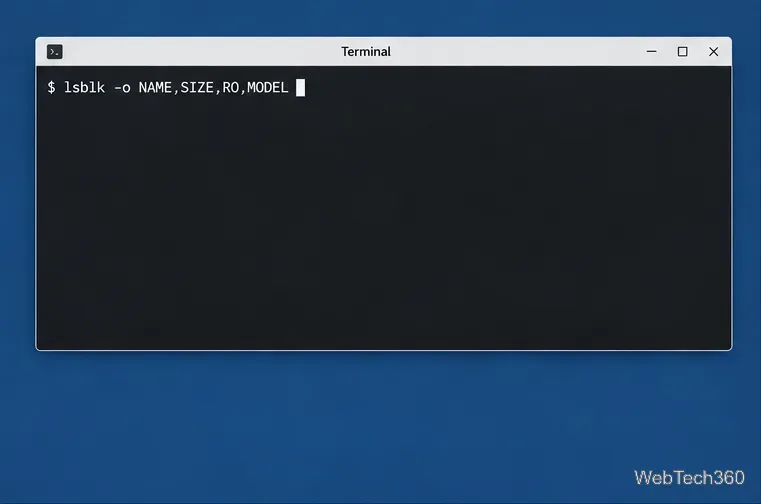
Tsurugi's forensic kernel blocks disk writes by default. Identify the destination by model and capacity; lsblk -o NAME,SIZE,RO,MODEL can help inspect devices. Then use Tsurugi's device-unlocking control to allow writes only to that destination. Never unlock an evidence drive for installation. If you cannot confidently identify the disk or unlocking control, stop before continuing.
Launch the red installer icon on the desktop or use the system menu. Current releases use Calamares, introduced in release 25.11 according to the project changelog, rather than the old Ubiquity installer.
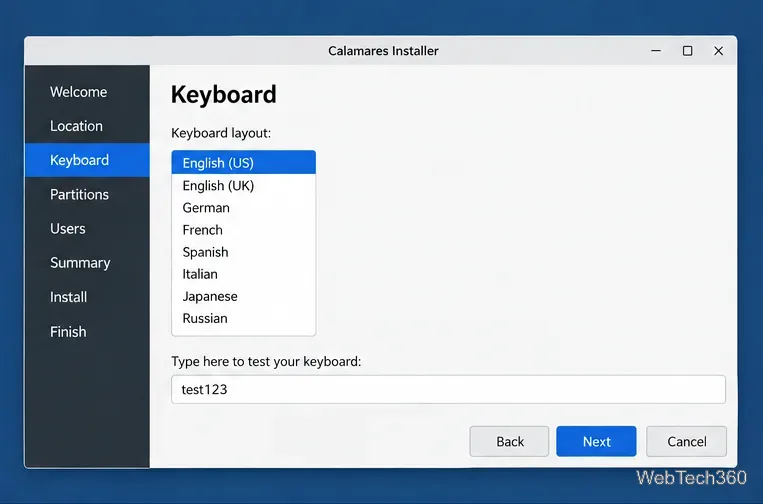
Follow the prompts for language, time zone, and keyboard layout. Test characters in the keyboard field before choosing a password. The Calamares user guide explains its common pages.
Select the correct installation disk. Use the whole-drive option only for a dedicated, backed-up disk whose contents you want removed. It deletes existing files, partitions, and operating systems. To retain another OS, stop and prepare a separate partitioning plan; do not assume the erase option preserves anything. Consult the partitioning documentation if unsure.
Enter a username, computer name, and strong password. Review the final summary, especially the disk and formatting operations, before starting installation. Keep the PC powered on until completion.
Restart when offered, remove the USB when prompted or after shutdown, and boot from the installed disk. Sign in with your new account rather than the live-session credentials.
If the disk is read-only, recheck the intended disk's unlock state. For display problems, Tsurugi documents live-boot options to disable particular graphics drivers. After installation, follow the project's update guidance: it explicitly warns against dist-upgrade because it can break the customized system.
Learn how to recover lost partitions and files with TestDisk and PhotoRec. Protect the source drive, scan safely, and save recovered data to another disk.
Scan QR codes on Linux with CoBang using a webcam or image file. See installation options, setup steps, and fixes for Flatpak camera access.
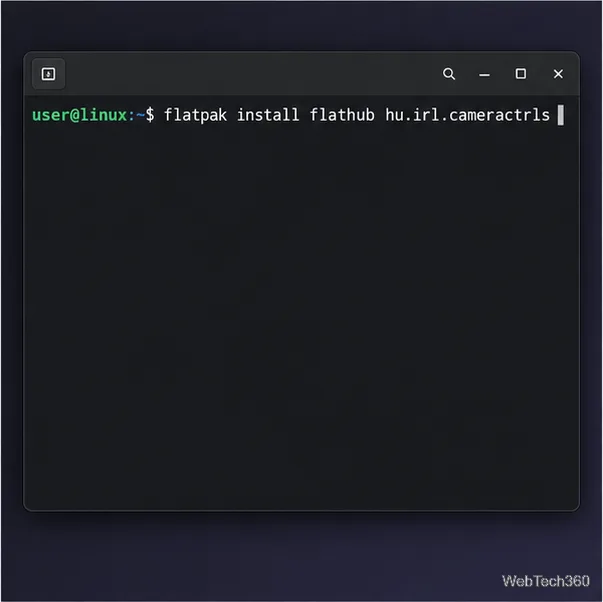
Change webcam settings on Linux with Cameractrls: tune exposure, color, flicker reduction, and other supported controls, then check compatible video modes.
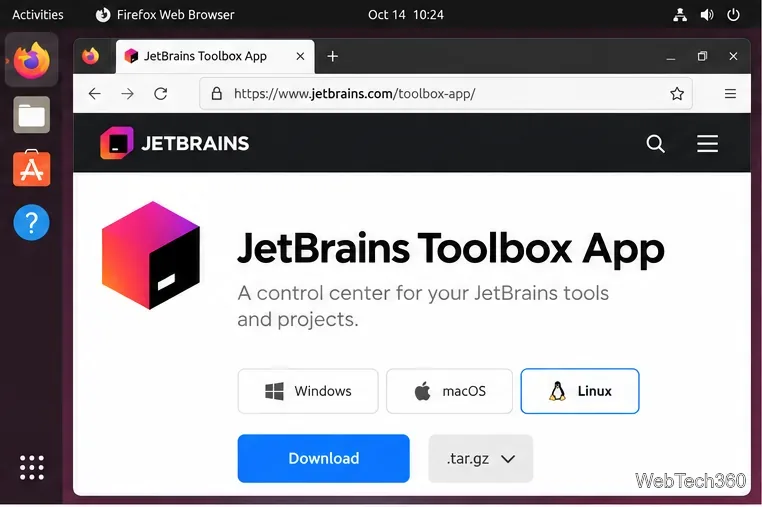
Install PhpStorm on Linux with JetBrains Toolbox or the standalone tar.gz archive, plus Snap and Arch AUR options. Java is already bundled.
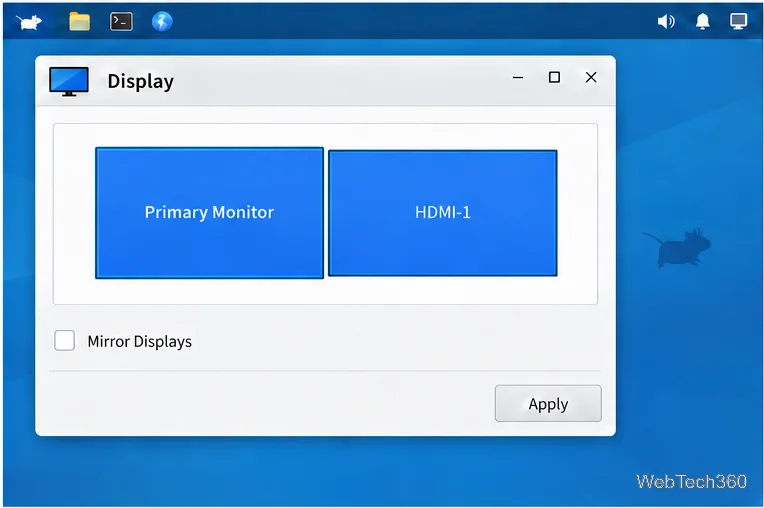
Create a separate XFCE 4 panel for each display, assign the second panel to the right output, position and size it, and add the launchers and status items you need.
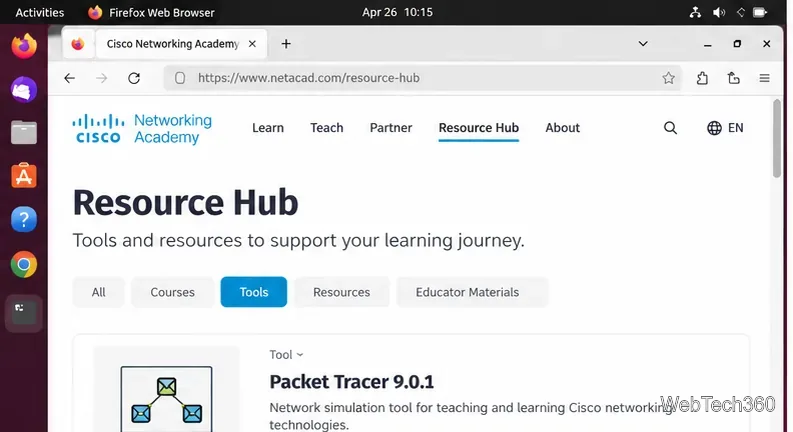
Download Cisco Packet Tracer 9.0.1 for Ubuntu 64-bit, install the DEB package with APT, accept the license in Terminal, and sign in to start a lab.
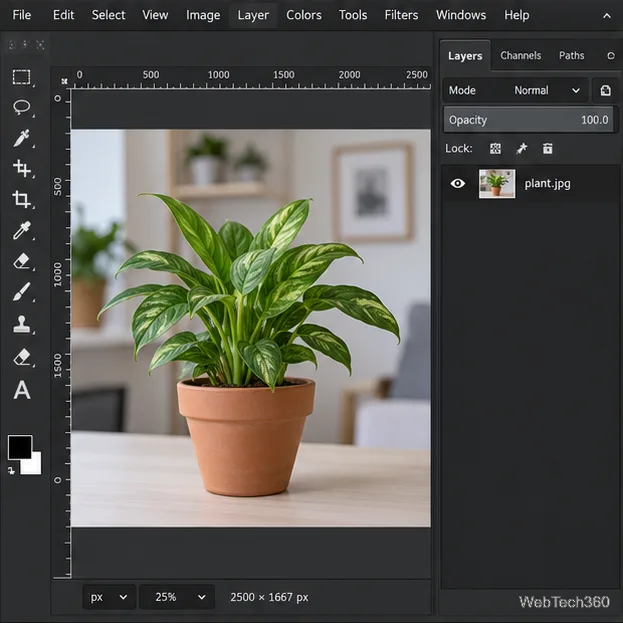
Remove a photo background on Linux with GIMP: trace a subject, delete the selected background, keep transparency, and export a reusable PNG.
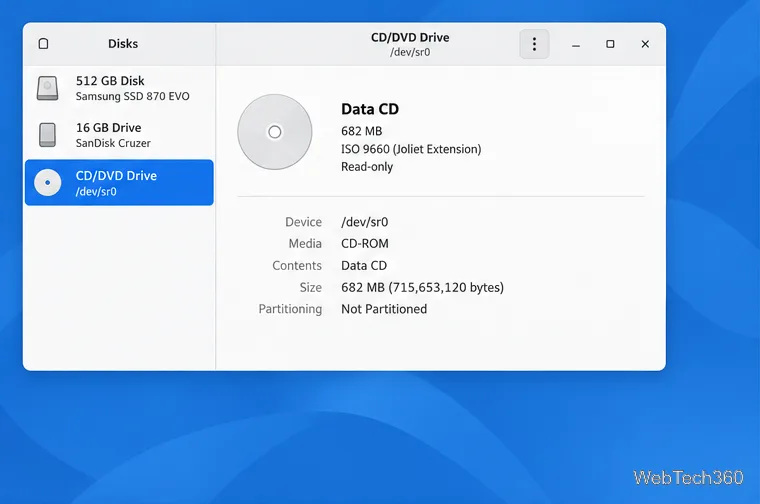
Create a CD-ROM ISO on Linux with GNOME Disks or dd. Identify the optical drive, monitor the copy, verify the image, and know when a damaged or audio disc needs another tool.
Download FlightGear for free from the official site. Compare Windows, macOS, and Linux packages, install the data files, and start your first flight.
Open Google Tasks in a browser, add a Chrome shortcut or app-style launch, and manage dated to-dos through Calendar and Gmail.