How to Screenshot on Mac: A Comprehensive Guide

Learn how to screenshot on Mac with shortcuts for the full screen, an area, or a window, plus the Screenshot app, clipboard, editing, and save-location tips.
Use Image Capture on macOS to copy iPhone photos and videos straight to an ordinary Finder folder. This bypasses the Photos library and makes the files available to other apps, for renaming, or for moving.
Use a data-capable USB cable and keep the iPhone unlocked while Image Capture reads its camera items.
Connect the iPhone, unlock it, and enter its passcode if asked. If an alert asks whether to trust the computer, tap Trust and confirm with your passcode.
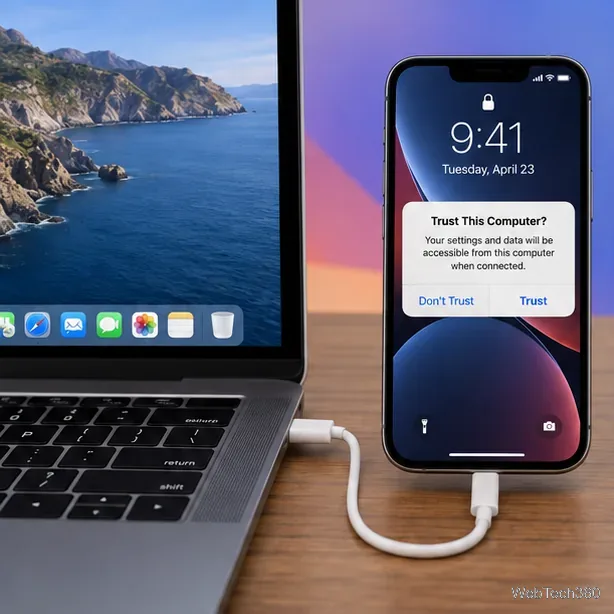
Open Image Capture from Applications or Spotlight, then choose your iPhone under Devices or Shared. Select the items you need, or leave the selection empty to download everything.
At the bottom of the window, open Import To and choose a suggested location such as Pictures. For a dedicated folder, create it in Finder, choose Other, and select it. The destination is an ordinary folder.
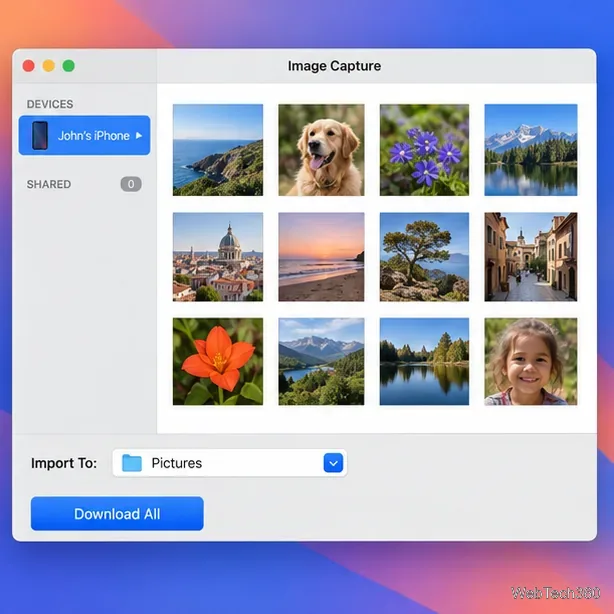
Click Download for selected items or Download All for the full list. Wait for the transfer to finish before disconnecting the phone. Open the destination in Finder to confirm the files are there. Photos and videos appear as separate items, with filename extensions such as HEIC, JPEG, or MOV depending on the media and transfer settings.
A Live Photo downloads as two files: a still image and a video. Image Capture leaves downloaded items on the iPhone by default. It also has an option to delete items after transfer, so check that option before using it if you want to keep the phone’s copies. See Apple’s Image Capture User Guide for the current controls.
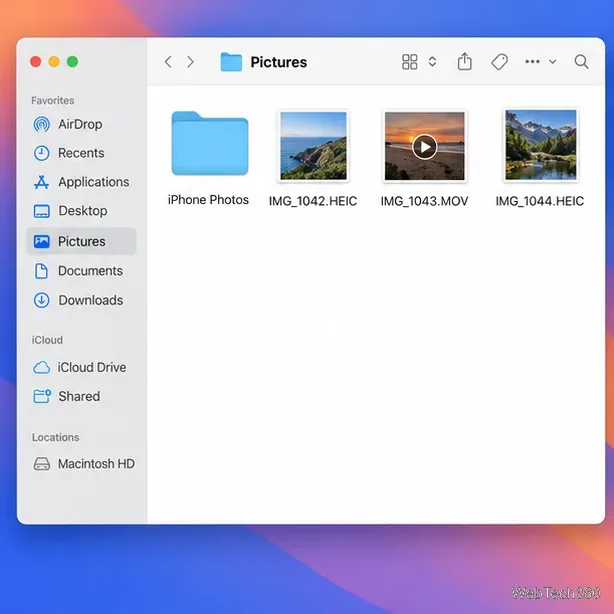
Do not assume every transfer will be a JPEG. iPhones can capture photos in HEIF/HEIC and video in HEVC, and a USB import may convert HEIF or HEVC media to JPEG or H.264 for compatibility. If you want to keep those original formats during transfer, open Settings > Apps > Photos on the iPhone and choose Keep Originals. This setting affects transfer behavior; it does not convert files that are already saved on the Mac.
For future captures, Settings > Camera > Formats > Most Compatible switches new photos and videos to JPEG and H.264. That changes new captures, not existing pictures. Apple explains the format and transfer options in its HEIF and HEVC media guide.
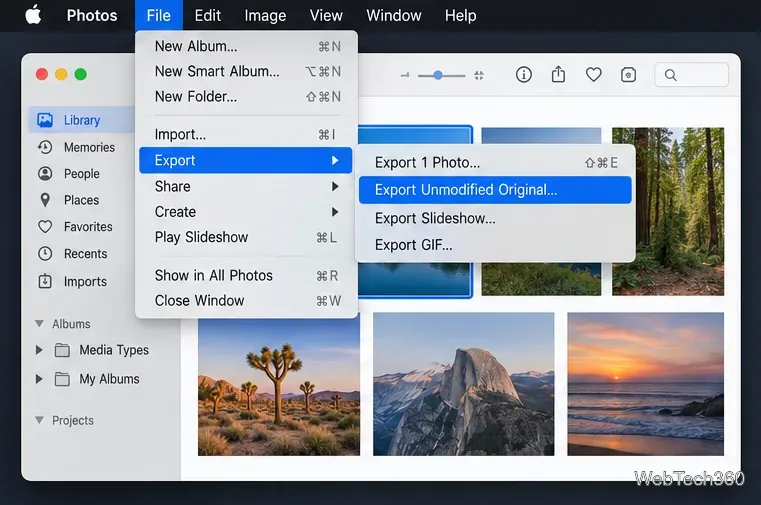
Photos stores imported items inside its library, which is normally in the Pictures folder. The library is a managed package; do not move, rename, or edit its internal files in Finder. Instead, select the items in Photos and choose File > Export > Export Unmodified Original. In the export dialog, choose a filename option, a subfolder layout if useful, and the destination folder, then click Export Originals. This saves the file in the format in which it entered the library. A Live Photo is exported as a still image and a video file.
If you want a rendered copy of an edited photo or a broadly compatible format, choose File > Export > Export [number] Photos instead. Select JPEG, HEIC, TIFF, or PNG and set the available quality or size options before exporting. For video, use the video export command and choose a movie quality. Apple documents both routes in Export photos and videos on Mac.
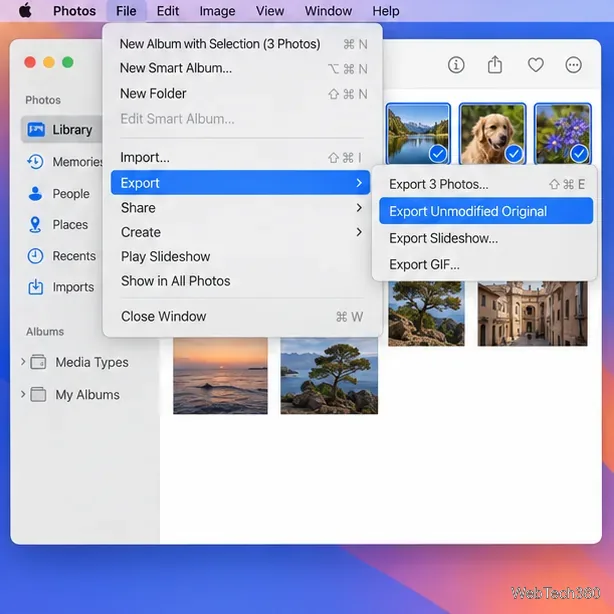
Before deleting an item from Photos, verify the exported copy. With iCloud Photos, deleting a photo in Photos also removes it from other devices using that library; an export does not change that sync behavior.
For one or two photos, AirDrop is a quick alternative. For a full batch or a folder of files, Image Capture gives you a clear Finder destination; use Photos export when the pictures are already managed in your library.
Learn how to screenshot on Mac with shortcuts for the full screen, an area, or a window, plus the Screenshot app, clipboard, editing, and save-location tips.
Combine multiple images into a single PDF on macOS using Finder or Preview. Control page order, avoid cropping, and fix missing pages without extra software.
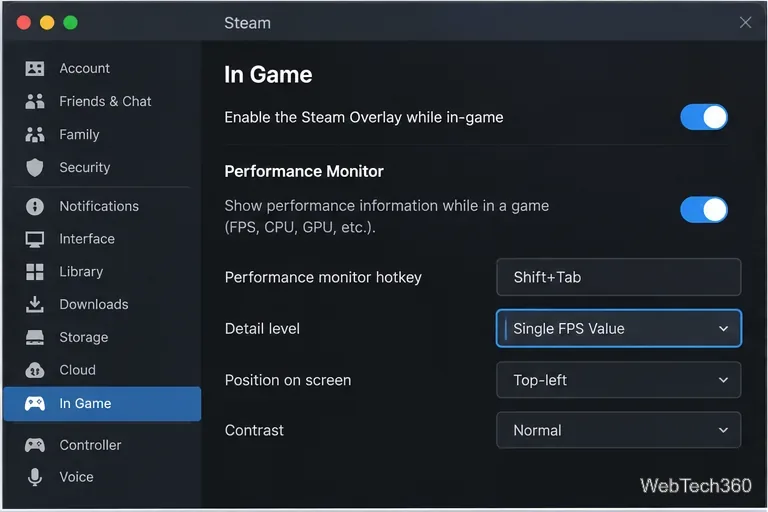
Learn how to show FPS on a Mac with Steam’s performance overlay or Apple’s Metal Performance HUD, plus fixes when the counter does not appear.
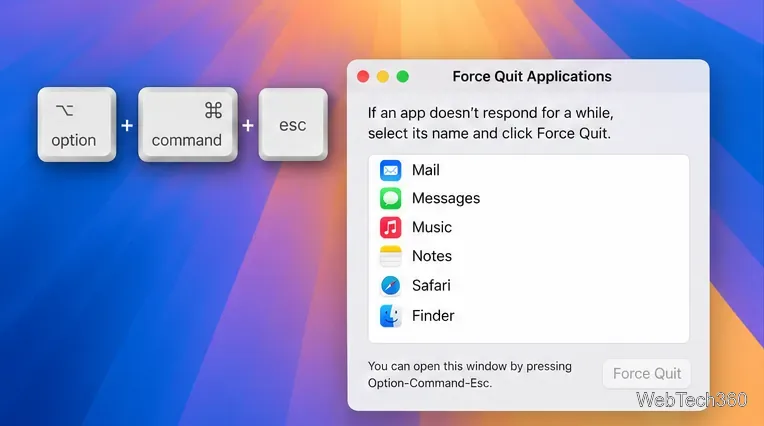
Use Option–Command–Esc to force quit an unresponsive Mac app, or close it from the Apple menu, Dock, Activity Monitor, or Terminal.
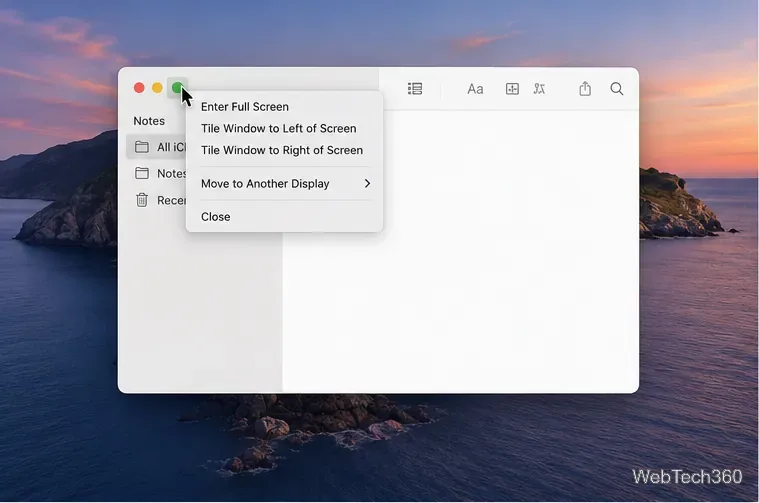
Set up Split View, resize or replace a pane, use Mission Control, and learn when desktop window tiling is a better fit on your Mac.
Learn how to remove EXIF data from photos on macOS, hide location in Photos, clean exported JPEG copies with ExifTool, and verify the result.
Sync two folders on a Mac with SyncTwoFolders, choose a one-way or two-way update, and preview changes before files are replaced or removed.
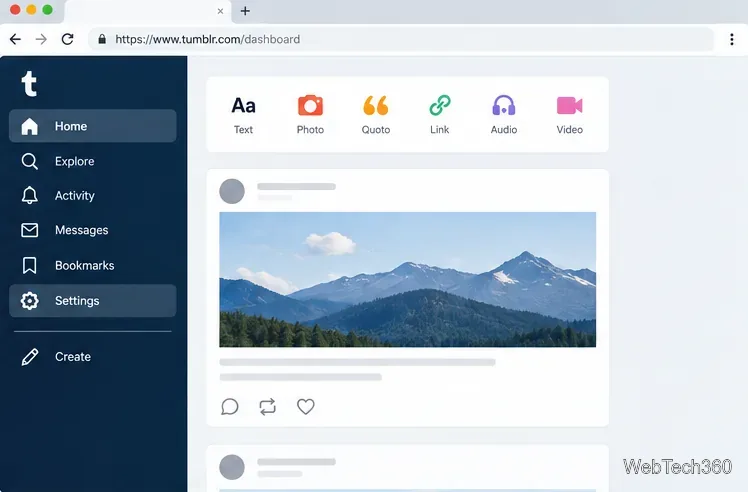
Back up a Tumblr blog on your Mac with Tumblr’s web export. Download and unpack the ZIP, keep its posts and media safe, and know what the archive leaves out.
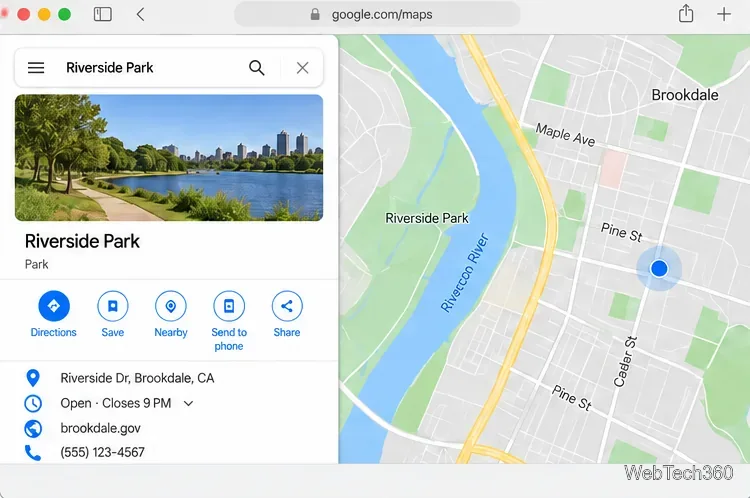
Use Google Maps on your Mac in Safari or Chrome, find places and routes, switch map layers, and add a Safari web app to your Dock on macOS Sonoma 14 or later.
Compare five free WAV-to-MP3 converters for Windows and macOS, including online file limits, local batch tools, and practical export settings.