How to Screenshot on Mac: A Comprehensive Guide

Learn how to screenshot on Mac with shortcuts for the full screen, an area, or a window, plus the Screenshot app, clipboard, editing, and save-location tips.
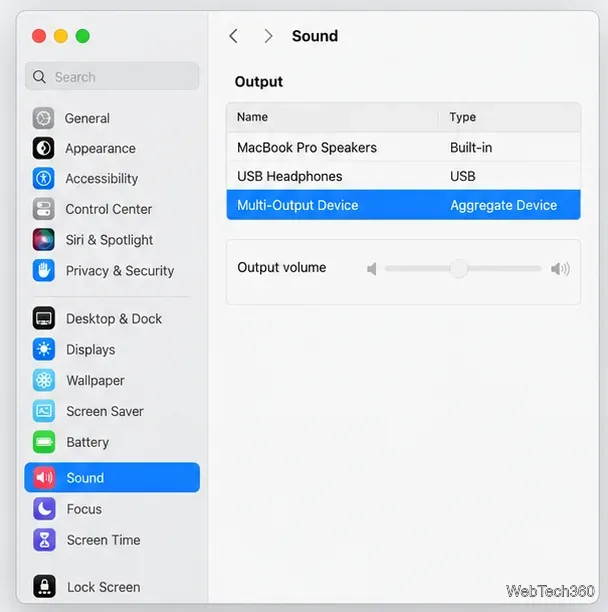
To manage volume on a Mac using a Multi-Output Device, adjust each included speaker or headphone output separately in Audio MIDI Setup. Select the individual output in the sidebar and change its active Volume sliders. The Mac’s volume keys and the Output volume slider in System Settings may be unavailable while the combined Multi-Output Device is selected. If an output has no software volume control, use its physical controls or the software supplied by its manufacturer.
A Multi-Output Device sends the same audio to several outputs at once. macOS can route the stream to those devices, but the combined device does not always expose one shared software volume control. That is why the keyboard volume keys can show a disabled symbol and the system slider can appear dimmed. This behavior does not necessarily mean that audio has stopped.
Apple’s Audio MIDI Setup guide calls the routing choice Primary Device. It describes audio sent to that primary device as also playing through the other devices in the stack. The Primary Device menu is not a master-volume slider, so changing it is not a reliable way to set the loudness of every output.
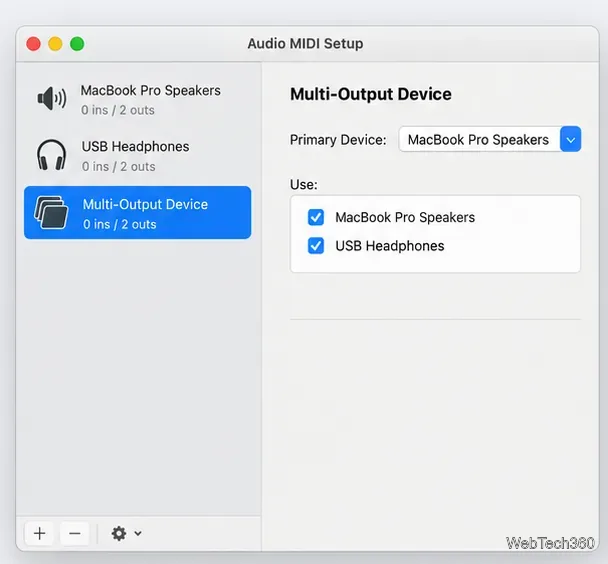
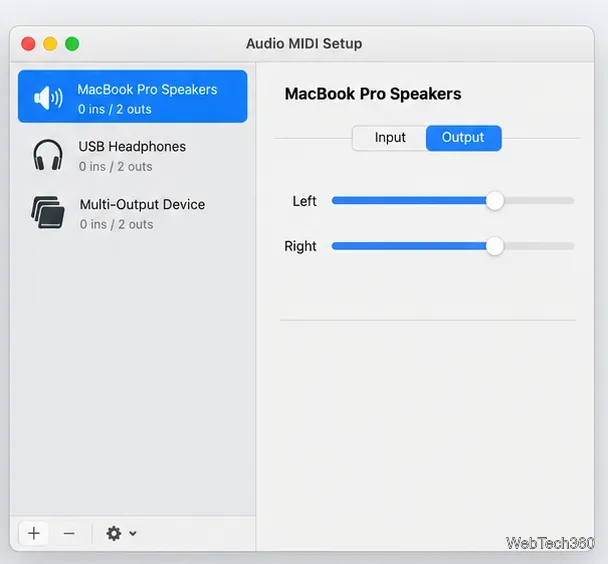
For a device-specific setup, see Apple’s description of the Audio Devices window. It explains that the options on the right change with the selected device and that blue Volume sliders indicate available software control.
Not every output lets macOS change its volume in software. If selecting an individual device in Audio MIDI Setup does not show active sliders, look for a volume knob, buttons, remote, or a manufacturer control app for that speaker, headphones, display, or interface. A slider that is absent or gray is a device limitation; there is no universal setting that makes every output’s software volume adjustable.
You can also adjust the level inside a media app if it provides its own volume control. That changes the source level going to the outputs together; it will not balance one speaker against another. To balance outputs independently, use the individual device controls described above.
If you select a single output in System Settings > Sound > Output, macOS shows the controls available for that device. For example, Apple’s sound output guide describes the Output volume slider and notes that additional options in Audio MIDI Setup depend on the Mac and connected device. A single-output selection can be useful when you want to use the Mac’s normal volume keys, but it stops sending sound through the other destinations in the Multi-Output Device.
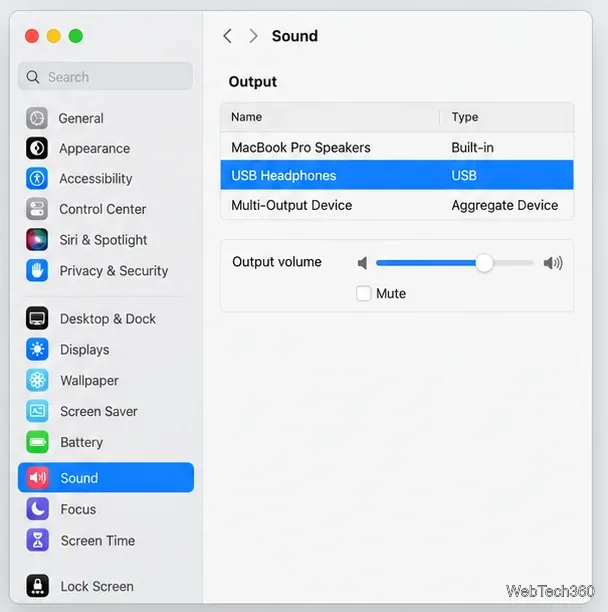
In short, set the relative level at each output that supports software volume, and use the device’s own controls where it does not. The Multi-Output Device handles routing; it does not guarantee a universal master-volume control.
Learn how to screenshot on Mac with shortcuts for the full screen, an area, or a window, plus the Screenshot app, clipboard, editing, and save-location tips.
Combine multiple images into a single PDF on macOS using Finder or Preview. Control page order, avoid cropping, and fix missing pages without extra software.
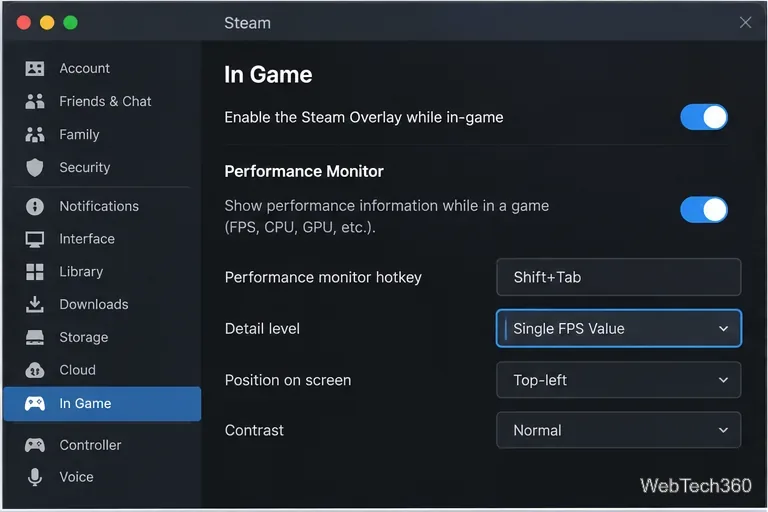
Learn how to show FPS on a Mac with Steam’s performance overlay or Apple’s Metal Performance HUD, plus fixes when the counter does not appear.
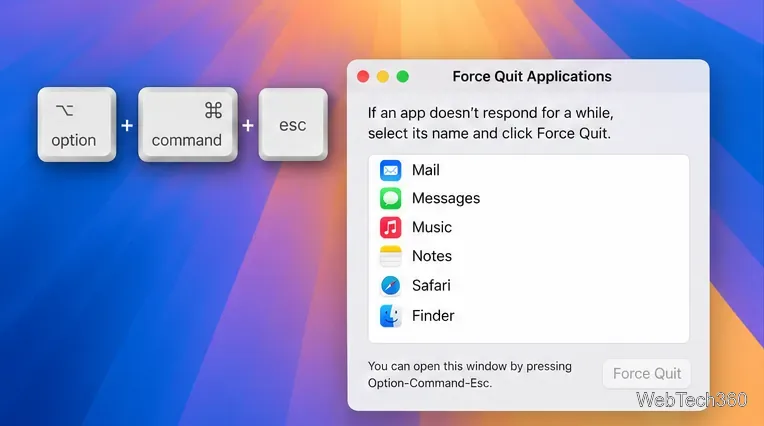
Use Option–Command–Esc to force quit an unresponsive Mac app, or close it from the Apple menu, Dock, Activity Monitor, or Terminal.
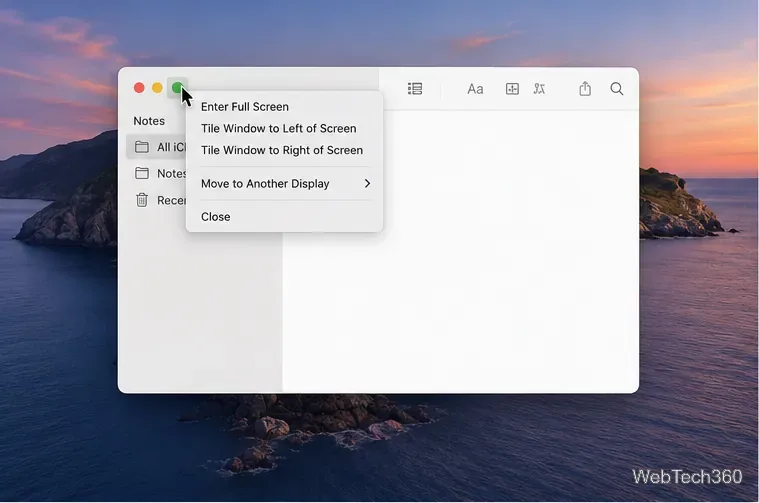
Set up Split View, resize or replace a pane, use Mission Control, and learn when desktop window tiling is a better fit on your Mac.
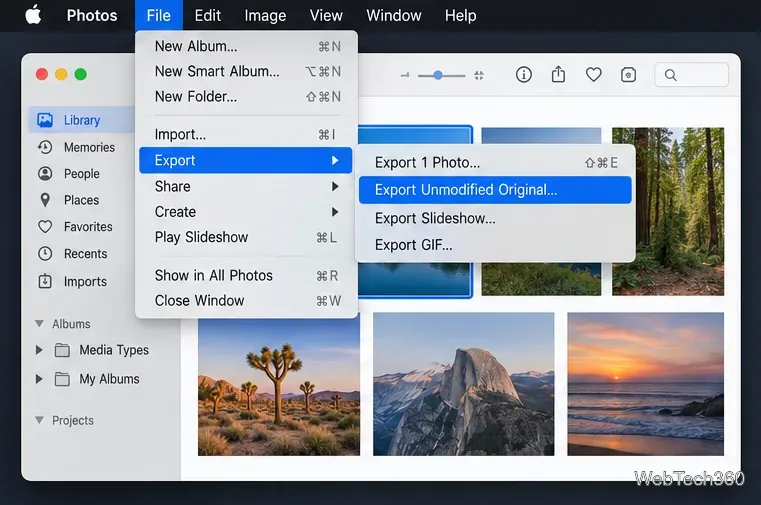
Learn how to remove EXIF data from photos on macOS, hide location in Photos, clean exported JPEG copies with ExifTool, and verify the result.
Sync two folders on a Mac with SyncTwoFolders, choose a one-way or two-way update, and preview changes before files are replaced or removed.
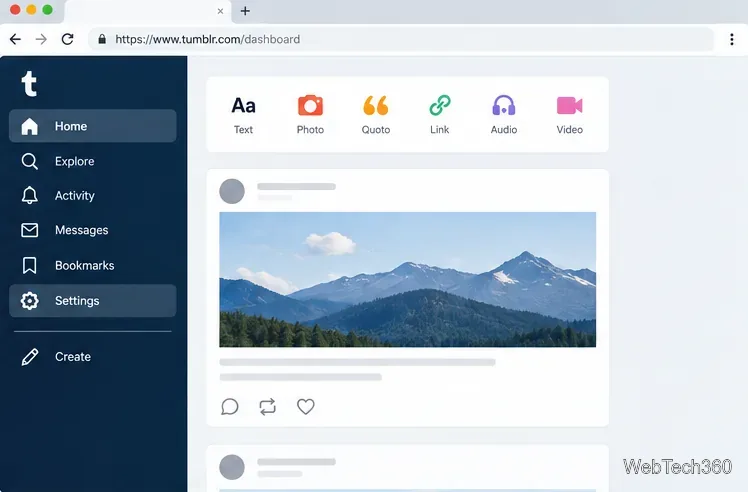
Back up a Tumblr blog on your Mac with Tumblr’s web export. Download and unpack the ZIP, keep its posts and media safe, and know what the archive leaves out.
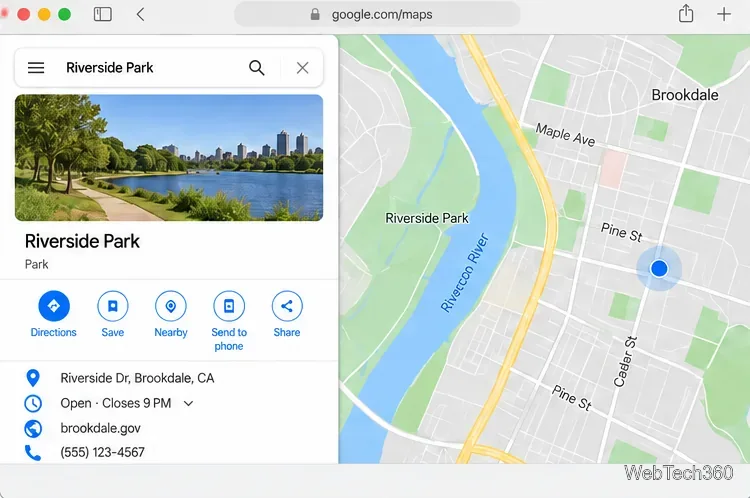
Use Google Maps on your Mac in Safari or Chrome, find places and routes, switch map layers, and add a Safari web app to your Dock on macOS Sonoma 14 or later.
Compare five free WAV-to-MP3 converters for Windows and macOS, including online file limits, local batch tools, and practical export settings.