How to Screenshot on Mac: A Comprehensive Guide

Learn how to screenshot on Mac with shortcuts for the full screen, an area, or a window, plus the Screenshot app, clipboard, editing, and save-location tips.
To run Terminal commands from a script on macOS, put them in a plain-text shell script, make it executable, then run it from Finder or Terminal. Use a .command extension to open it by double-clicking. A script does not bypass macOS privacy controls or grant administrator privileges.
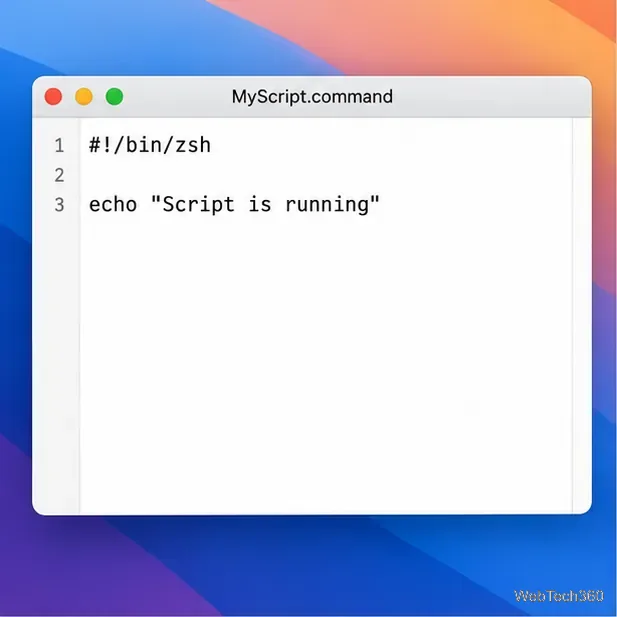
A shell script is a text file containing commands. Start it with a shebang, the first line that tells macOS which shell should interpret the file. The current default shell for new Terminal windows is zsh, although an administrator can set a different default, as Apple explains in its Terminal guide. This example explicitly uses zsh:
#!/bin/zsh
# Print a message when the script runs
echo "Script is running"
Put commands on separate lines below the shebang. The shebang picks the interpreter, so use syntax it supports; a Bash script, for example, can start with #!/bin/bash. Apple’s shell-script guide explains the basics.
You can use TextEdit, but make sure the file is plain text: new TextEdit documents may be rich text. Choose Format > Make Plain Text, or set TextEdit’s new-document format to Plain Text in its settings. Rich-text formatting is not shell code. Apple documents these options in its TextEdit guide. A code editor or a command-line editor such as nano also works.
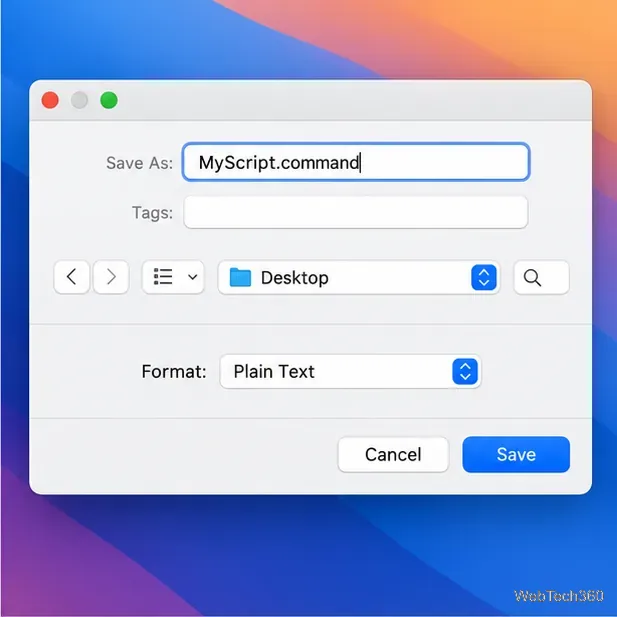
.command extensionSave the plain-text file with a descriptive name such as MyScript.command. The extension helps Finder open the script in Terminal when you double-click it. Apple’s archived developer documentation describes this double-click workflow for shell scripts. Check the final name in Finder: if it ends in .command.txt, rename it so the final extension is only .command. Keep the example in a location such as your Desktop while you set it up.
If macOS asks which extension to use, keep .command and confirm Finder has not added .txt.
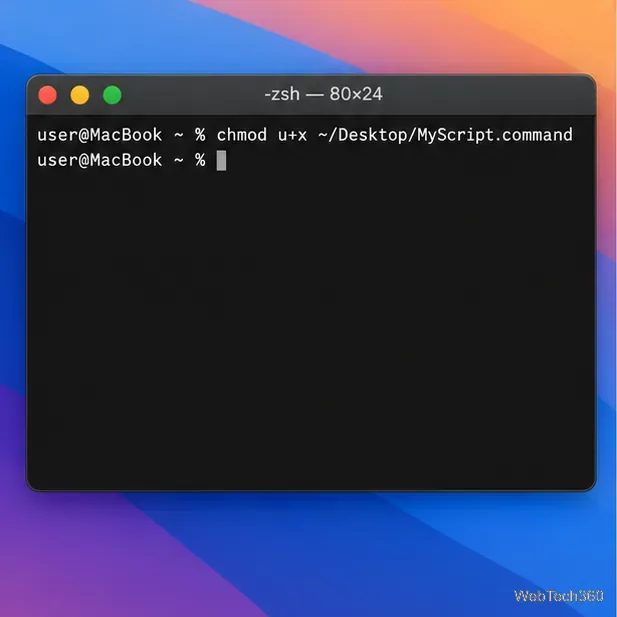
Open Terminal and grant your account permission to execute the file. For the example saved on the Desktop, enter:
chmod u+x "$HOME/Desktop/MyScript.command"Press Return. u+x adds execute permission for the owner; quotes protect paths with spaces. Replace the sample path if needed. Drag the file into Terminal or use Finder’s Option-click menu to copy its pathname. Apple shows the same method in its executable-file instructions.
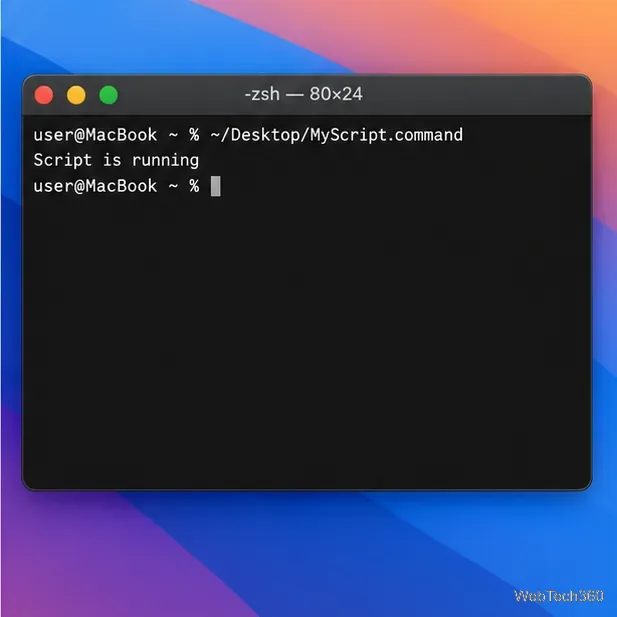
Double-click MyScript.command in Finder to run it in Terminal. Output and errors appear there. Or enter its full path:
"$HOME/Desktop/MyScript.command"Or change to the folder first, then prefix the filename with ./:
cd "$HOME/Desktop"
./MyScript.command
The ./ tells the shell to run a file in the current folder. Apple’s Terminal command guide explains how to run an executable by pathname.
chmod u+x on the correct file. If needed, repeat the command using the file’s exact path. Making a file executable does not authorize every command inside it.MyScript.command.txt will not match the command above. Dragging the file into Terminal can help insert its path.cd line near the start of the script.The execute bit is separate from privacy permissions. A script normally runs as your account; use sudo only for commands that require administrator privileges.
macOS may ask for access to protected folders or other apps. Review each request and allow only what is needed. Check Apple menu > System Settings > Privacy & Security for Files & Folders and related privacy settings. Approvals depend on requested access and the requesting app; they are not blanket per-command permissions and do not travel with a shared script.
Before running or sharing a script, read every line and make sure you understand what it changes. A .command file is convenient because it can run when opened, so only use files from sources you trust.
Learn how to screenshot on Mac with shortcuts for the full screen, an area, or a window, plus the Screenshot app, clipboard, editing, and save-location tips.
Combine multiple images into a single PDF on macOS using Finder or Preview. Control page order, avoid cropping, and fix missing pages without extra software.
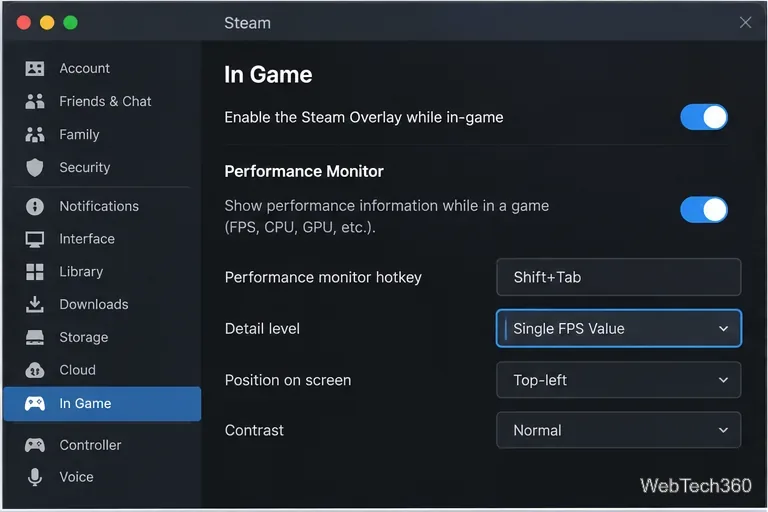
Learn how to show FPS on a Mac with Steam’s performance overlay or Apple’s Metal Performance HUD, plus fixes when the counter does not appear.
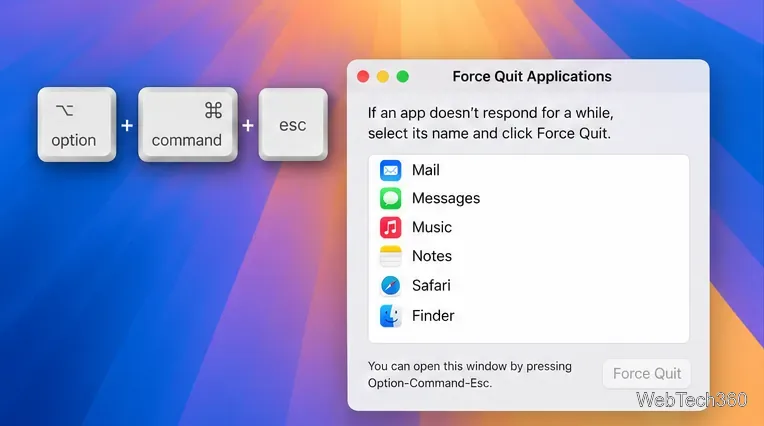
Use Option–Command–Esc to force quit an unresponsive Mac app, or close it from the Apple menu, Dock, Activity Monitor, or Terminal.
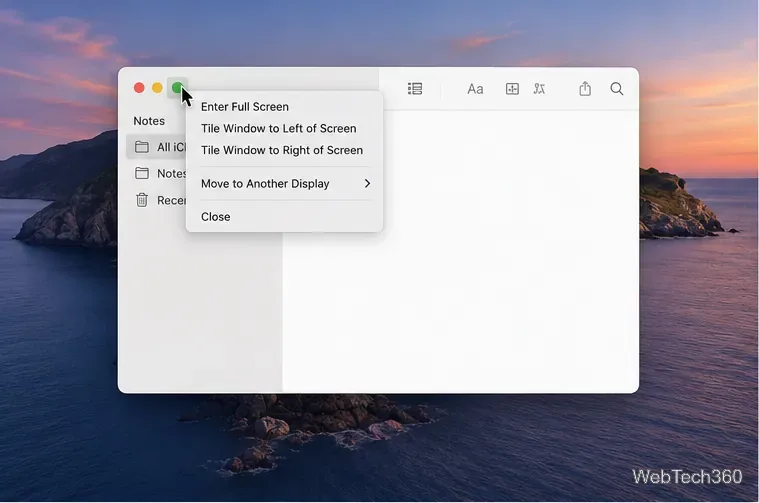
Set up Split View, resize or replace a pane, use Mission Control, and learn when desktop window tiling is a better fit on your Mac.
Learn how to remove EXIF data from photos on macOS, hide location in Photos, clean exported JPEG copies with ExifTool, and verify the result.
Sync two folders on a Mac with SyncTwoFolders, choose a one-way or two-way update, and preview changes before files are replaced or removed.
Back up a Tumblr blog on your Mac with Tumblr’s web export. Download and unpack the ZIP, keep its posts and media safe, and know what the archive leaves out.
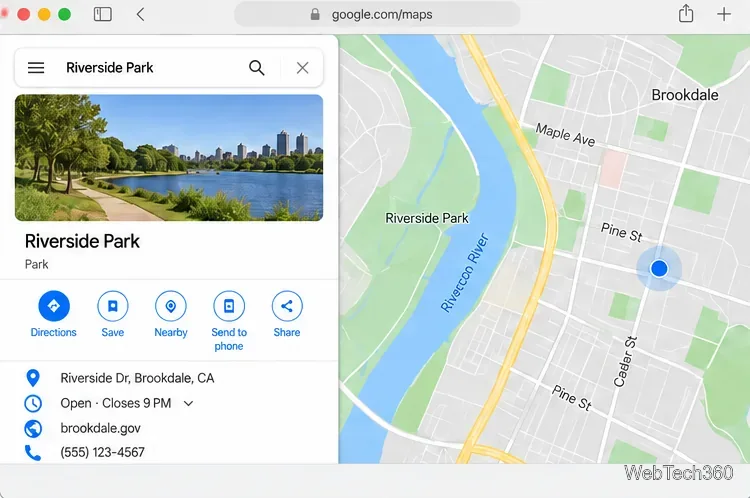
Use Google Maps on your Mac in Safari or Chrome, find places and routes, switch map layers, and add a Safari web app to your Dock on macOS Sonoma 14 or later.
Compare five free WAV-to-MP3 converters for Windows and macOS, including online file limits, local batch tools, and practical export settings.