How to Move a Picture in Microsoft Word
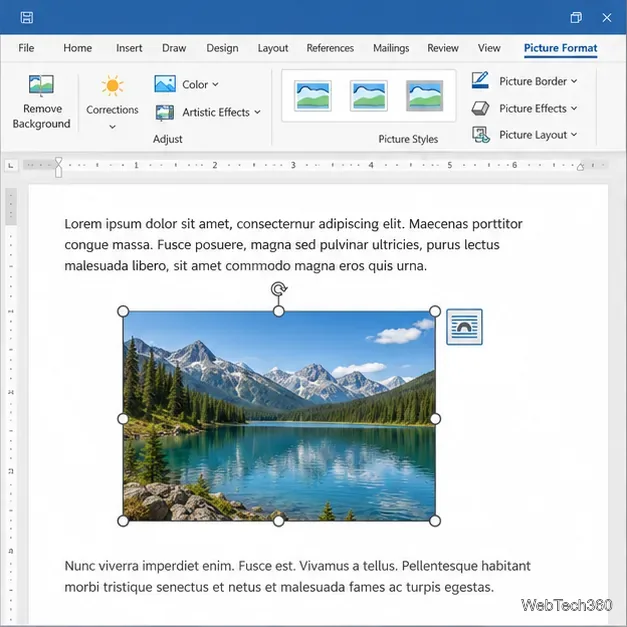
Learn how to drag a picture in Word, choose text wrapping, keep it with a paragraph or fix it on the page, and troubleshoot images that will not move.
You can turn a desktop Excel worksheet into printable graph paper by giving a selected range consistent row heights and column widths, defining the area to print, choosing A4 paper, and enabling gridline printing. For cells that need to be physically square, use Page Layout view and compare their height and width with the ruler; the familiar Normal-view values are measured in different units, so a fixed pair such as row height 20 and column width 5 does not guarantee square cells.
Excel’s on-screen gridlines are not cell borders, and they do not print by default. They also disappear over cells with a fill color. This guide uses desktop Excel, where the Page Layout ribbon offers the print controls described below. Excel for the web does not print gridlines; use cell borders there or open the workbook in desktop Excel. Microsoft’s current help pages cover printing gridlines and the difference between visible gridlines and borders.
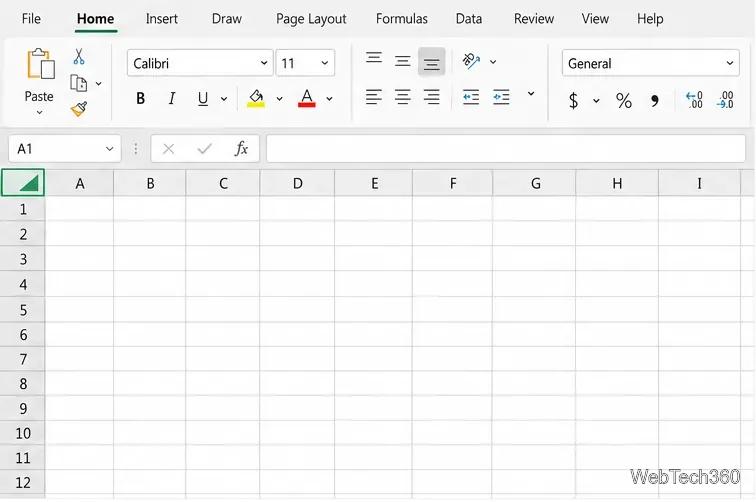
Open a blank worksheet or add a new sheet to an existing workbook. Decide how much graph paper you need, then select a finite rectangular range for that page. If you want to apply the same dimensions across the entire worksheet, click the Select All button at the top-left corner, where the row numbers and column letters meet. For a single printed page, selecting only the rows and columns you plan to print is easier to manage.
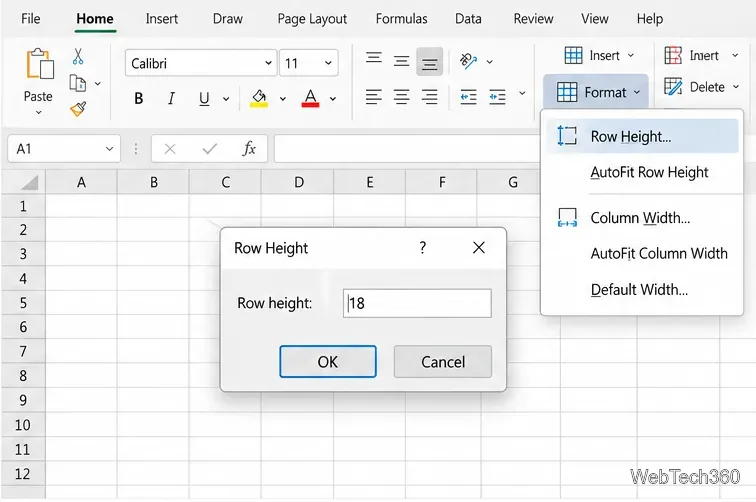
With the rows in your target grid selected, choose Home > Format > Row Height. Enter a starting height and select OK. Excel measures row height in points in Normal view. The value 18 shown below is an example, not a required setting; use a size that leaves enough printable rows on your chosen paper.
Select the columns in the same grid and choose Home > Format > Column Width. Enter a starting value and select OK. In Normal view, Excel expresses column width as a character-based measure tied to the default font, rather than points. That is why a row-height number and a column-width number cannot be compared directly.
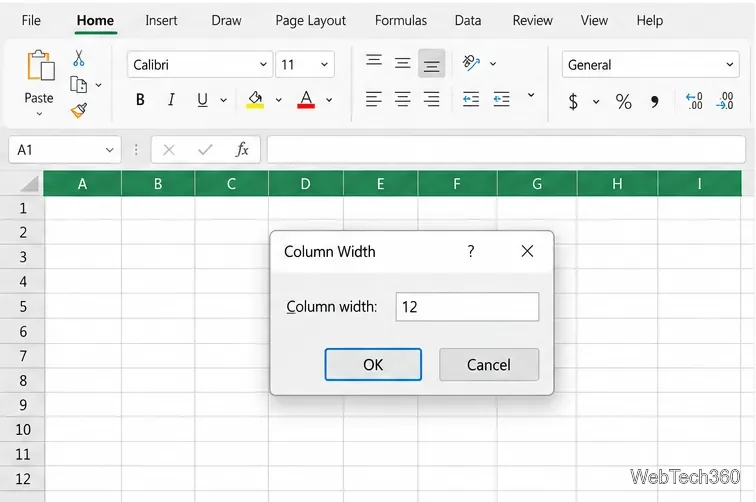
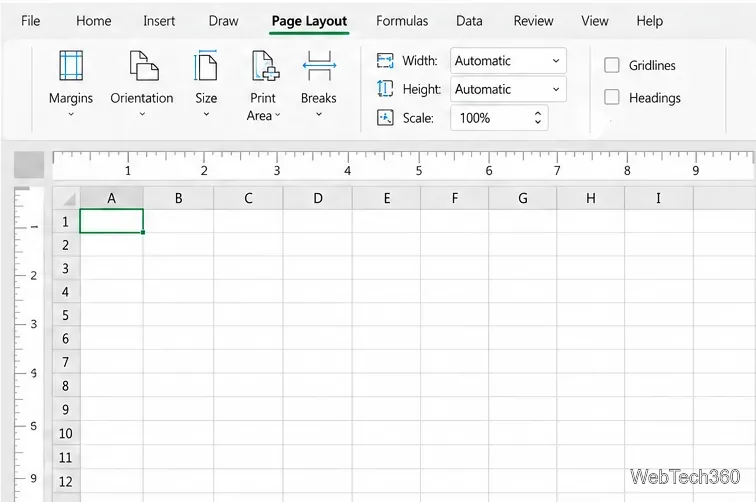
If you need graph squares that measure alike on paper, switch to View > Page Layout and show the ruler. Microsoft documents that Page Layout view can use inches, centimeters, or millimeters for row and column dimensions. Set the row height and column width to the same physical measurement, then adjust as needed while watching the page. Check the ruler and print preview because paper margins and printer scaling can change the final printed size. See Microsoft’s guide to changing column width and row height and its page on using measurement rulers.
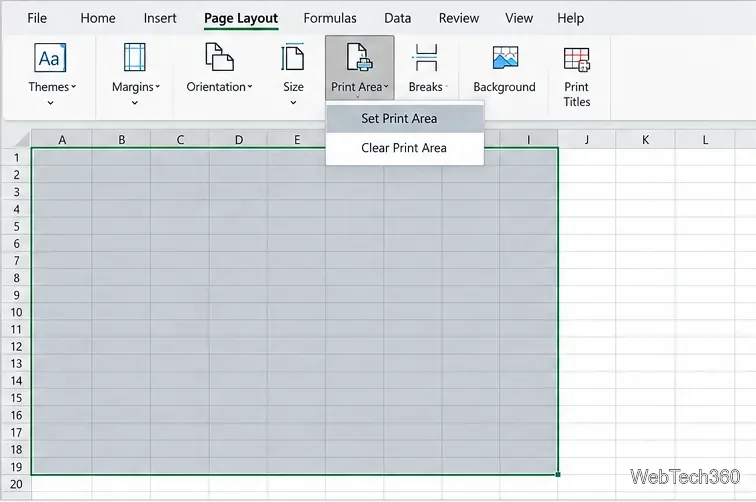
Select the full rectangle you want on paper, including cells that contain no data. Go to Page Layout > Print Area > Set Print Area. This keeps Excel from printing extra worksheet rows and columns. Defining the area matters for graph paper because Excel prints gridlines only around cells included in the print area; blank cells outside it will not appear. Microsoft explains the print-area controls in its support guide.
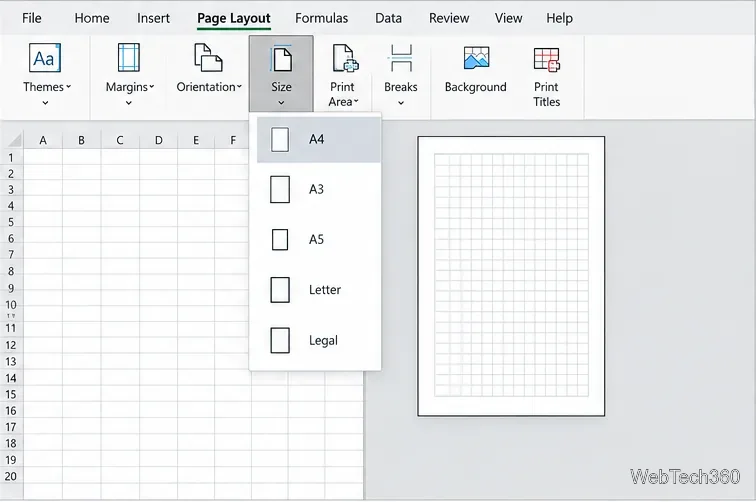
On the Page Layout tab, select Size > A4. Choose portrait orientation for a taller grid or landscape for a wider one. If you need more room, adjust Margins or center the sheet on the page. Use the same paper size in Excel and in the printer settings; a printer-size mismatch can change how the sheet is scaled. Do not force the entire worksheet onto one page unless that is what you want—the cells may become too small to use comfortably.
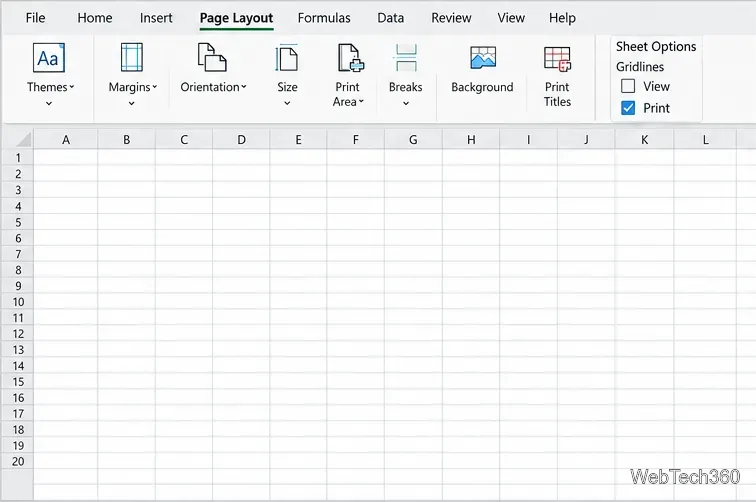
On Page Layout, find Sheet Options. Under Gridlines, select Print. The View checkbox only controls whether gridlines appear on screen; it does not make them print. Remove cell fill colors from the grid if lines are missing, or use borders where you need lines around filled cells.
Press Ctrl+P or choose File > Print. Confirm the selected printer, A4 paper, orientation, page count, margins, and grid coverage. If the preview splits the grid unexpectedly, reduce the print area, change orientation, or adjust margins and cell size. If the preview is correct, print the sheet or save it as a PDF from the print dialog.
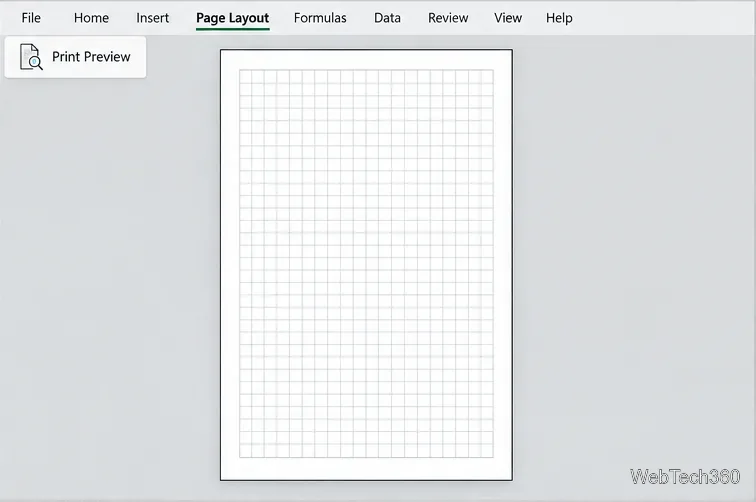
Once the preview shows the right area and scale, the worksheet is ready to use as printable graph paper. Save the workbook if you want to reuse the same grid dimensions and print-area settings later.
Learn how to drag a picture in Word, choose text wrapping, keep it with a paragraph or fix it on the page, and troubleshoot images that will not move.
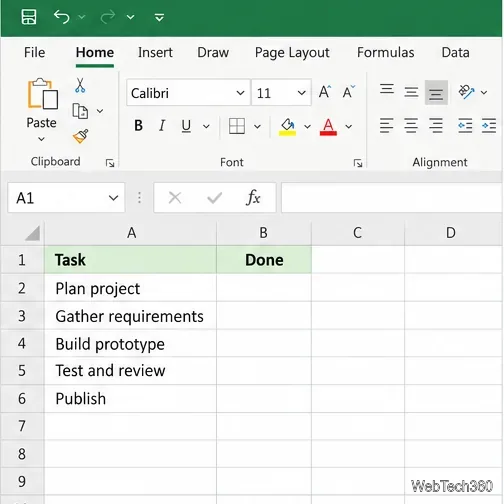
Learn how to insert a checkbox in Excel with the in-cell tool, count checked items with formulas, or add a linked Form Control in older desktop versions.
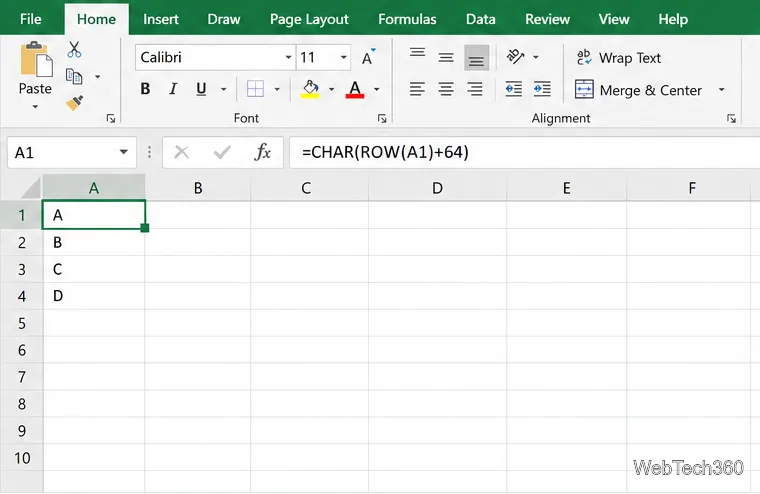
Generate A to Z, lowercase letters, or labels beyond Z in Excel with a fill-handle formula, SEQUENCE, or a reusable custom list.
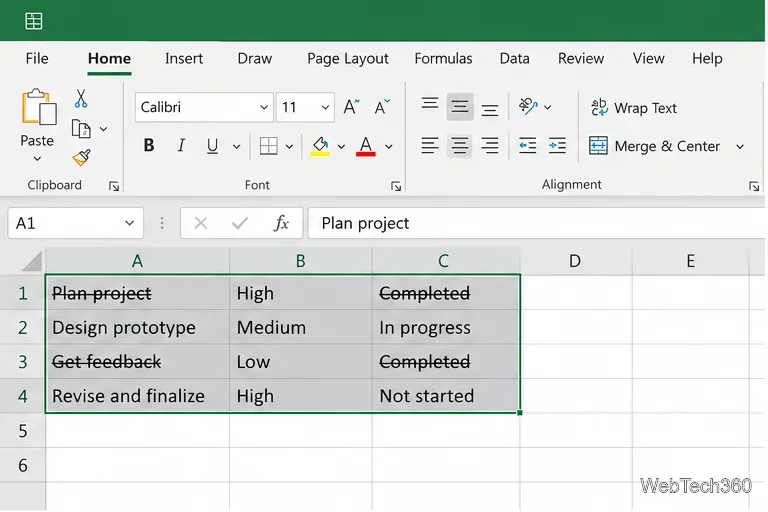
Learn how to strikethrough in Excel on Windows, Mac, and the web, format part of a cell, and remove the line without deleting its value.
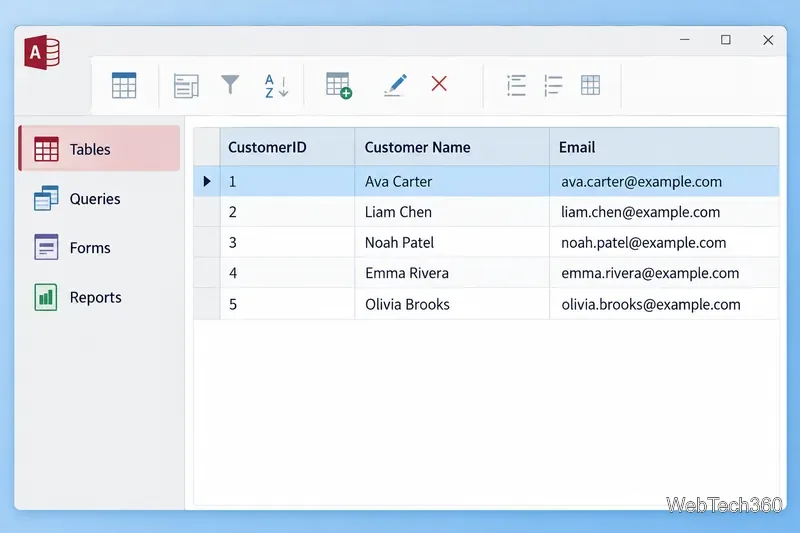
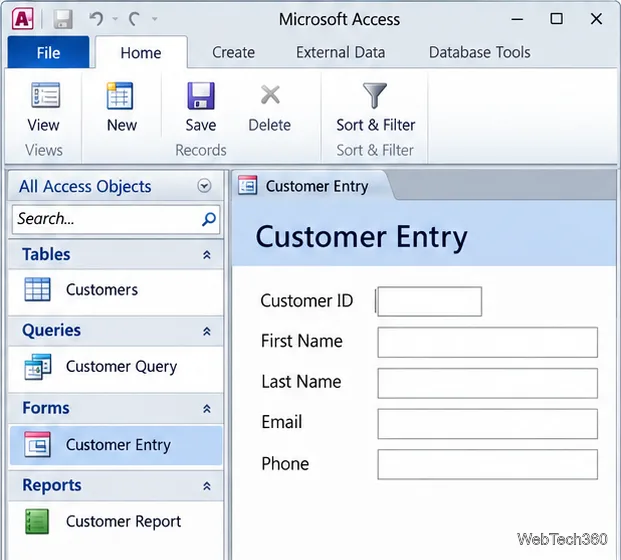
Microsoft Access is a Windows database app for storing related records, building queries, creating data-entry forms, and generating reports. Learn how it works and when it fits.
Learn how to import a PST into Outlook 2010 or export mail, contacts, calendar, and tasks. Follow the correct menus and avoid missing folders or duplicates.
Learn how to adjust gridline height and width in Word 2010, change visible line frequency, and set the underlying horizontal and vertical drawing-grid spacing.
Recover a forgotten Outlook PST password with Kernel’s current steps, including how to identify the right file, make a backup, and check the tool’s limits.
Use the LiveWeb add-in to place a website on a PowerPoint slide, set its size and refresh behavior, and check compatibility before presenting.
Set an Access 2010 database application to open directly to a data-entry form, hide object lists, limit menus, and check the setup before sharing.