How to Move a Picture in Microsoft Word
Learn how to drag a picture in Word, choose text wrapping, keep it with a paragraph or fix it on the page, and troubleshoot images that will not move.
To import a webpage table in Excel 2010, use the classic Data > From Web command. Enter the page address, select the table with its yellow arrow in the New Web Query window, and import it to a new or existing worksheet. This method works best with ordinary HTML tables that the page serves directly; it cannot reliably extract every table that merely appears on screen.
The steps below refer to Excel 2010 for Windows and its older Web Query window. Current Excel versions use a different Power Query interface, so their Navigator steps and controls do not match this guide.
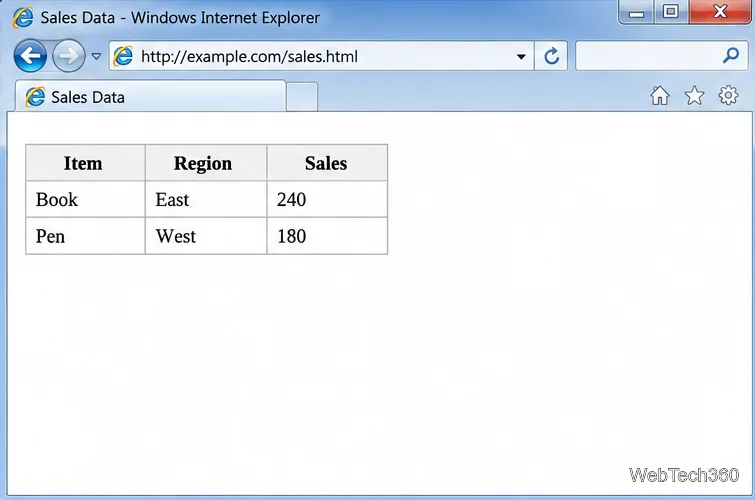
Open the page in a browser and confirm that the data is arranged in a clear table with headings and rows. Copy the page’s full URL from the address bar. Use a page that is publicly reachable and does not require a sign-in for the table. Excel’s older query may not detect content that a website draws later with scripts, hides behind a login, or serves only after an interactive action. A site redesign can also change whether the query still works.
In Excel 2010, open a workbook, select the Data tab, and choose From Web in the Get External Data group. The New Web Query window opens. Enter the copied address in the Address box and click Go. Wait for the page preview to load before choosing a table.
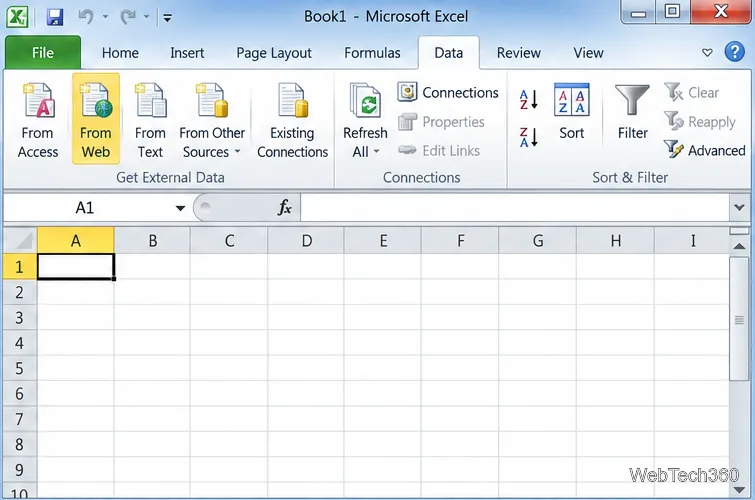
If the From Web command is missing, confirm that you are using the Windows desktop version of Excel 2010 rather than a browser-based editor. The classic Web Query is a built-in legacy import route; it is separate from the Power Query add-in that Microsoft later offered for Excel 2010.
In the page preview, Excel marks tables it recognizes with small yellow arrow buttons. Click the arrow beside the table you want to bring in. The selected table is outlined in the preview. If the page contains several tables, inspect their headings and sample rows so you select the right one. Then click Import at the bottom of the Web Query window.
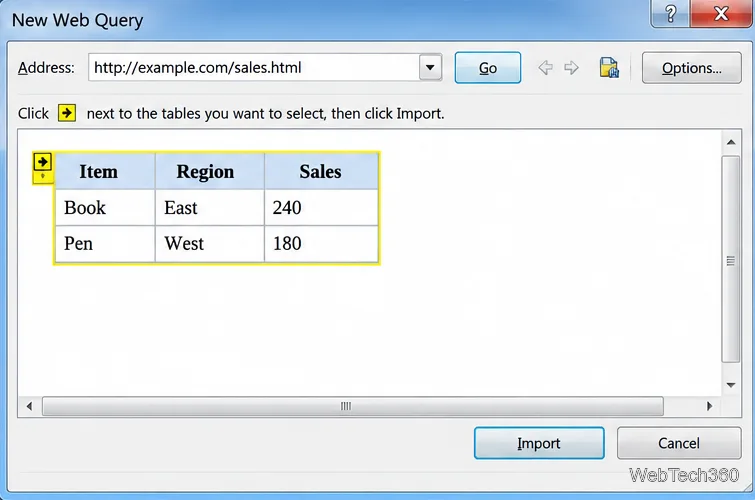
If no yellow arrows appear, Excel may not recognize the page’s data as an importable HTML table. Try the page’s direct table URL if the site provides one, or look for an official CSV or Excel download. Do not assume that every visible list on a modern site can be imported by this older tool.
The Import Data dialog lets you select Existing worksheet or New worksheet. Choose Existing worksheet to place the result in the current sheet, then specify its upper-left destination cell, such as $A$1. Choose New worksheet when you want Excel to create a separate sheet for the imported range. Click OK to finish.
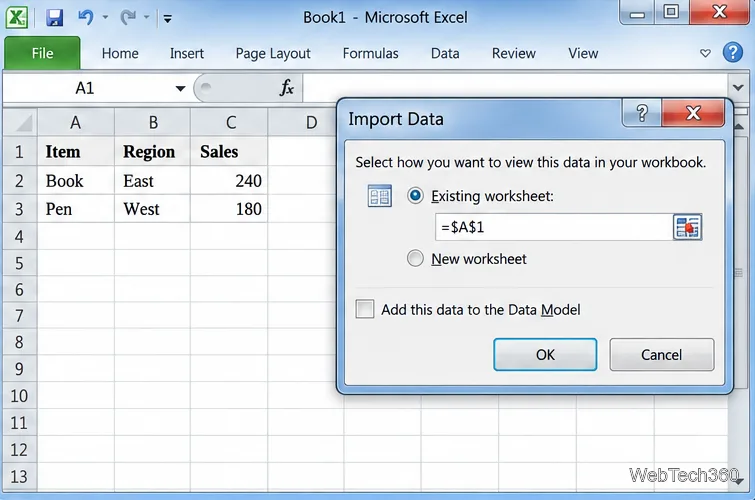
Before importing into an existing sheet, make sure the cells below and to the right of the selected destination are clear. A larger table can occupy more space than expected and interfere with other content. A new worksheet is often the simplest choice when you are unsure how many rows the source may return.
After Excel loads the data, check the column headings, first and last rows, and a few values against the webpage. Confirm that dates, numbers, and text landed in the intended columns. If a value looks wrong, check whether the source table itself uses merged cells, unusual date formats, or nested headings.
For readability, widen columns to fit their contents, wrap long headings, and add restrained borders or number formats. Keep notes, formulas, and other workbook content outside the imported range. A refresh can replace values in that range, and changes to the number of returned rows can affect nearby cells. Excel stores a Web Query connection with the imported data, so later refreshes can request updated rows from the source page. Select a cell in the imported range and use the workbook’s Data refresh command; the exact ribbon arrangement can vary by Excel build. Microsoft’s guidance on refreshing an external data connection and managing external data ranges explains how connected ranges behave.
Excel 2010 can still run, but Microsoft ended Office 2010 support on October 13, 2020. It no longer receives security updates or technical support. Microsoft now describes the older Web import wizard as deprecated and recommends the newer Power Query web connector for new queries. In current Excel, that connector opens a Navigator interface with different table-selection controls; it is not the yellow-arrow workflow shown here. See Microsoft’s current web connector instructions and Office 2010 support status before deciding which version to use.
For a one-time import from a trusted, compatible page, the classic steps are straightforward: open From Web, select a recognized table, and choose its worksheet destination. For ongoing work or pages that no longer cooperate with the older query, use a supported Excel version and its Power Query connector.
Learn how to drag a picture in Word, choose text wrapping, keep it with a paragraph or fix it on the page, and troubleshoot images that will not move.
Learn how to insert a checkbox in Excel with the in-cell tool, count checked items with formulas, or add a linked Form Control in older desktop versions.
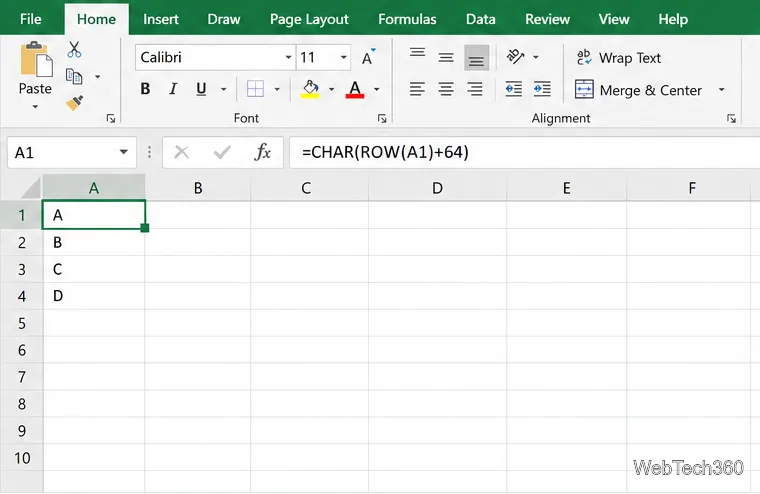
Generate A to Z, lowercase letters, or labels beyond Z in Excel with a fill-handle formula, SEQUENCE, or a reusable custom list.
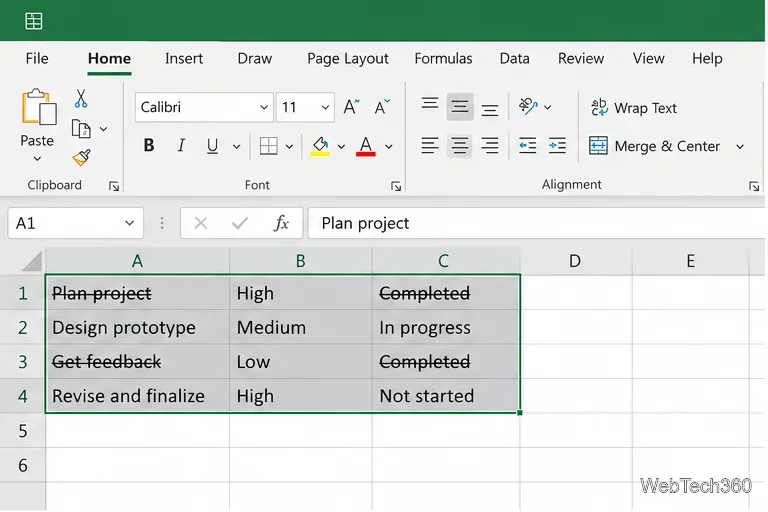
Learn how to strikethrough in Excel on Windows, Mac, and the web, format part of a cell, and remove the line without deleting its value.
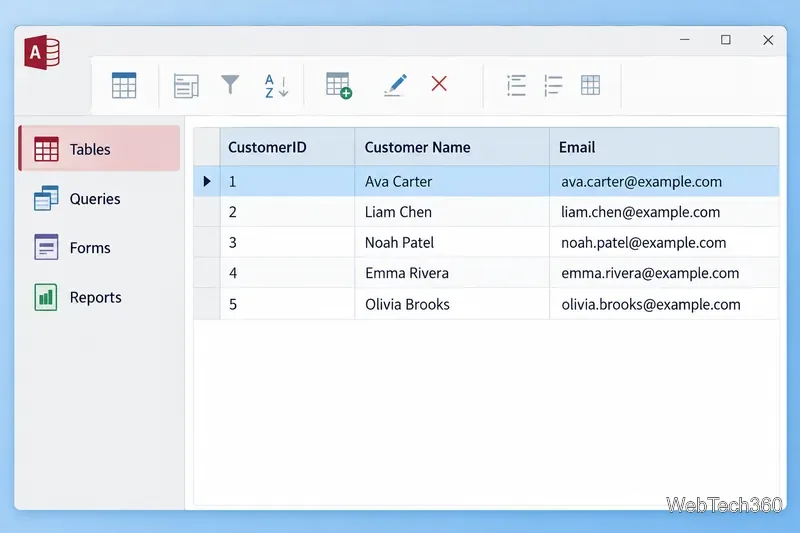
Microsoft Access is a Windows database app for storing related records, building queries, creating data-entry forms, and generating reports. Learn how it works and when it fits.
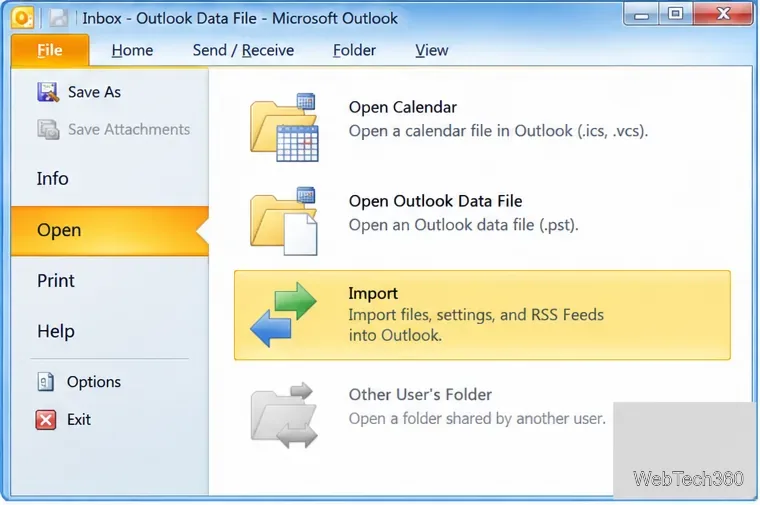
Learn how to import a PST into Outlook 2010 or export mail, contacts, calendar, and tasks. Follow the correct menus and avoid missing folders or duplicates.
Learn how to adjust gridline height and width in Word 2010, change visible line frequency, and set the underlying horizontal and vertical drawing-grid spacing.
Recover a forgotten Outlook PST password with Kernel’s current steps, including how to identify the right file, make a backup, and check the tool’s limits.
Use the LiveWeb add-in to place a website on a PowerPoint slide, set its size and refresh behavior, and check compatibility before presenting.
Set an Access 2010 database application to open directly to a data-entry form, hide object lists, limit menus, and check the setup before sharing.