How to Move a Picture in Microsoft Word
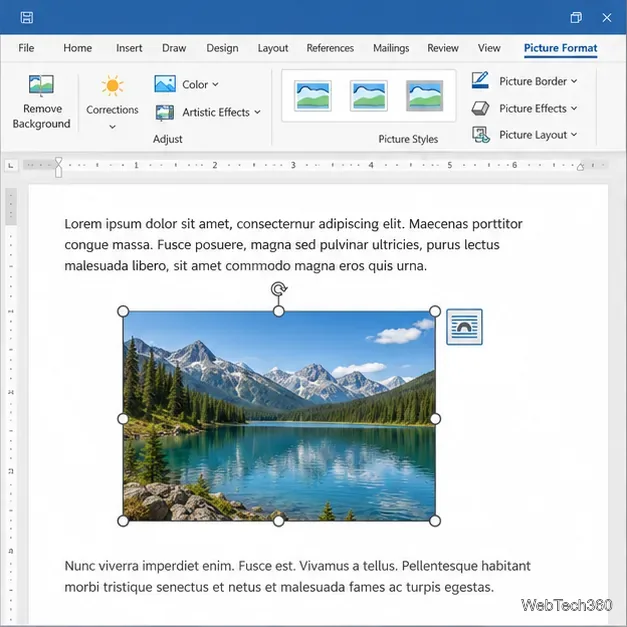
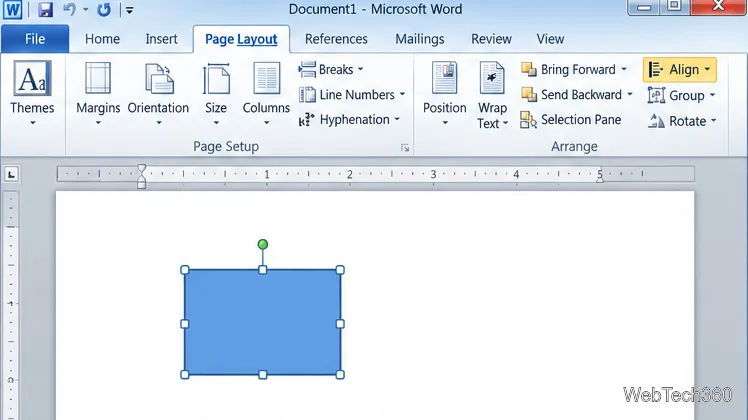
Learn how to drag a picture in Word, choose text wrapping, keep it with a paragraph or fix it on the page, and troubleshoot images that will not move.
Visio 2010 includes a Corner Rounding command for changing the corners of a selected shape. If the command is not already visible, add it to the Quick Access Toolbar once. Then select a shape, choose a corner style, set the rounding amount, and apply the change. This guide follows the Visio 2010 interface; newer Visio versions may arrange shape controls differently or omit this legacy dialog.
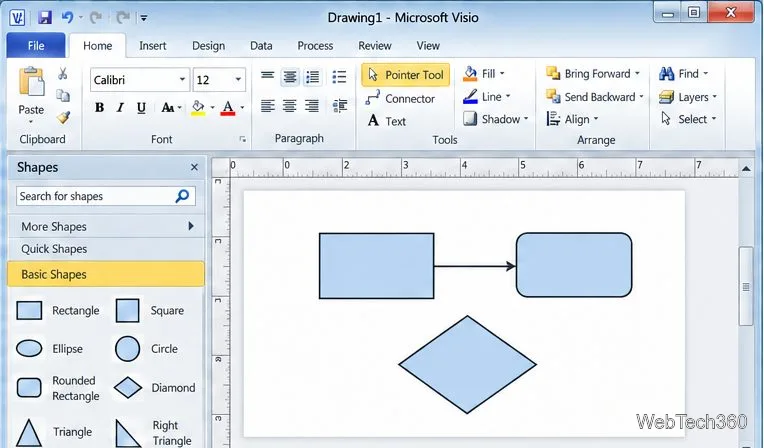
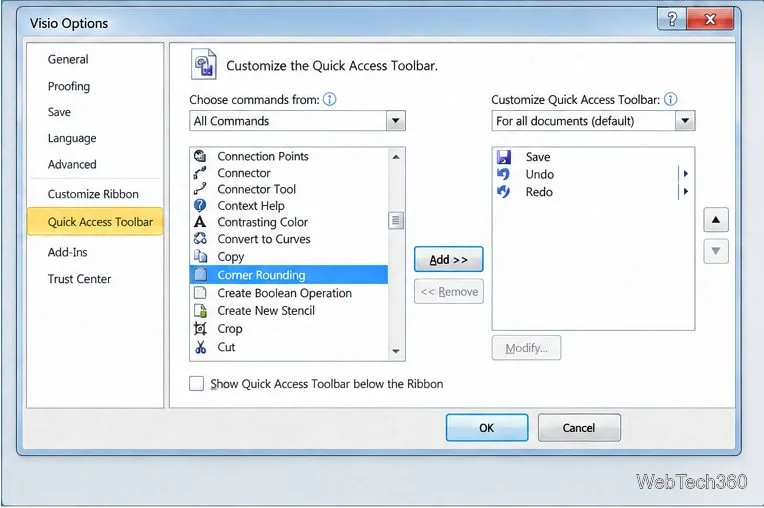
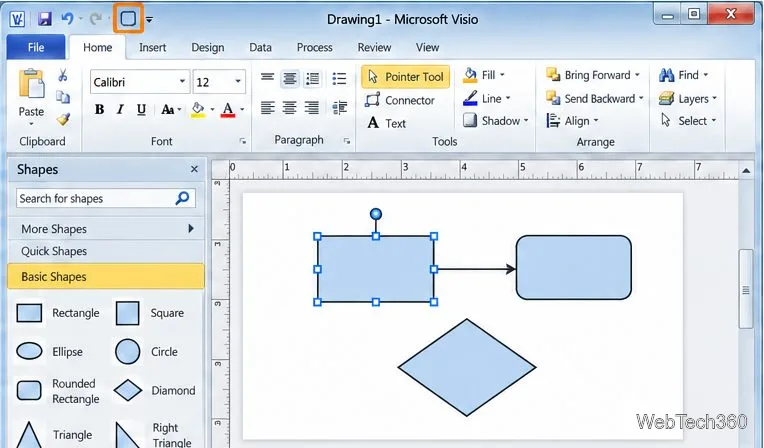
Open the drawing you want to edit. The command is easiest to find from the small Customize Quick Access Toolbar arrow beside the icons at the top of the Visio window.
The command should now appear with the other Quick Access Toolbar buttons. You only need to add it once for that Visio setup; adding a toolbar button does not change shapes in the drawing.
Click the Pointer Tool, then select one shape on the drawing page. Selection handles around the object help confirm that you have the shape you intend to edit. If the handles appear around a different object, click the correct shape before continuing.
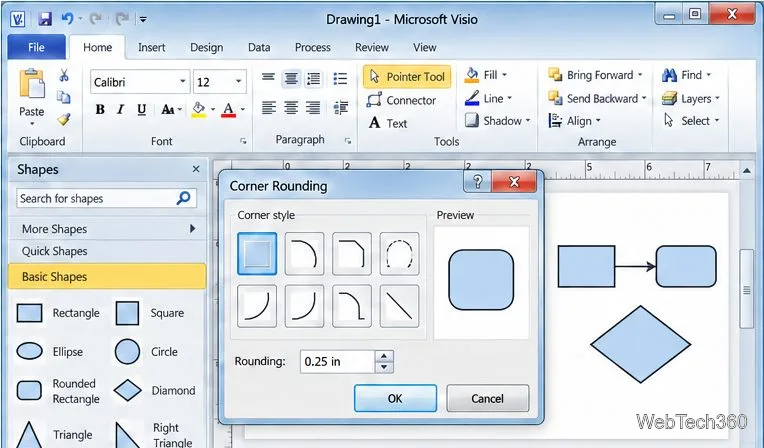
Click the Corner Rounding button on the Quick Access Toolbar. Visio opens the Corner Rounding dialog for the selected shape. Work with one object at a time while you decide on a style and amount so you can judge the result before repeating the change elsewhere.
The dialog separates the corner profile from the amount of rounding. The style buttons show different corner treatments, while the Rounding field controls how much of the corner is softened. The preview helps you compare the selected style and value before applying them.
To edit another object, select that shape and open Corner Rounding again. Pick the same preset and amount when you want a consistent look across similar boxes; use a different setting when the diagram calls for a visual distinction. The command acts on the selected shape, so do not assume that adding it to the toolbar changes every shape in the page.
If the result is not useful, reopen the dialog and choose the square-corner option or a smaller amount. You can also use Visio’s Undo command immediately after applying the change if you want to return to the previous appearance.
Microsoft’s current instructions explain how to add commands to the Quick Access Toolbar. Its current Visio shape-formatting guide describes the present interface. Those references are useful for comparison, but the Corner Rounding steps above are specific to Visio 2010.
Learn how to drag a picture in Word, choose text wrapping, keep it with a paragraph or fix it on the page, and troubleshoot images that will not move.
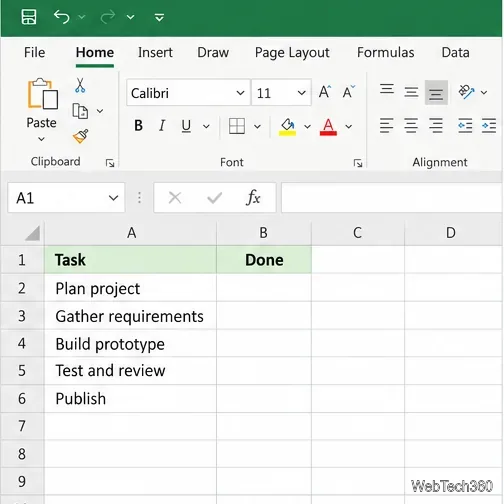
Learn how to insert a checkbox in Excel with the in-cell tool, count checked items with formulas, or add a linked Form Control in older desktop versions.
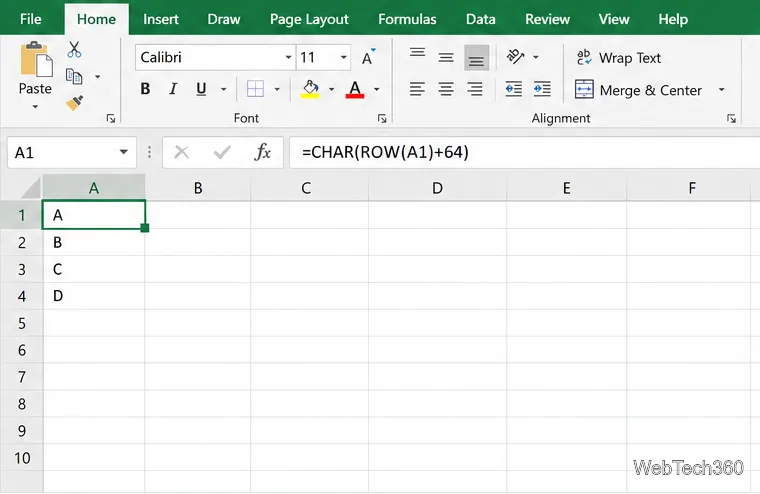
Generate A to Z, lowercase letters, or labels beyond Z in Excel with a fill-handle formula, SEQUENCE, or a reusable custom list.
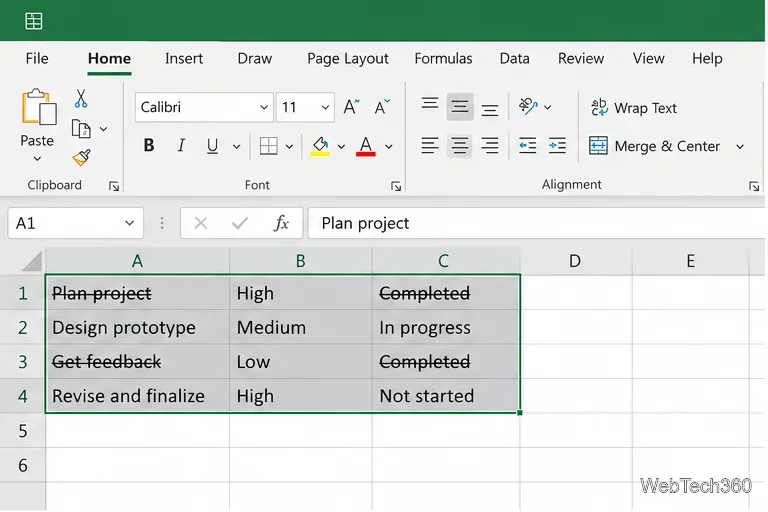
Learn how to strikethrough in Excel on Windows, Mac, and the web, format part of a cell, and remove the line without deleting its value.
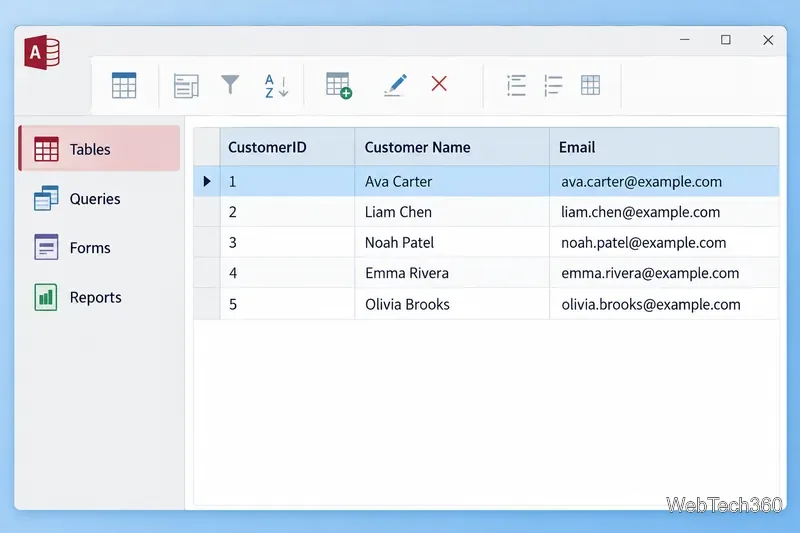
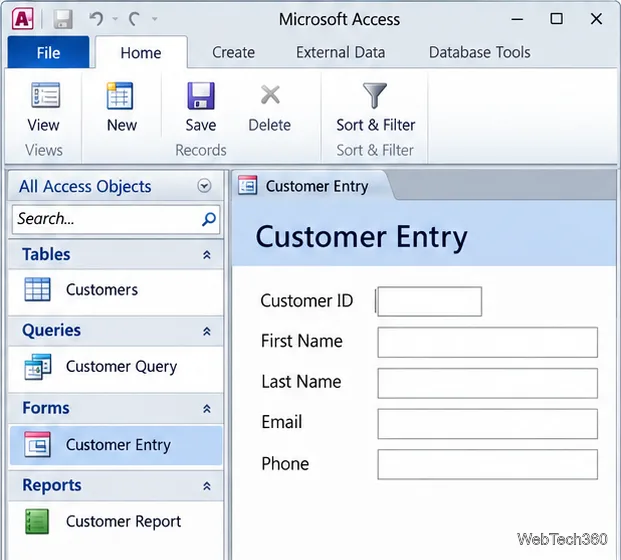
Microsoft Access is a Windows database app for storing related records, building queries, creating data-entry forms, and generating reports. Learn how it works and when it fits.
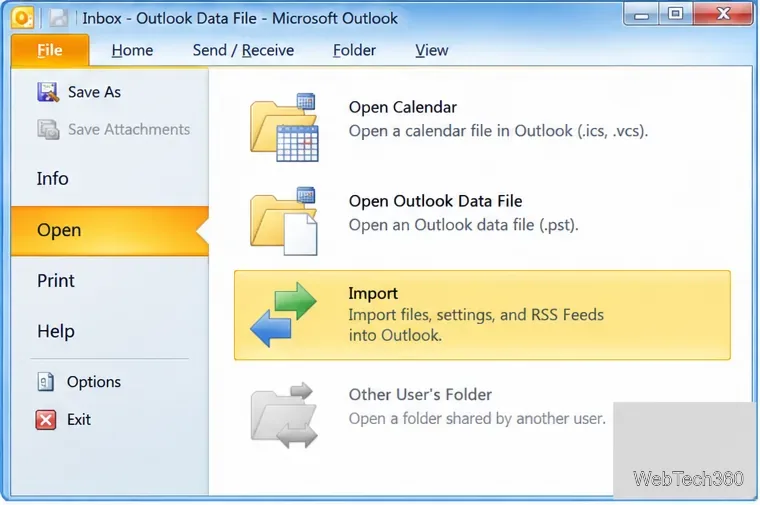
Learn how to import a PST into Outlook 2010 or export mail, contacts, calendar, and tasks. Follow the correct menus and avoid missing folders or duplicates.
Learn how to adjust gridline height and width in Word 2010, change visible line frequency, and set the underlying horizontal and vertical drawing-grid spacing.
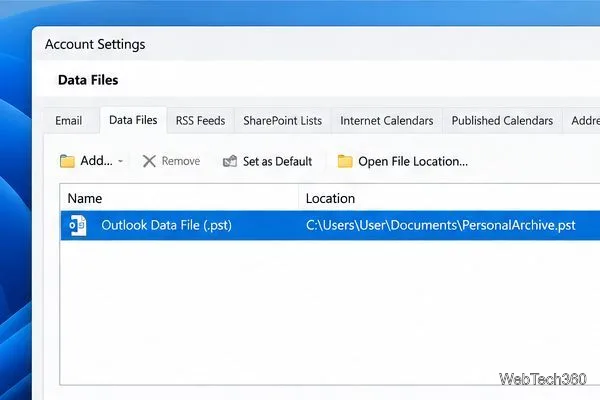
Recover a forgotten Outlook PST password with Kernel’s current steps, including how to identify the right file, make a backup, and check the tool’s limits.
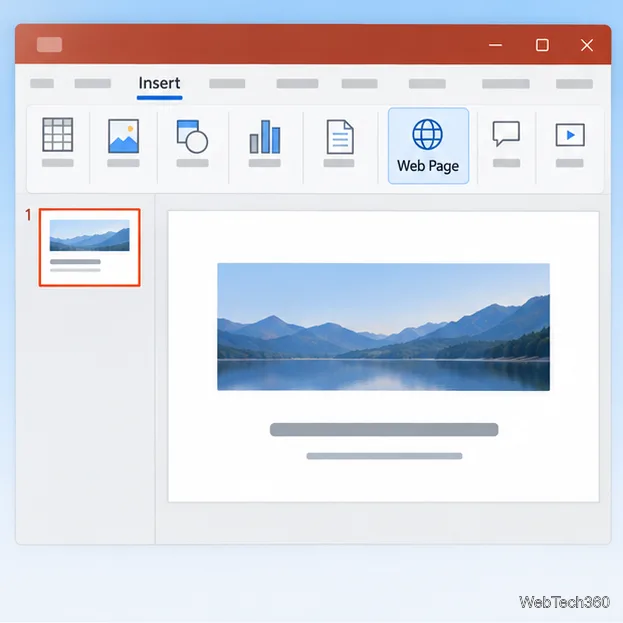
Use the LiveWeb add-in to place a website on a PowerPoint slide, set its size and refresh behavior, and check compatibility before presenting.
Set an Access 2010 database application to open directly to a data-entry form, hide object lists, limit menus, and check the setup before sharing.